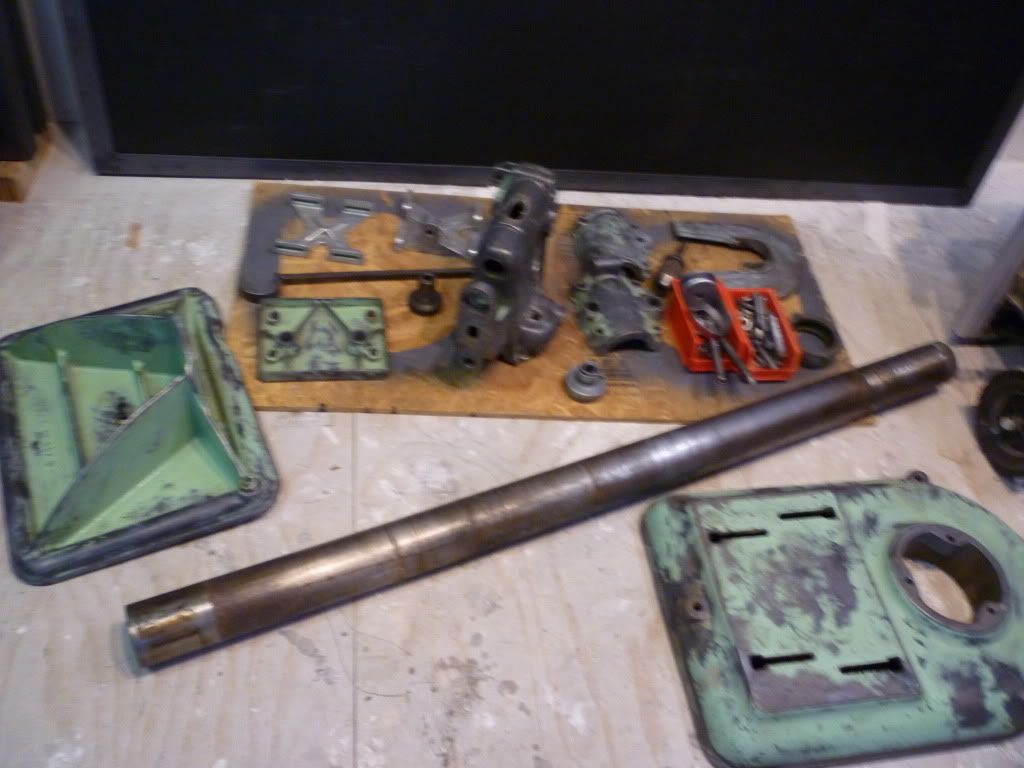
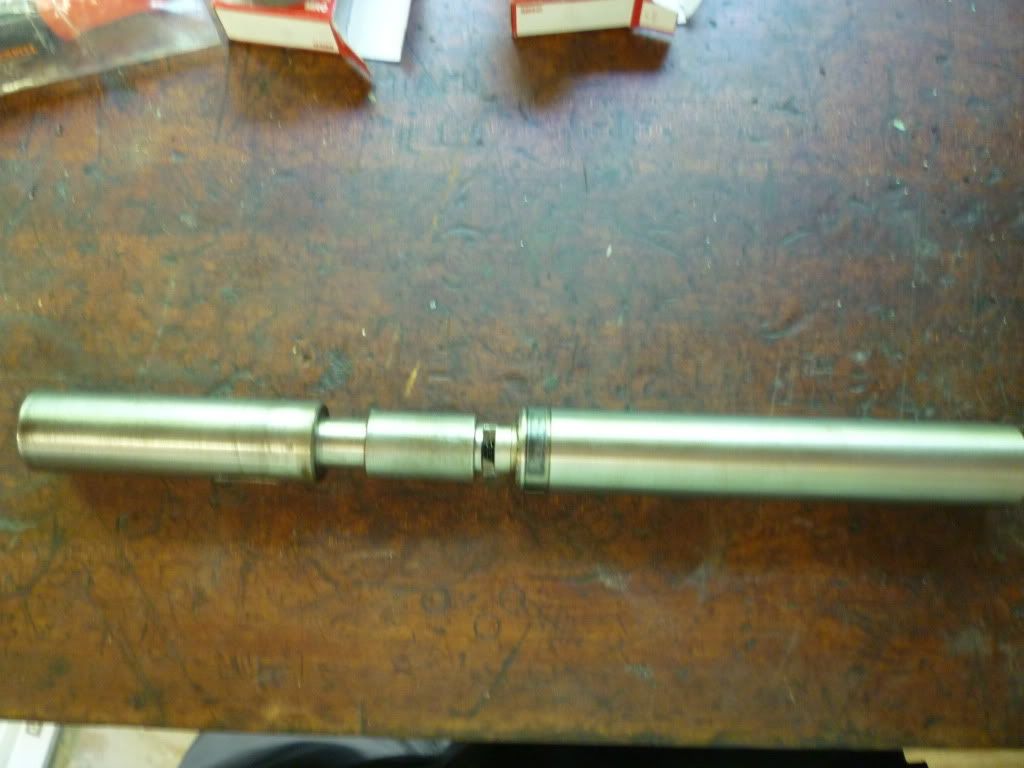
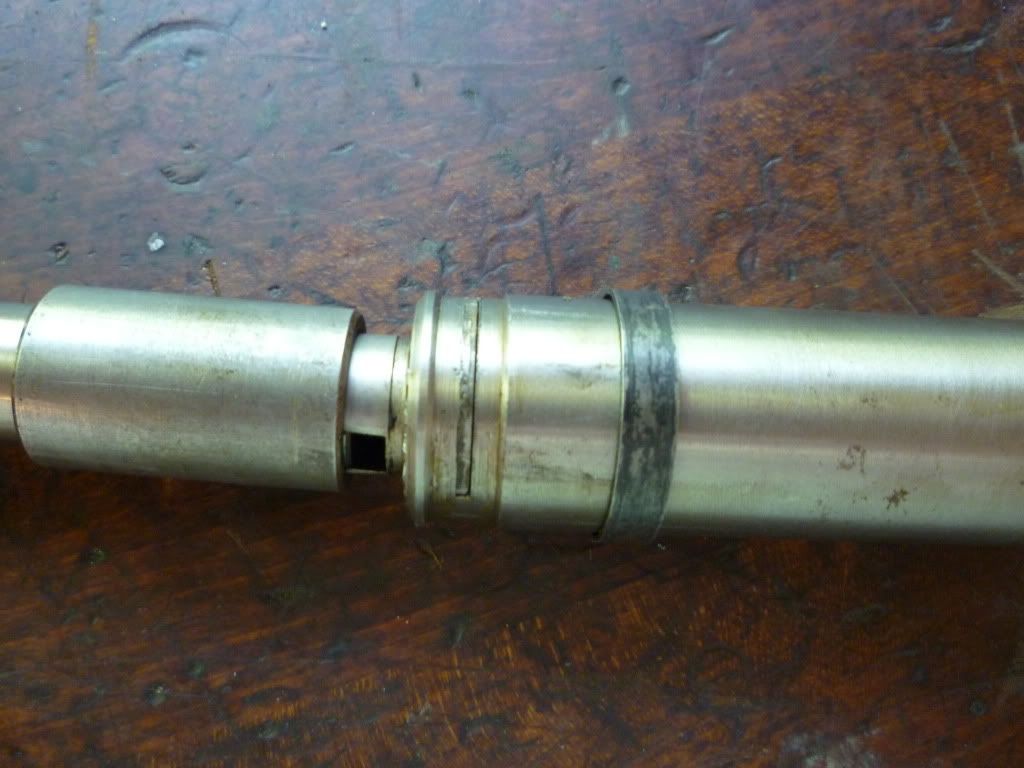
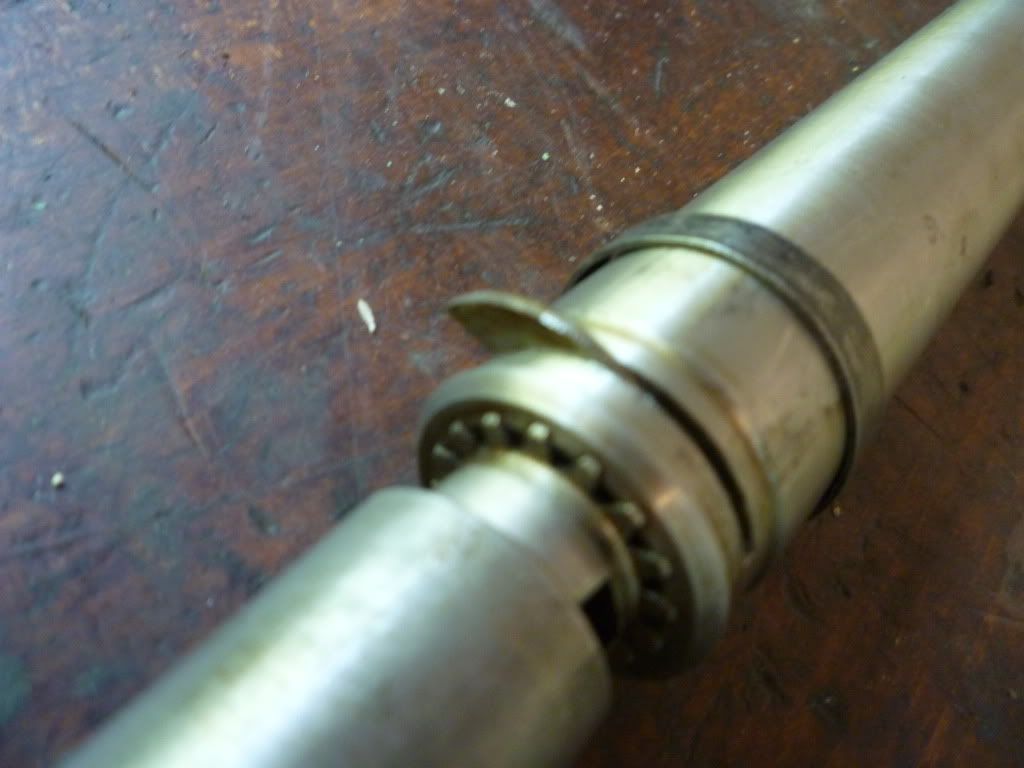
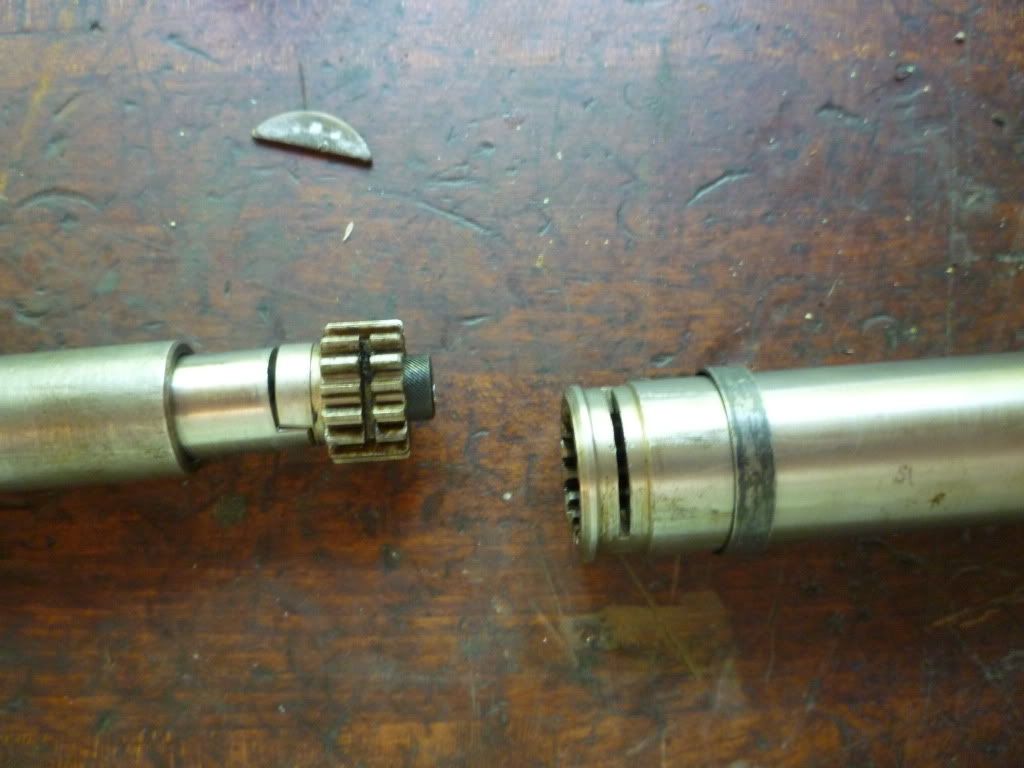
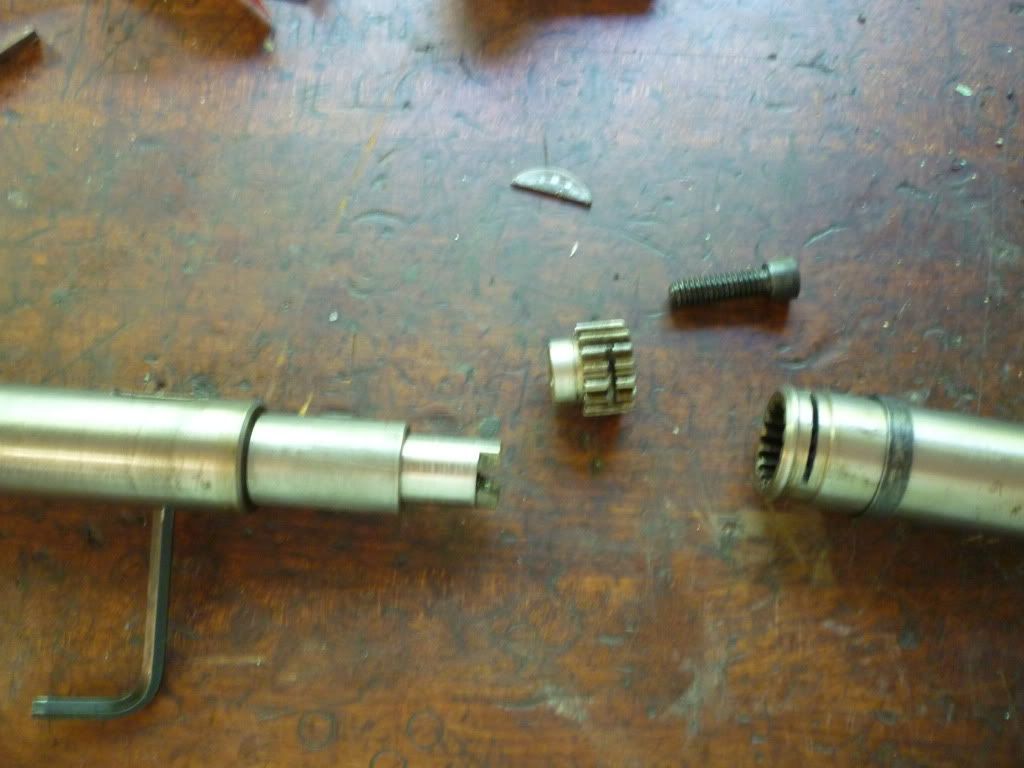
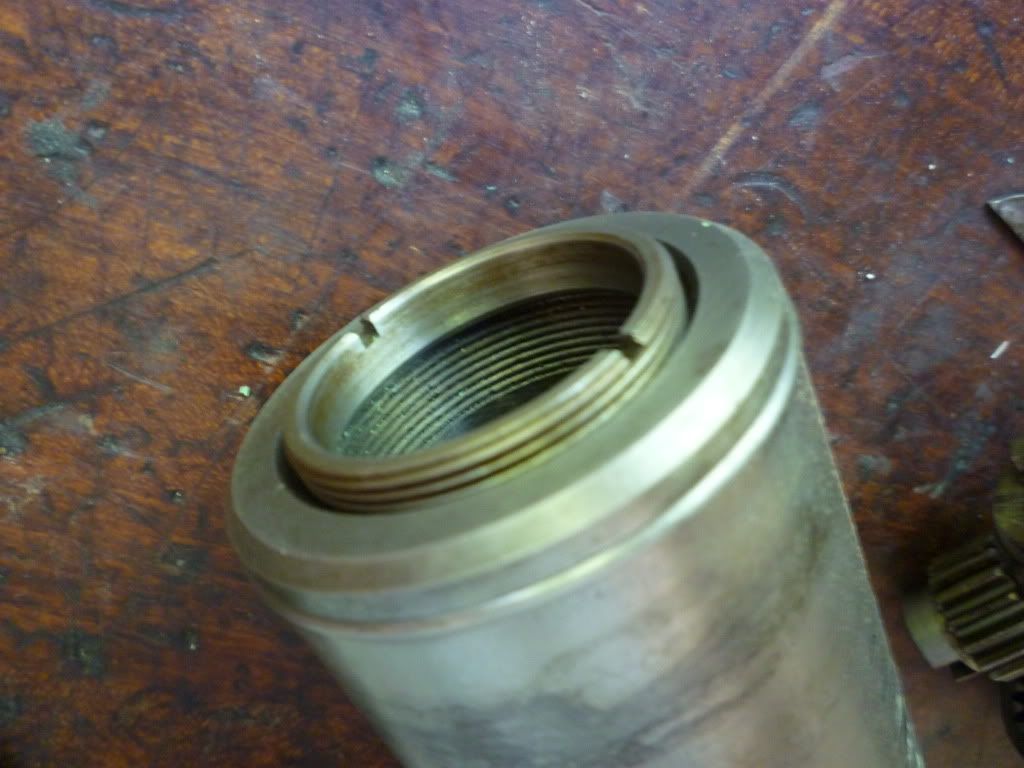
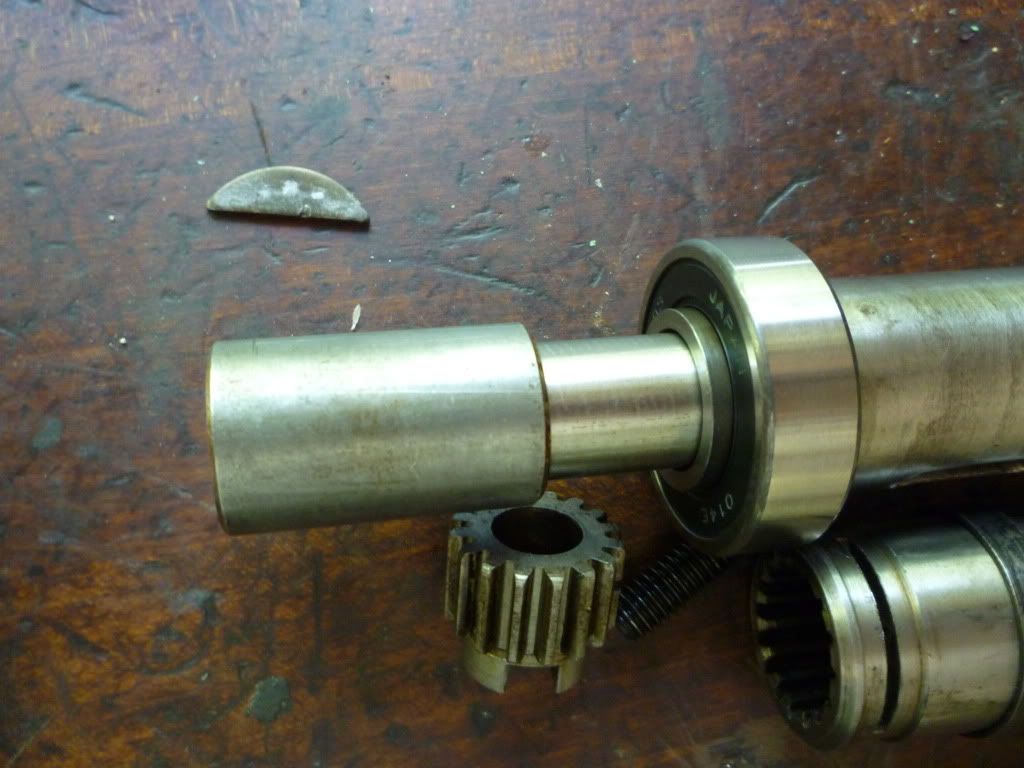
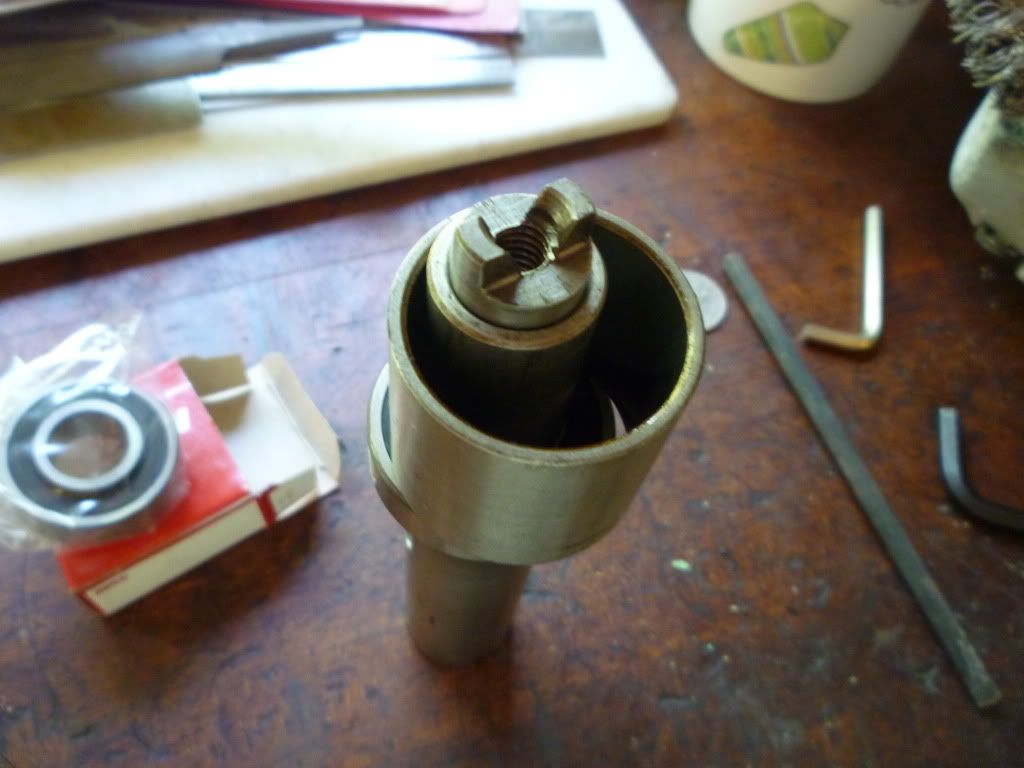
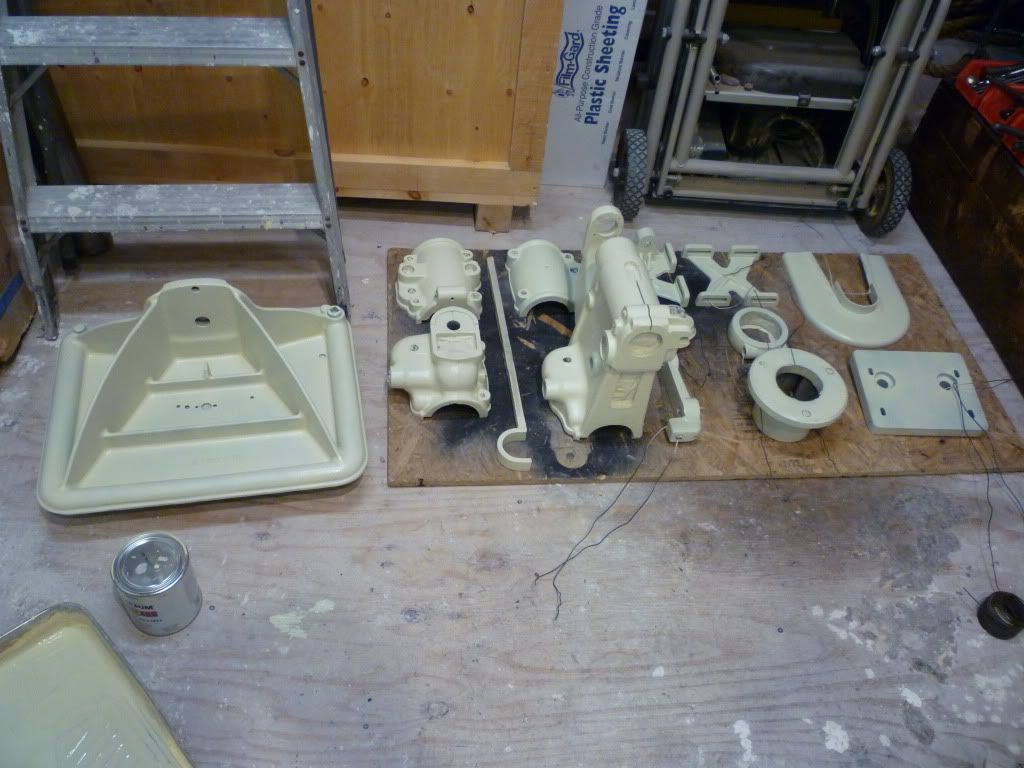
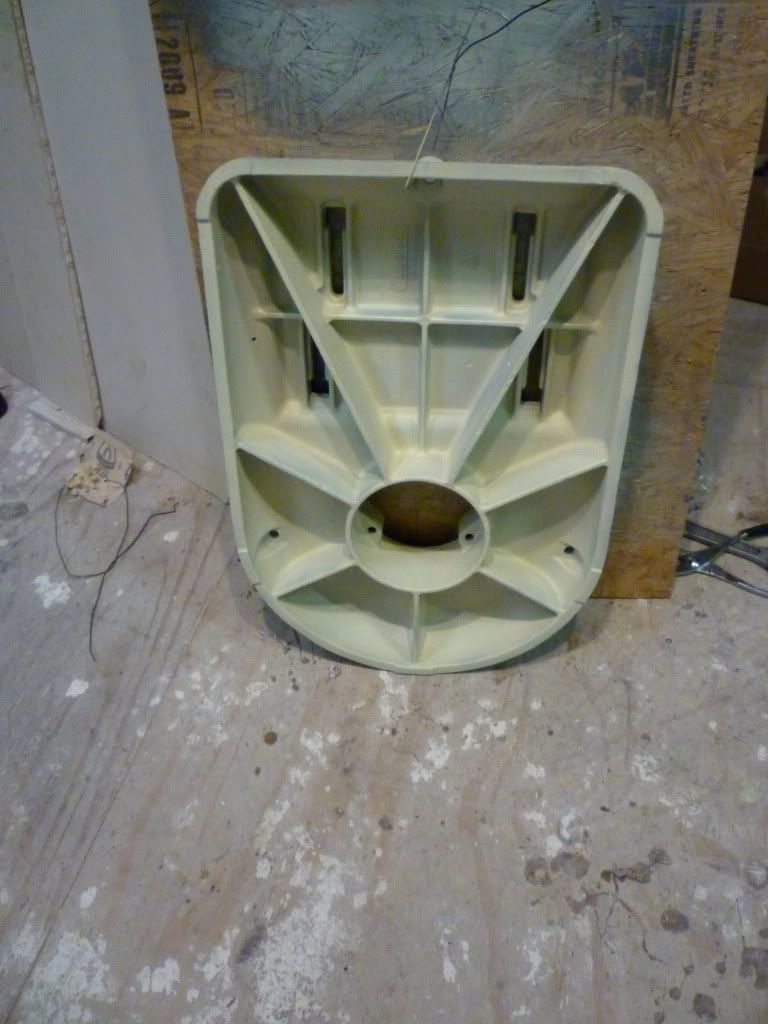
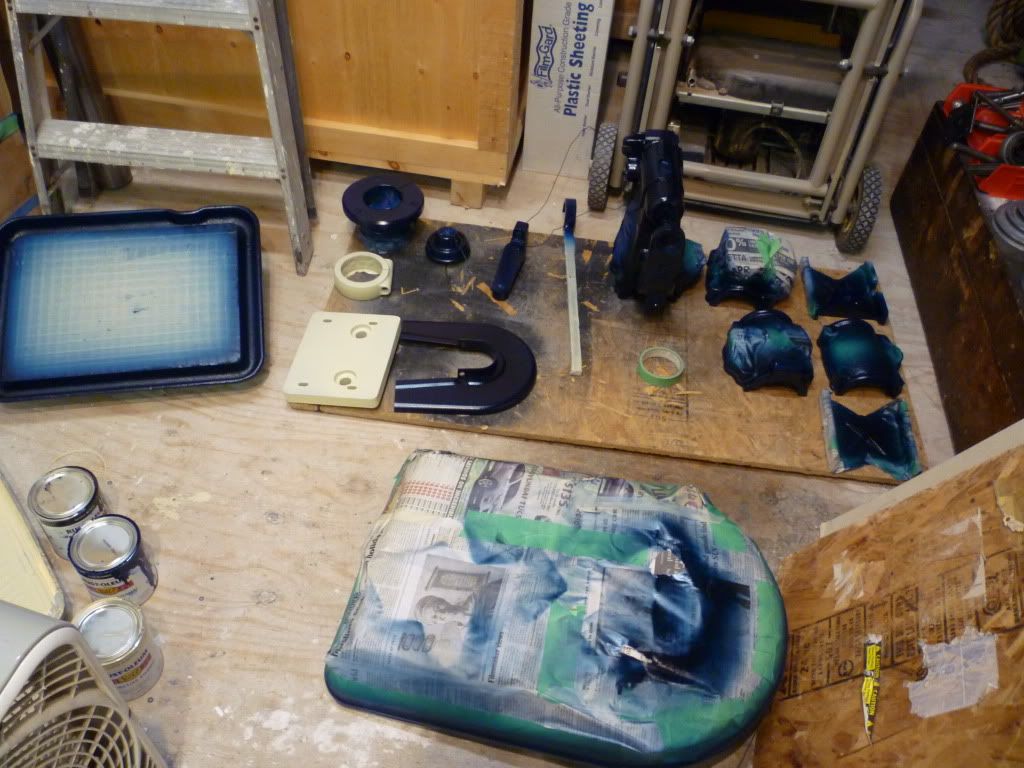
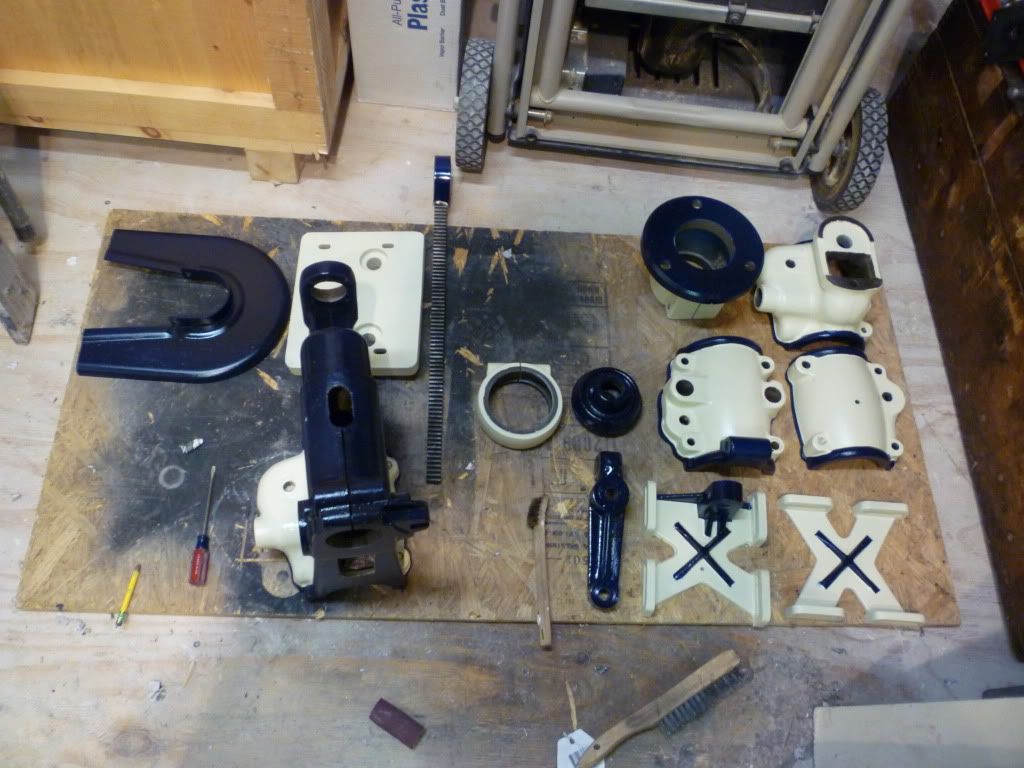
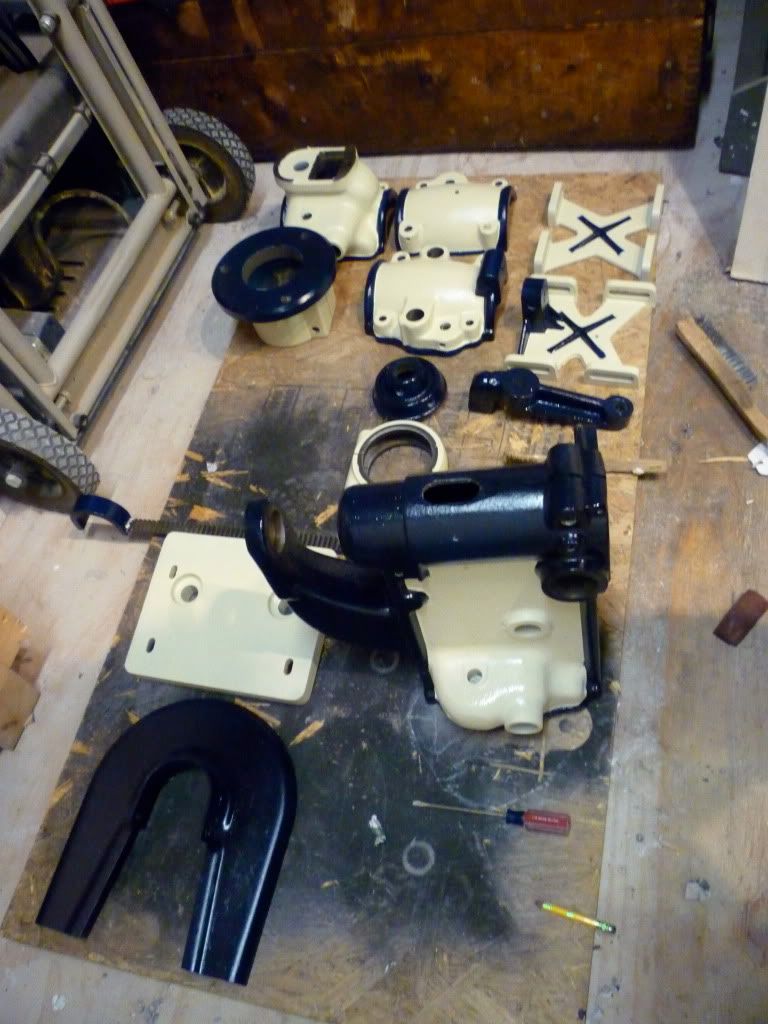
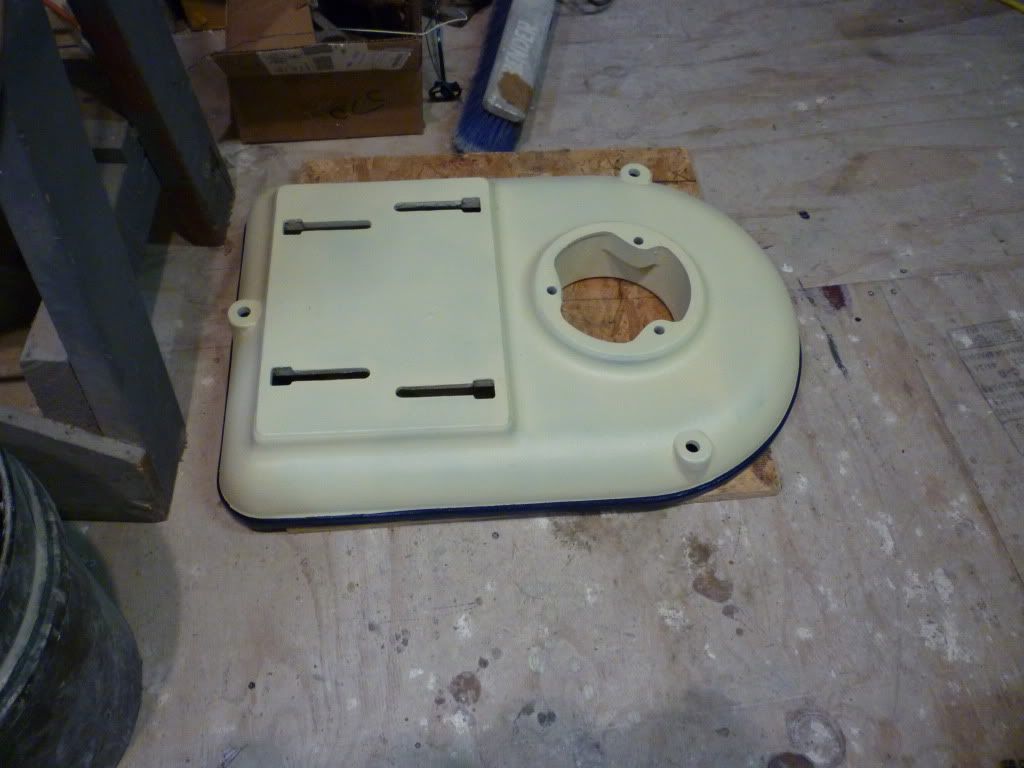
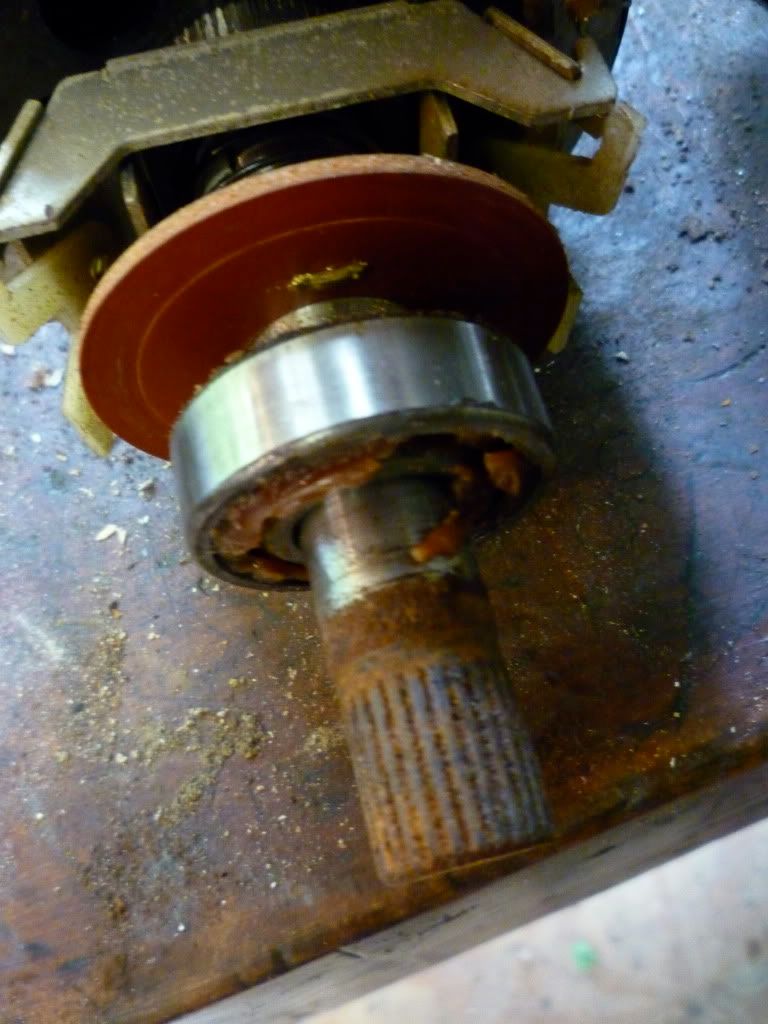
So as I stated in a much earlier post. I wanted to try to use the forum as a possible full reference on how to rebuild at least one of these drill presses. In the future other things. So there are lots of pictures..... Lots.
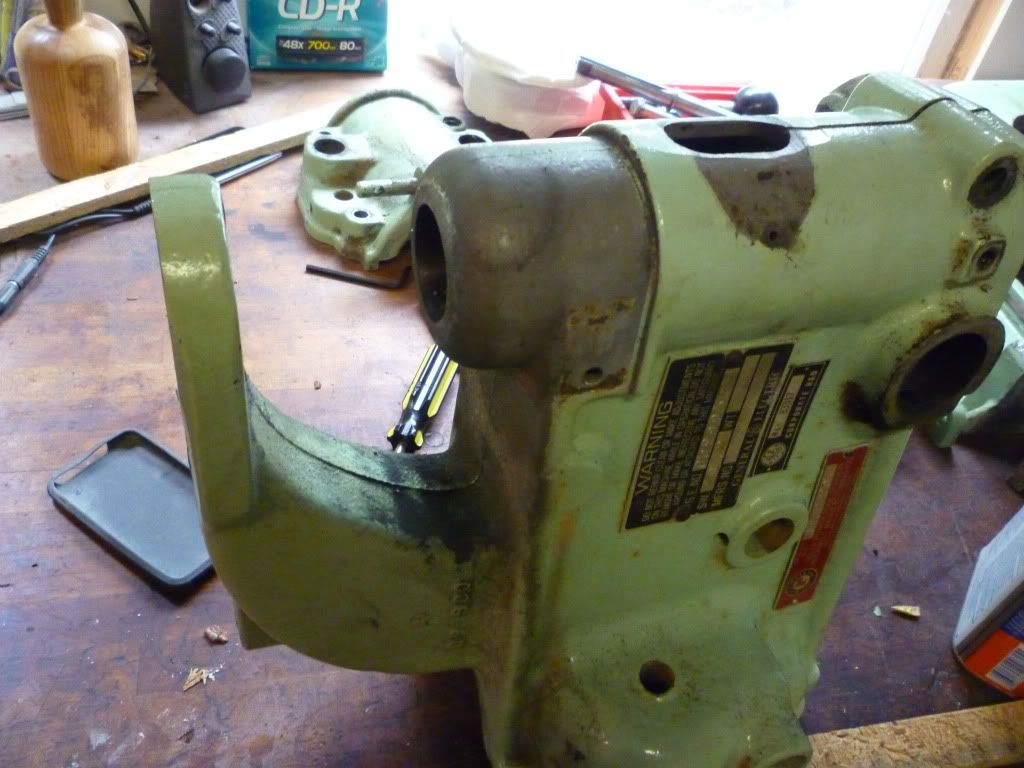
So I started with the head stock
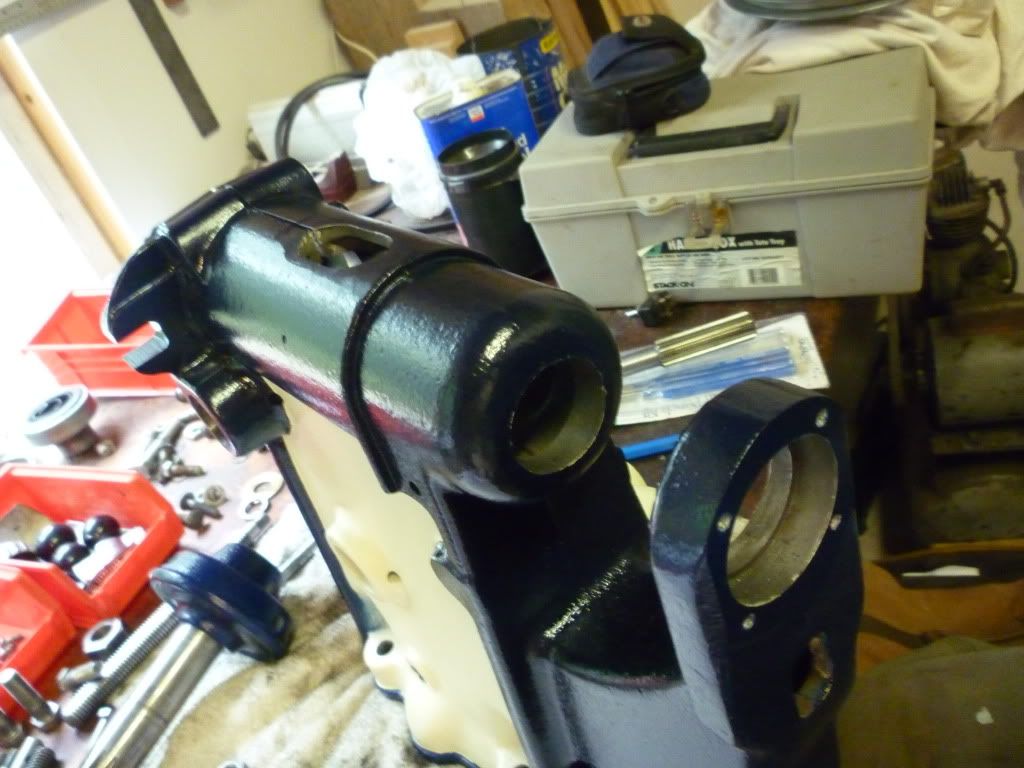
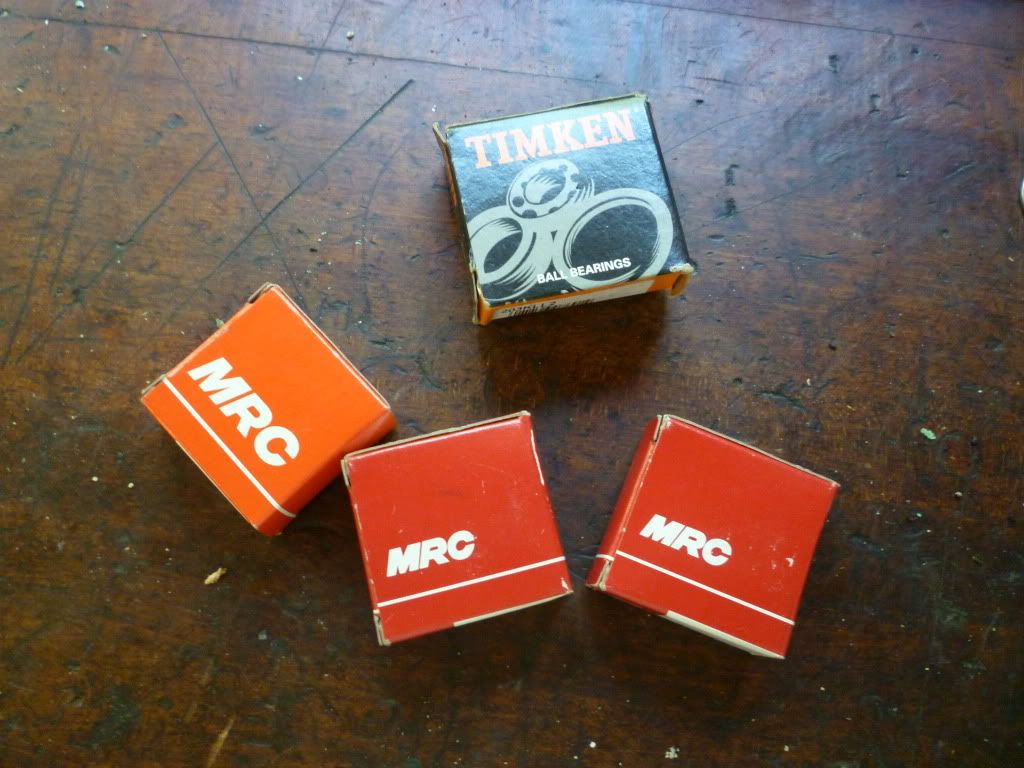
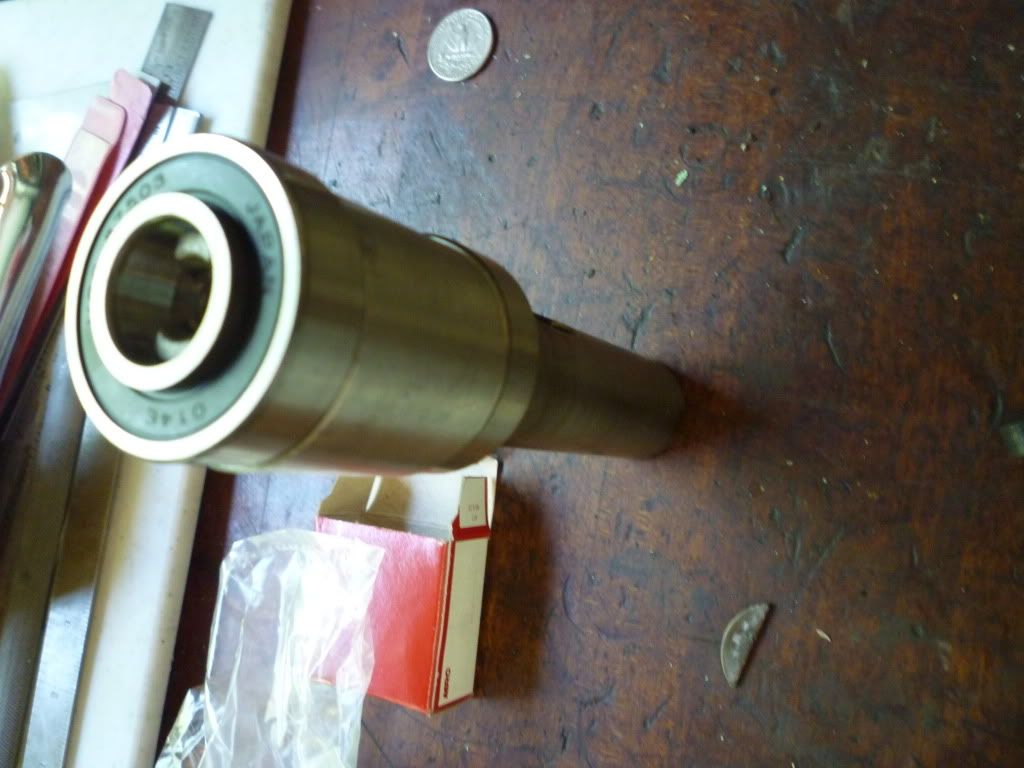
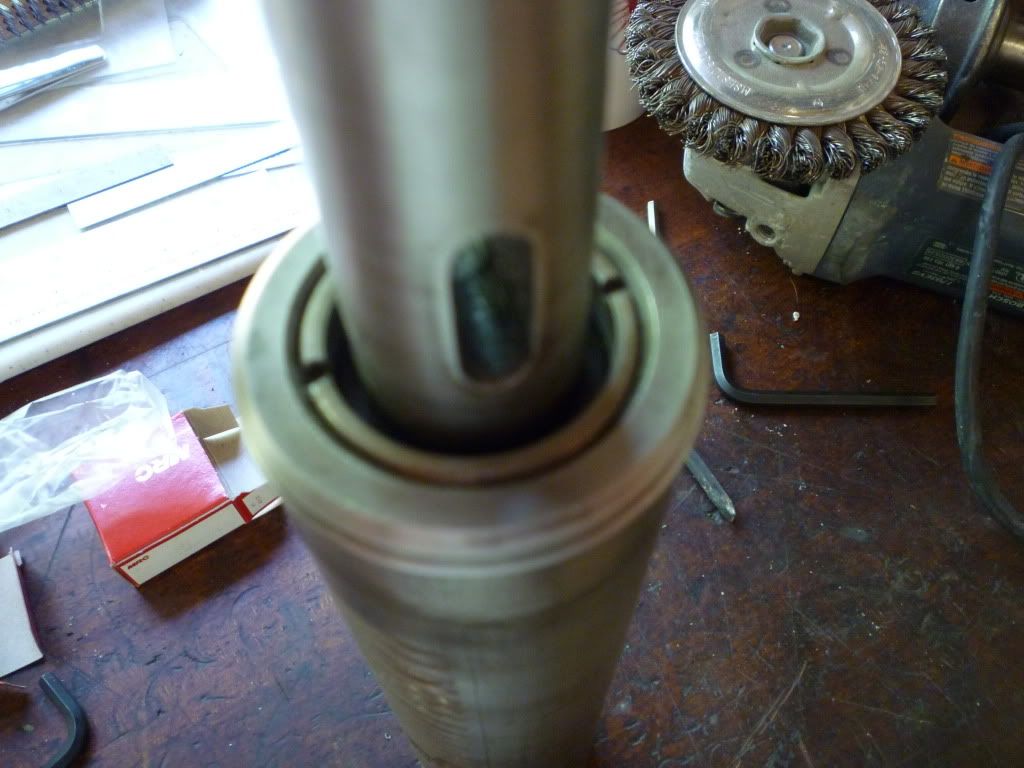
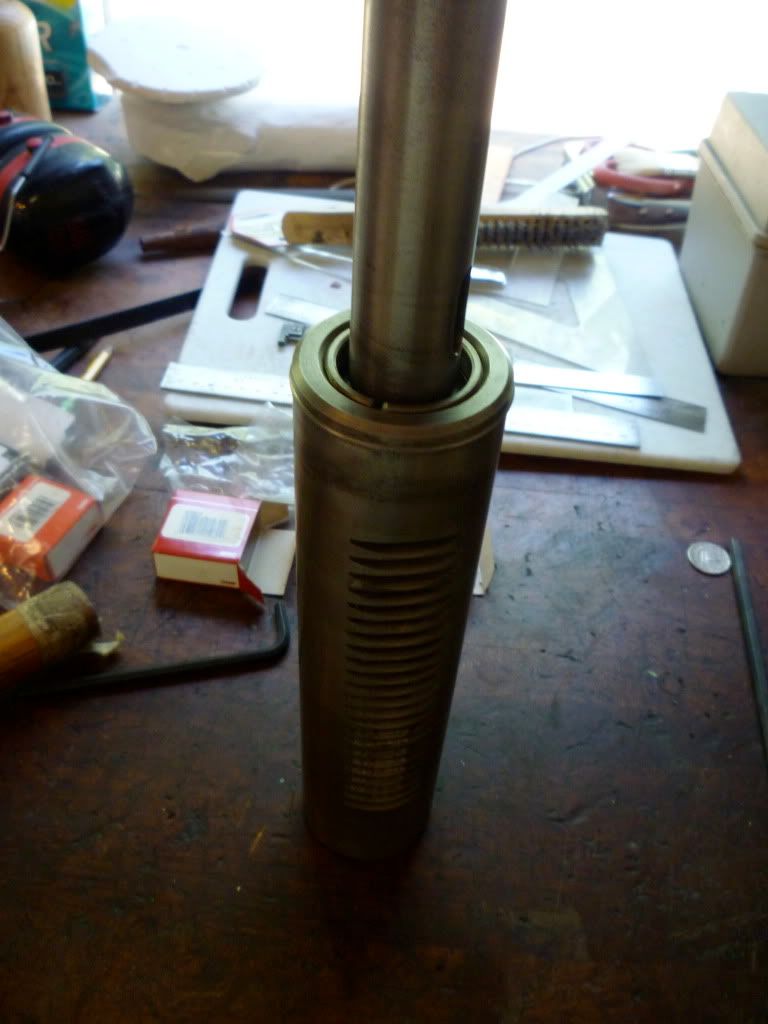
after rebuilding the quill with new bearings (earlier post) I assembled the top part of it. Also with new bearings before putting into the head stock
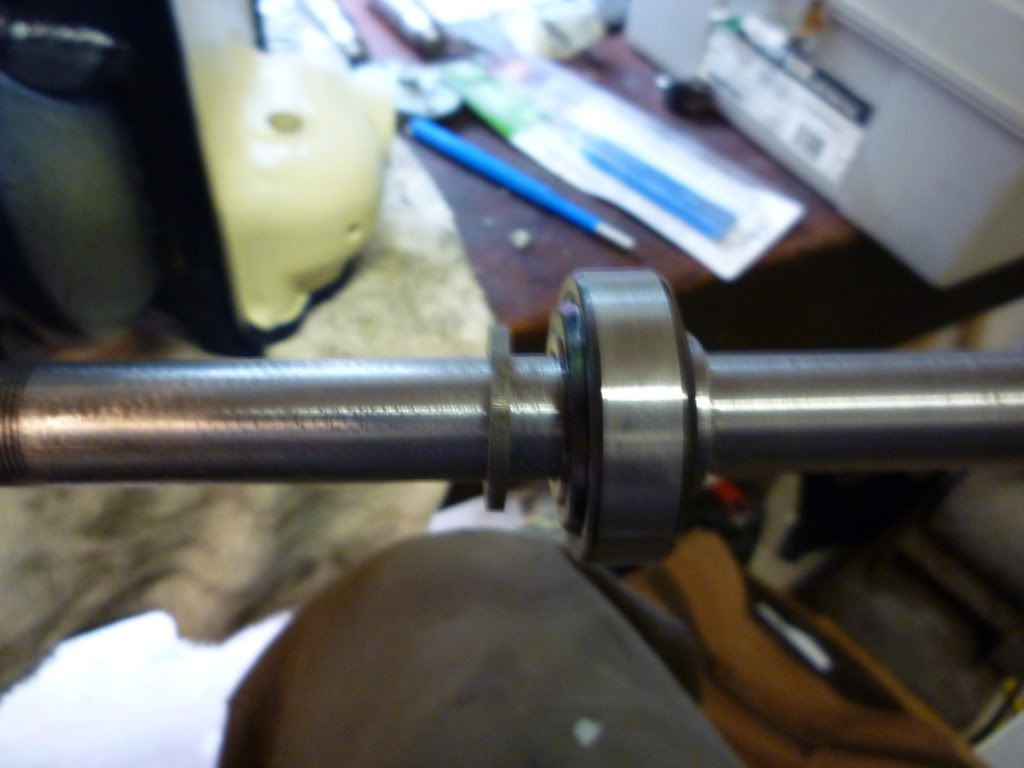
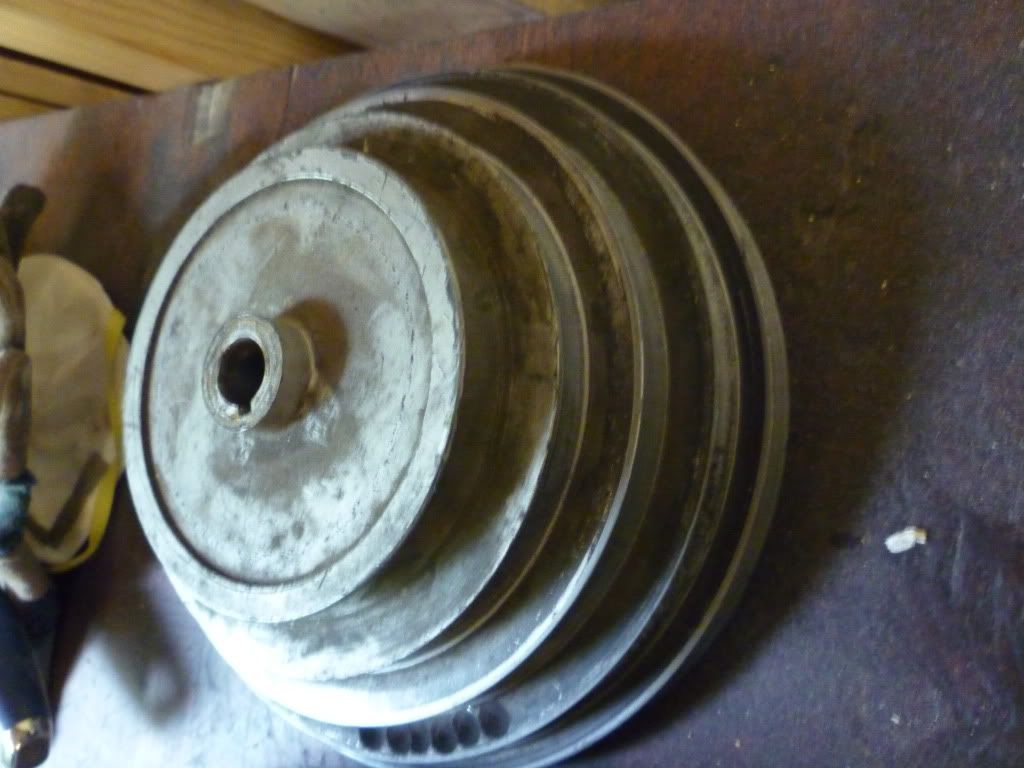
I carefully placed the wheel for the belts into the casting so I could send the quill through it from the bottom.
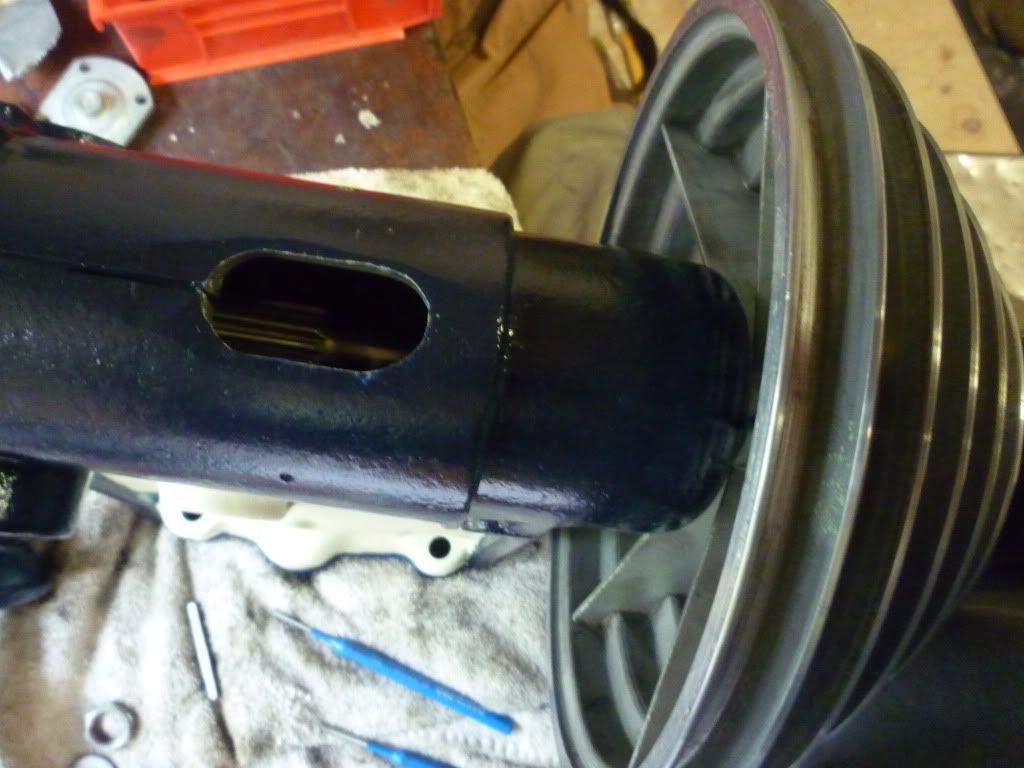
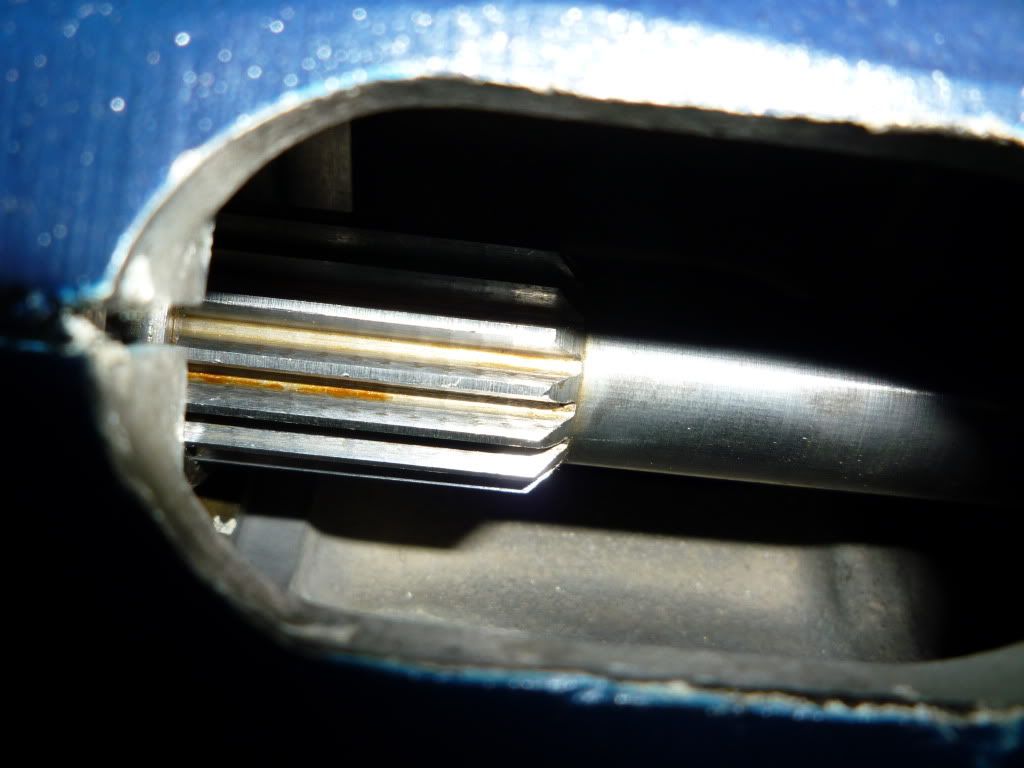
make sure as to line up the key ways!
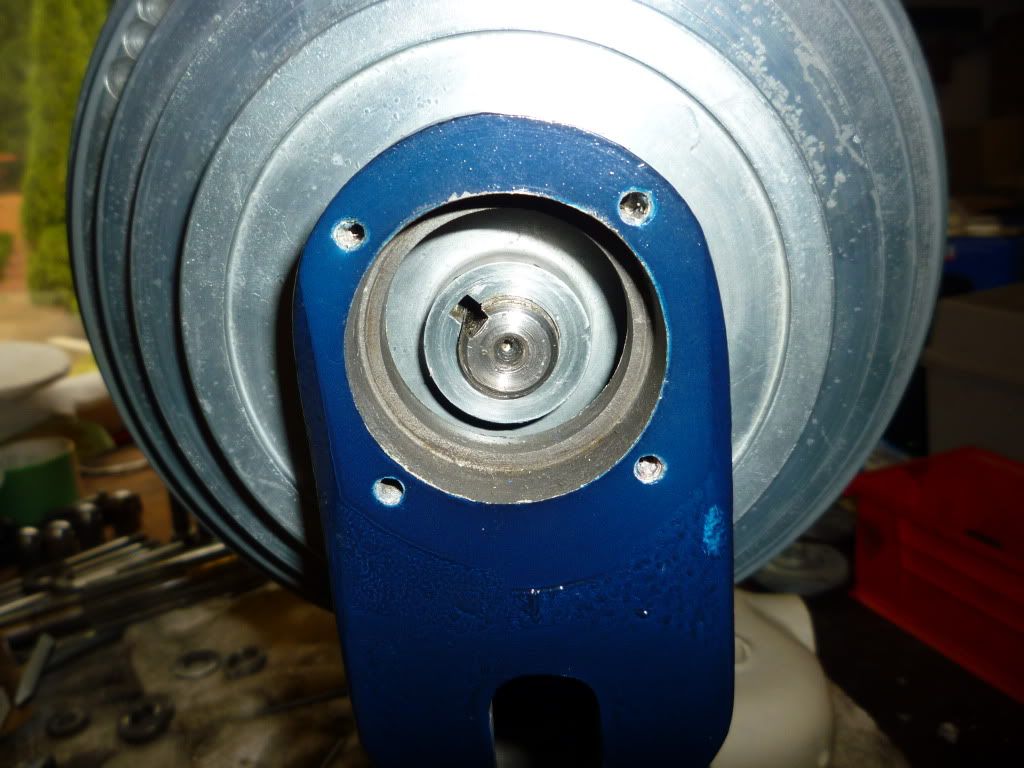
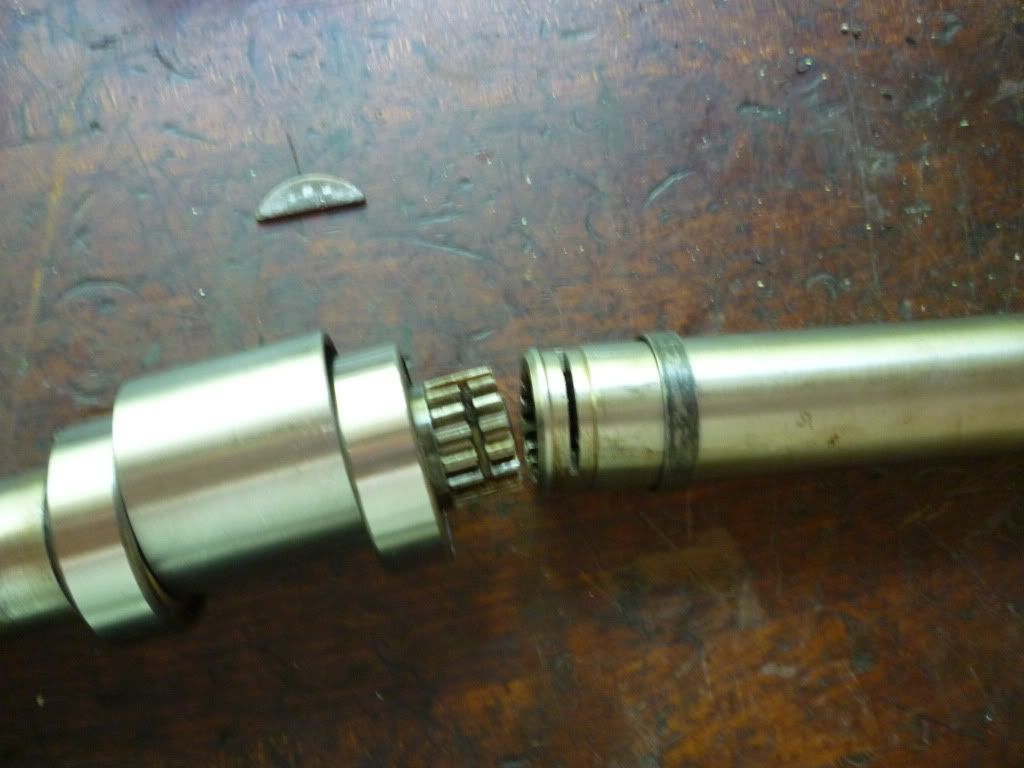
So then I use the pinion with the spider to drive the quill the rest of the way up through the top wheel. very very carefully. before this I drive the pin into the spider while it is setting comfortably inside the head stock.
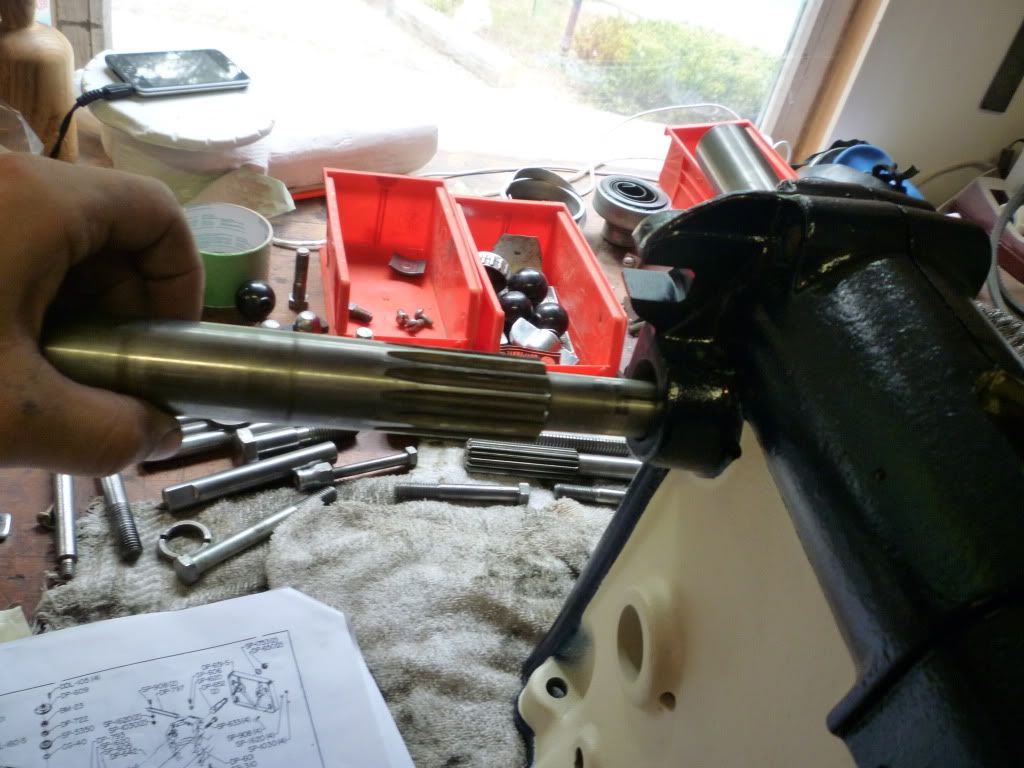
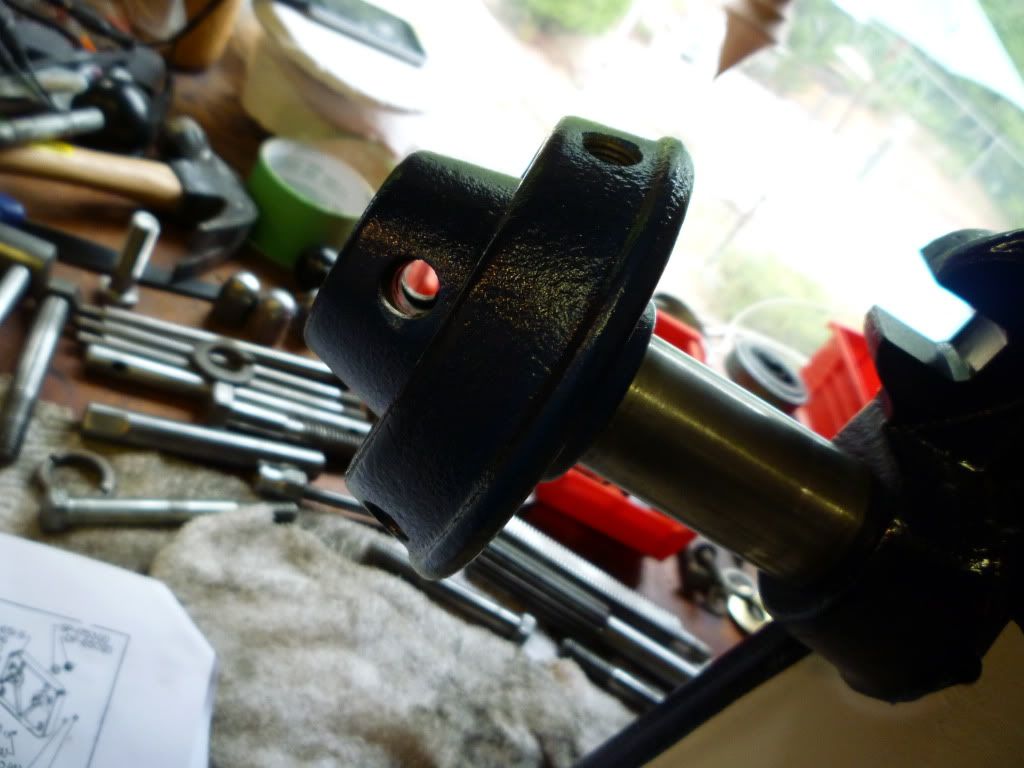
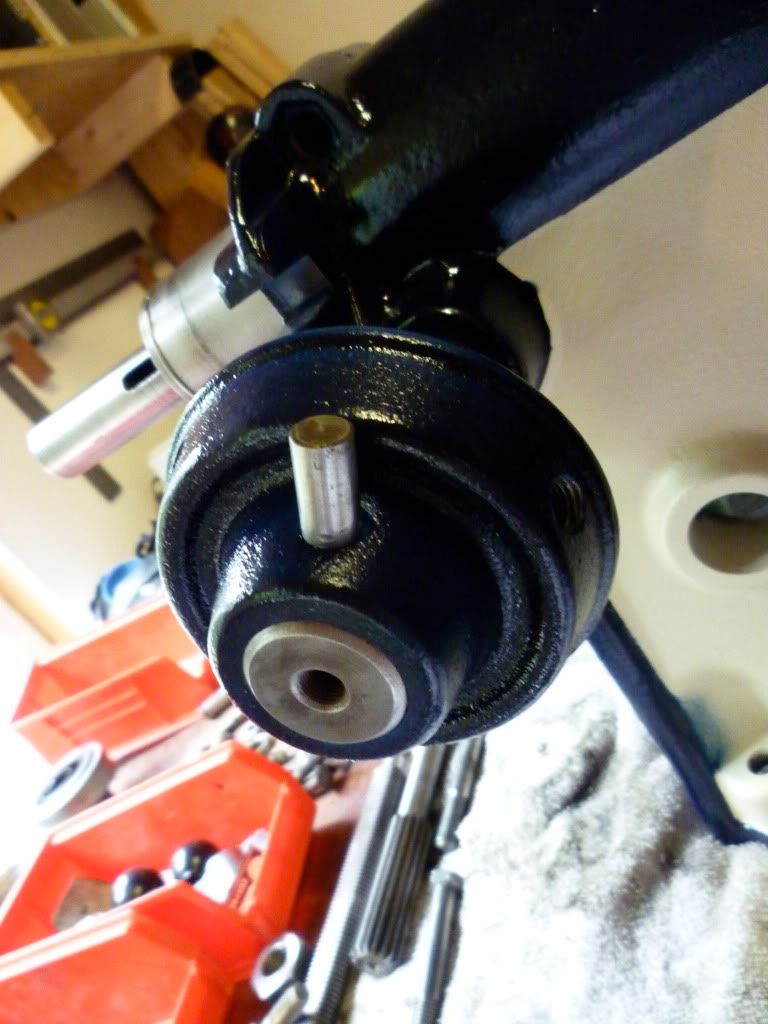
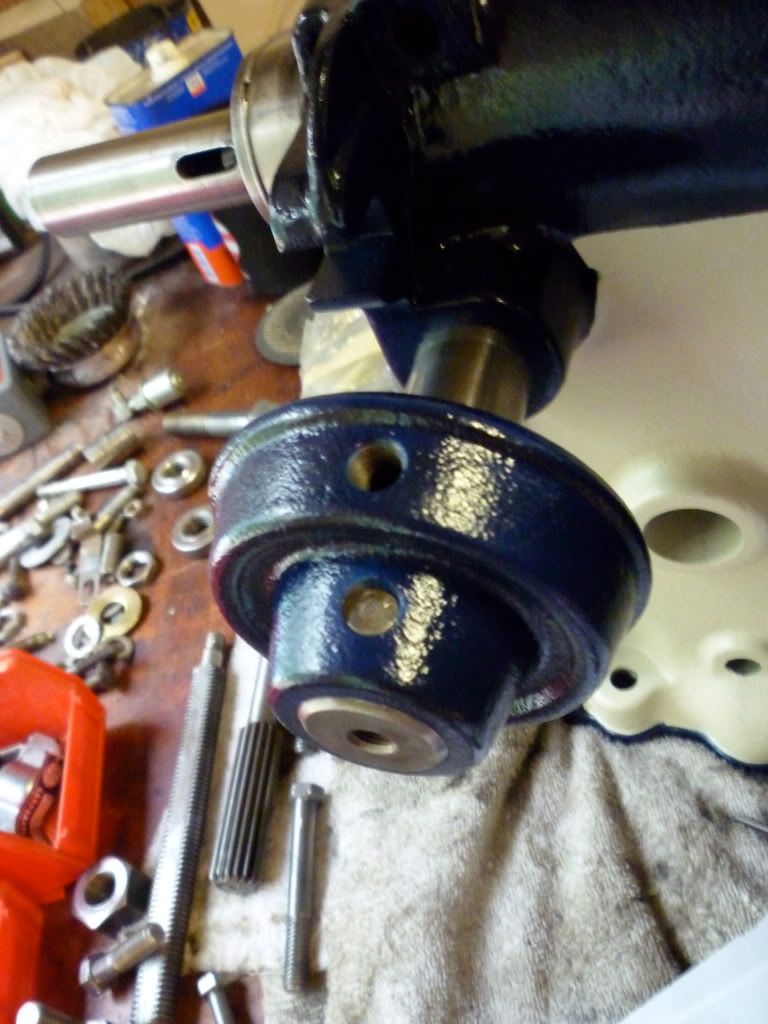
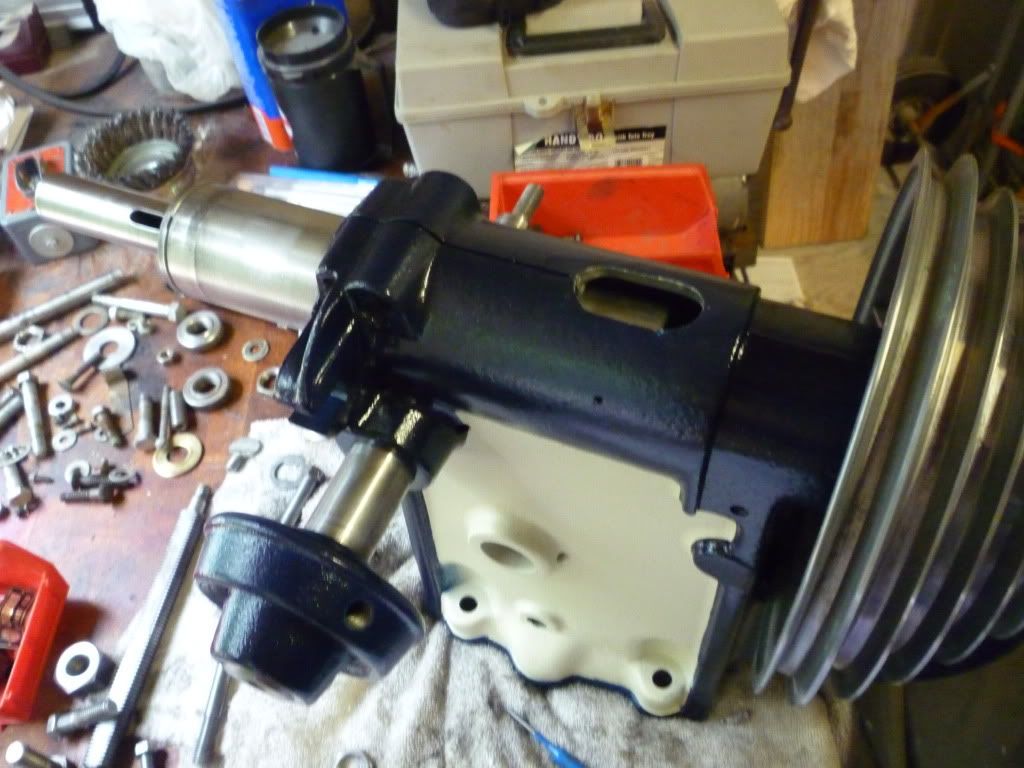
make sure as to remember the assembly for the washer/bearing/cap washer/nut.
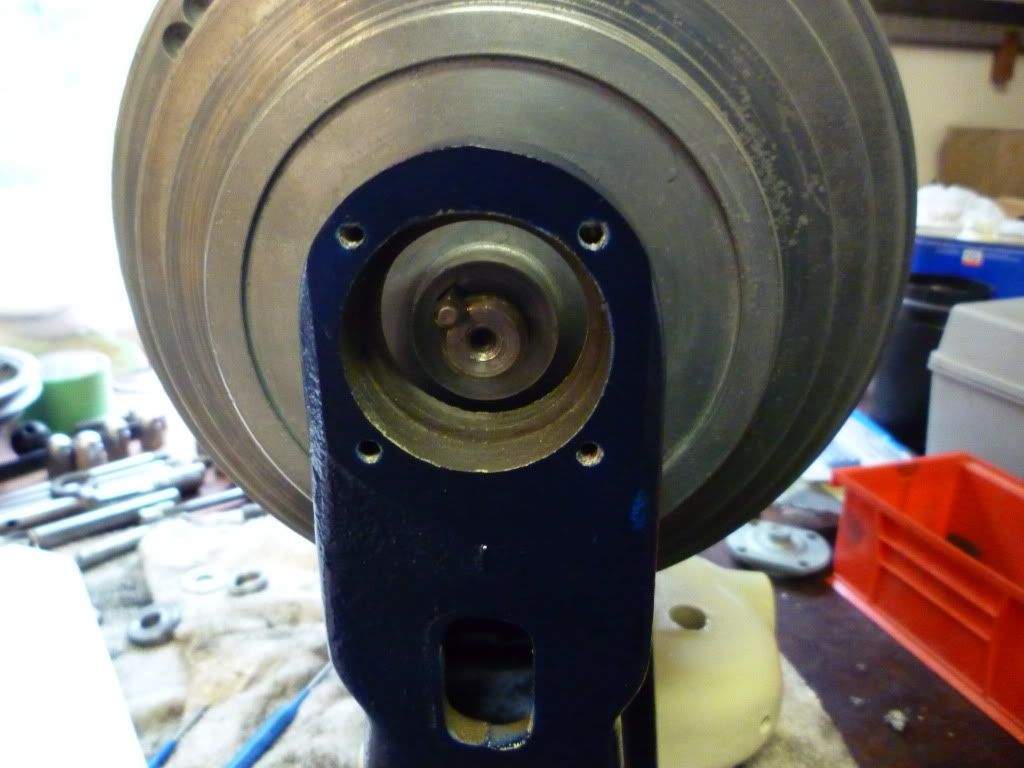
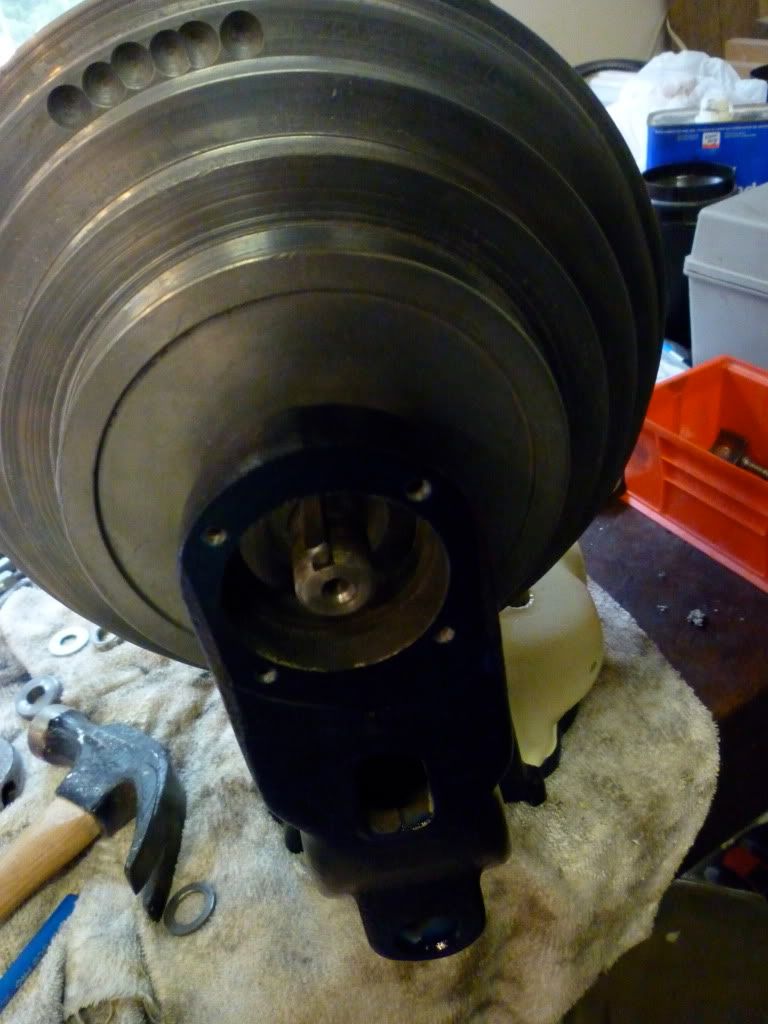
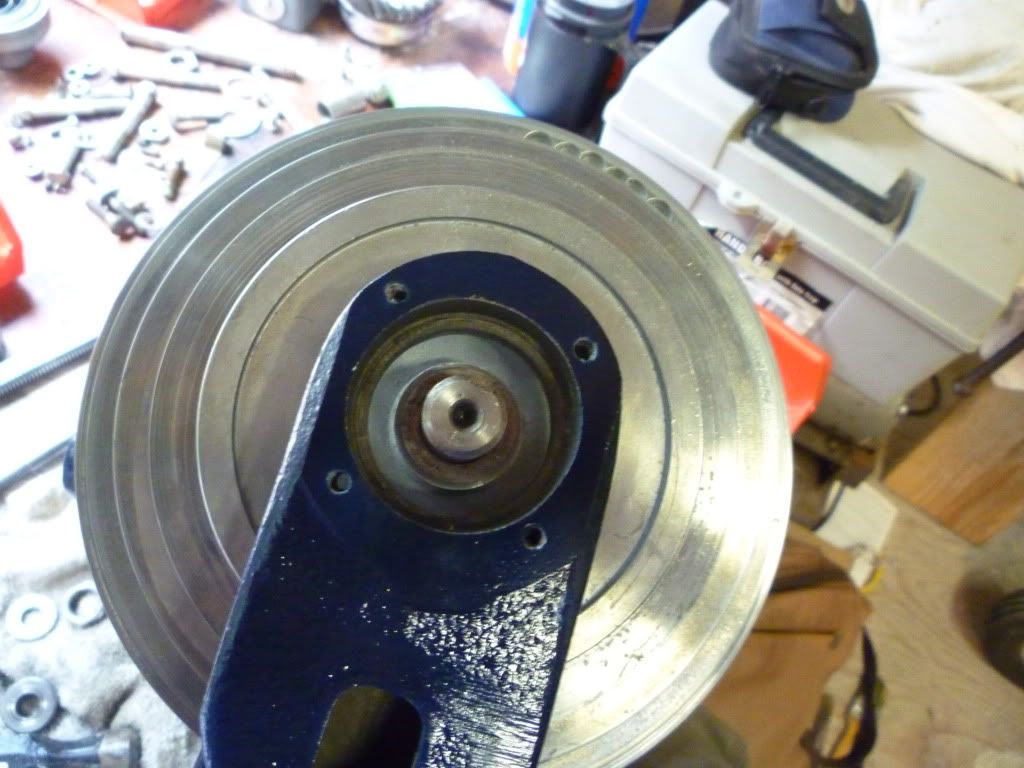
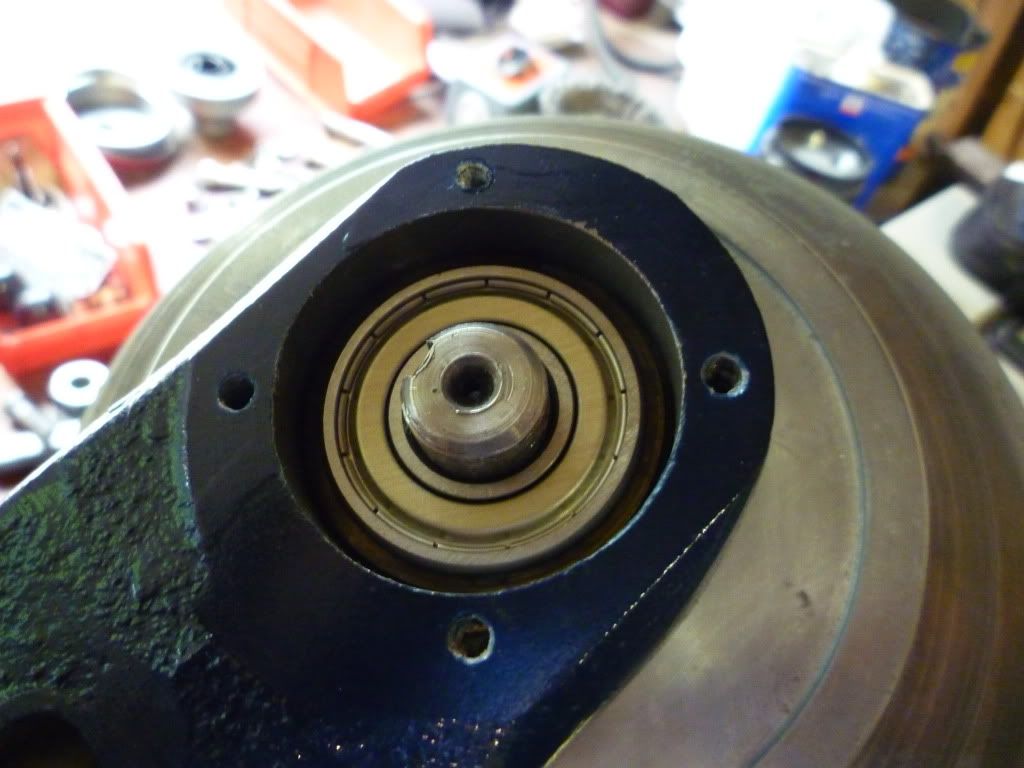
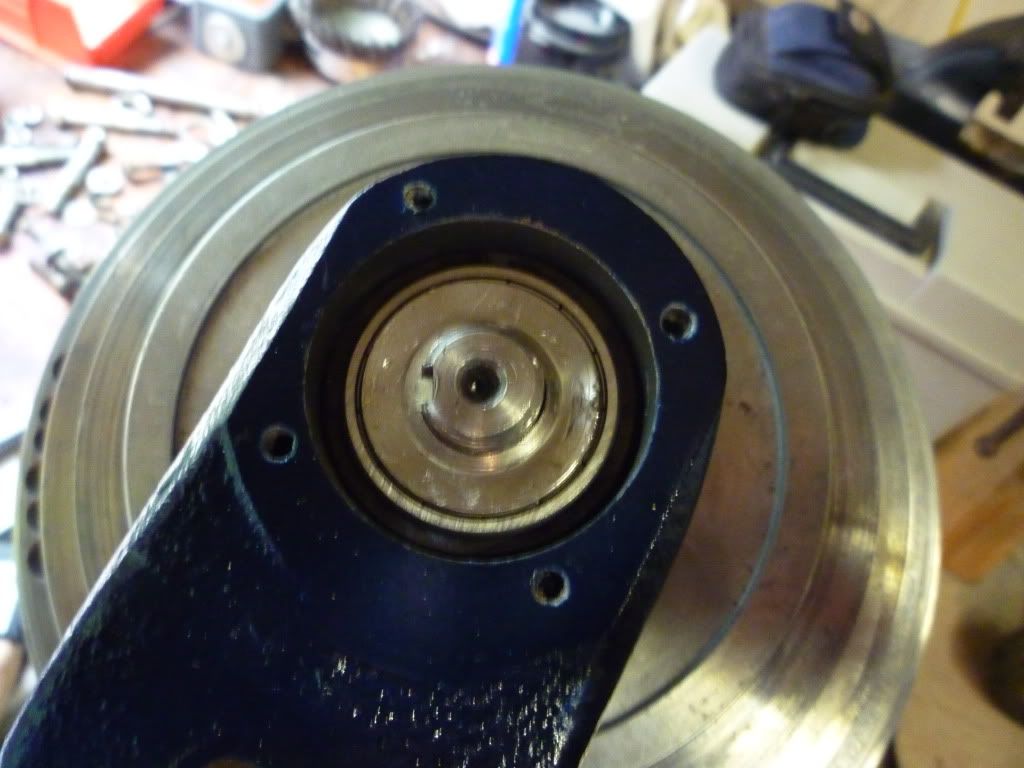
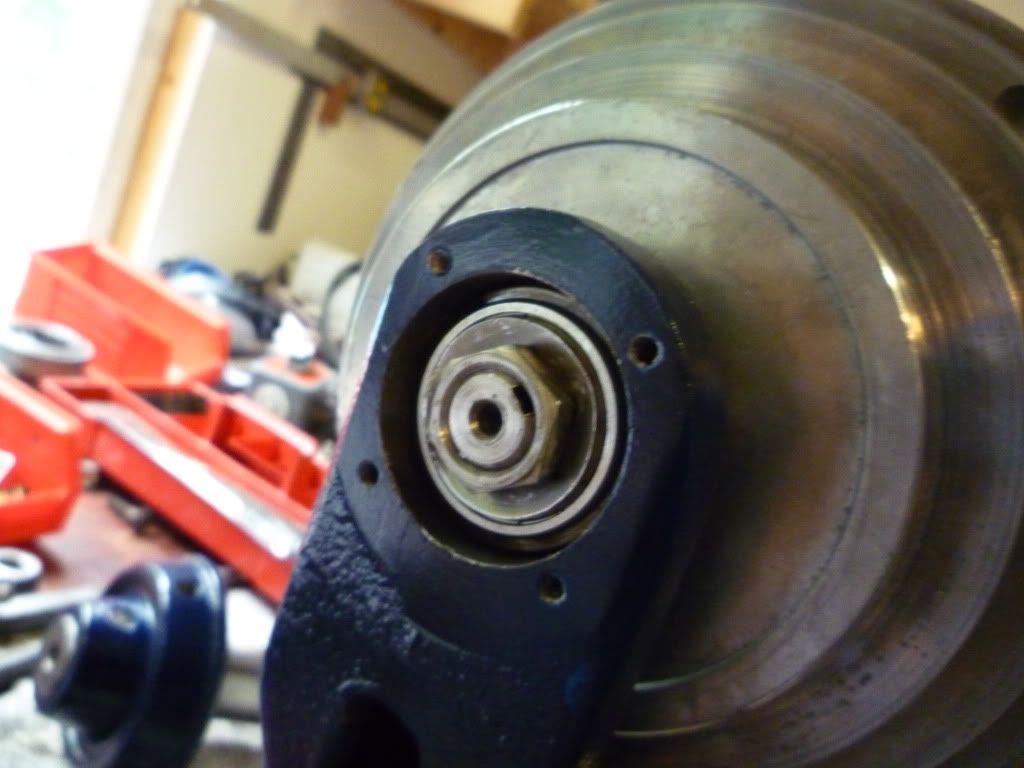
No at this point I started assembling the stand and table so as to do the rest of the head stock assembly in the press itself.
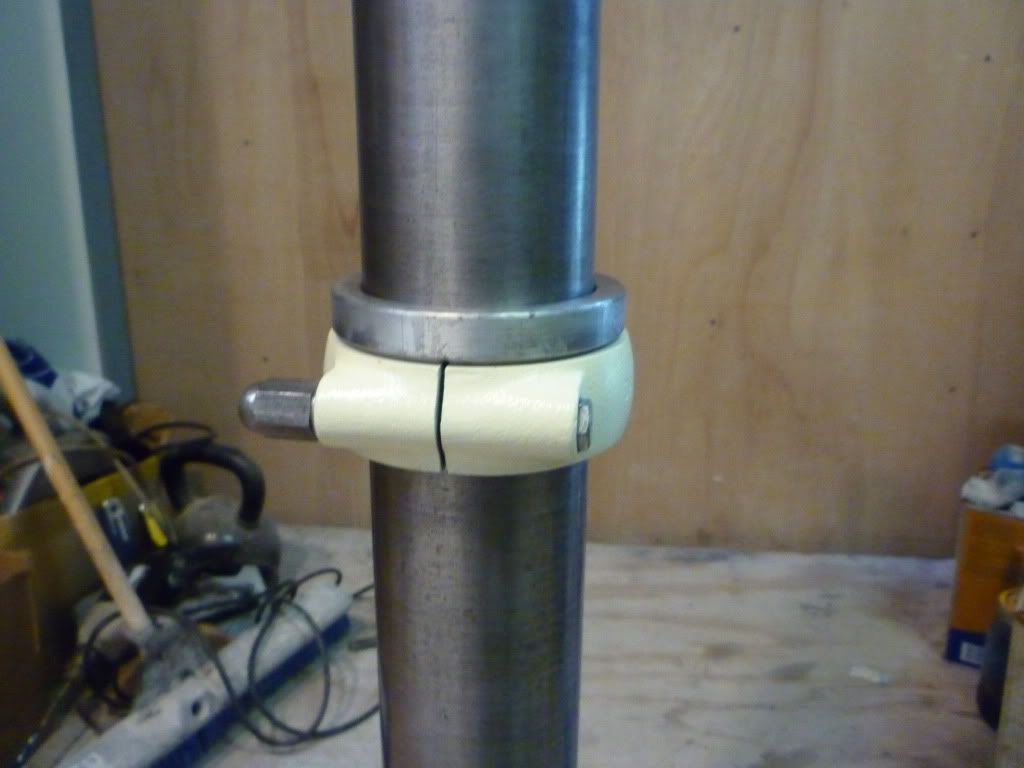
so lock in your collar around the column
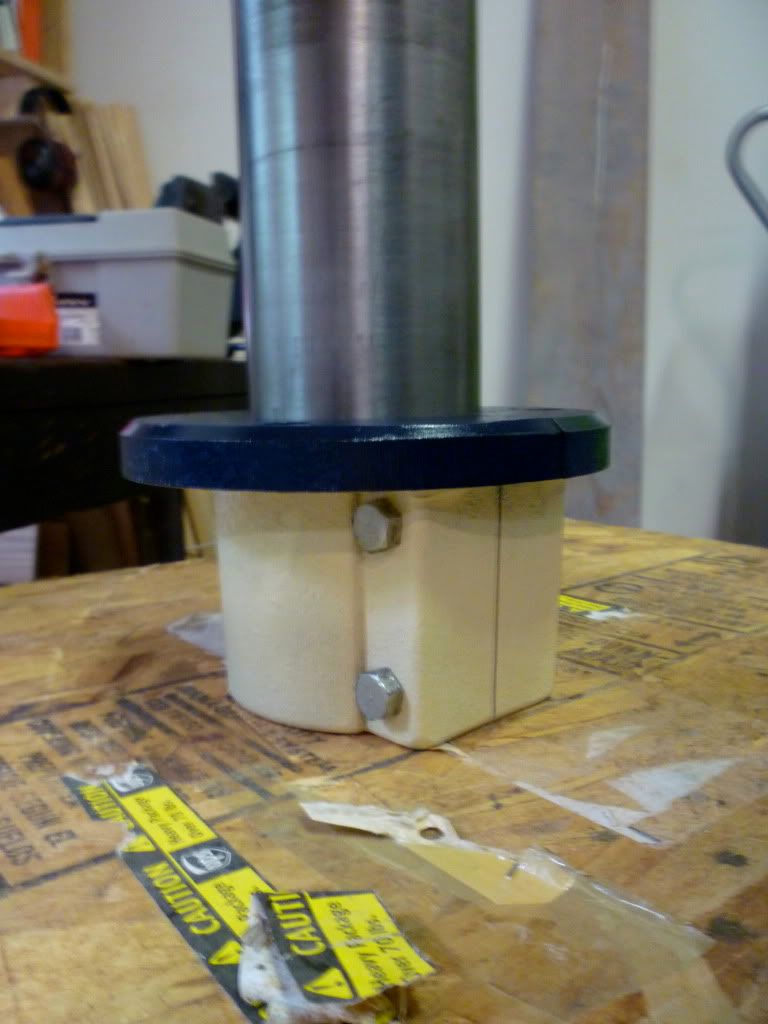
attach to base. with three bolts.
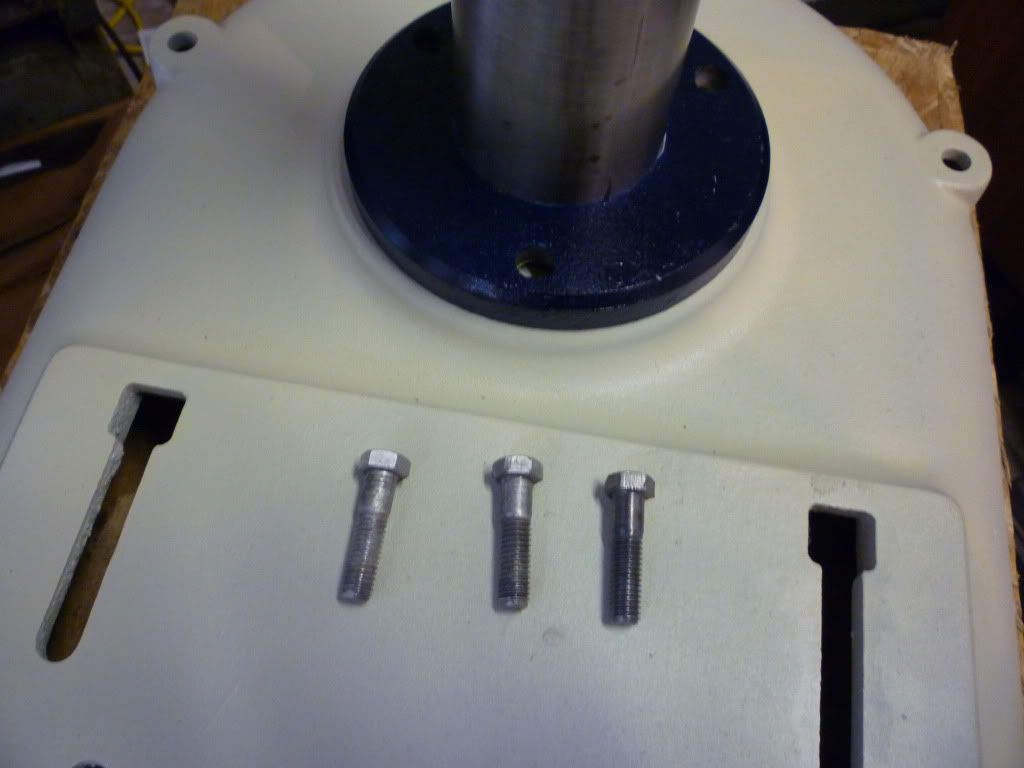
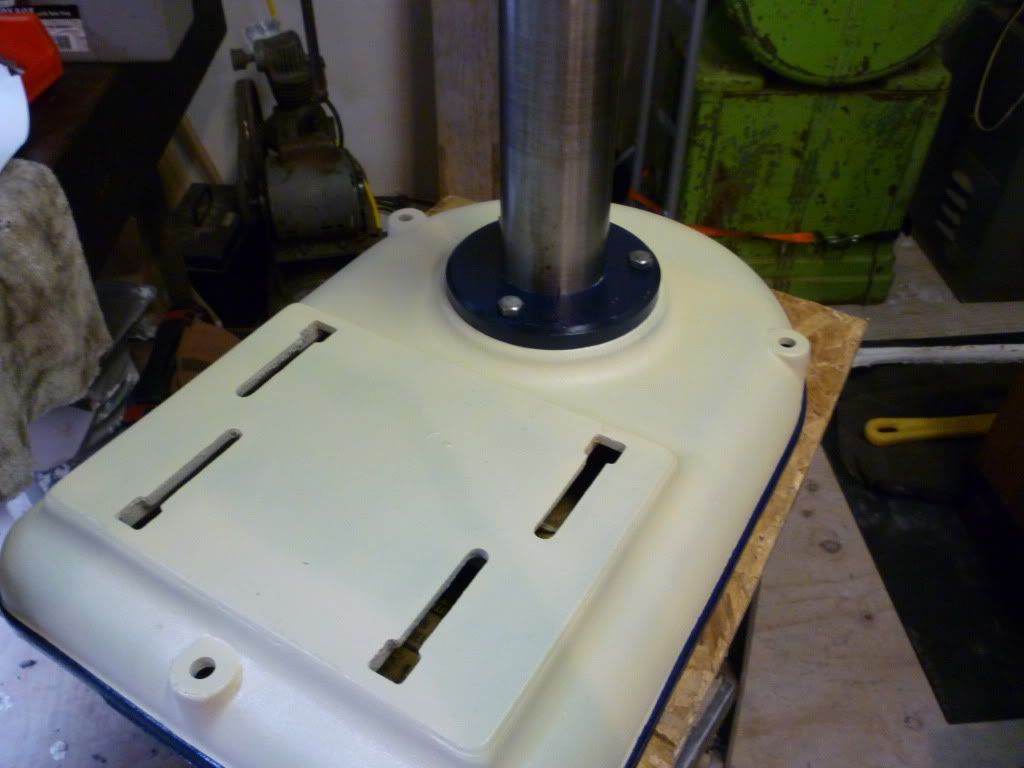
the clamping ring for under the table assembly
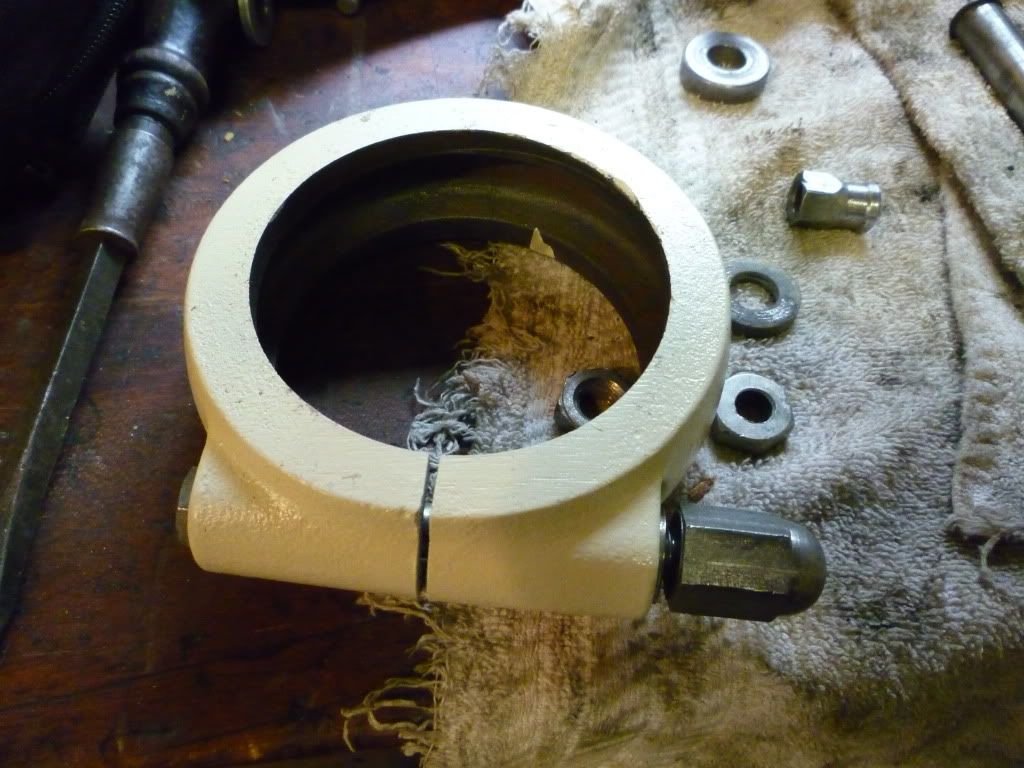
then large bearing placed above it.
Then I got into the table assembly
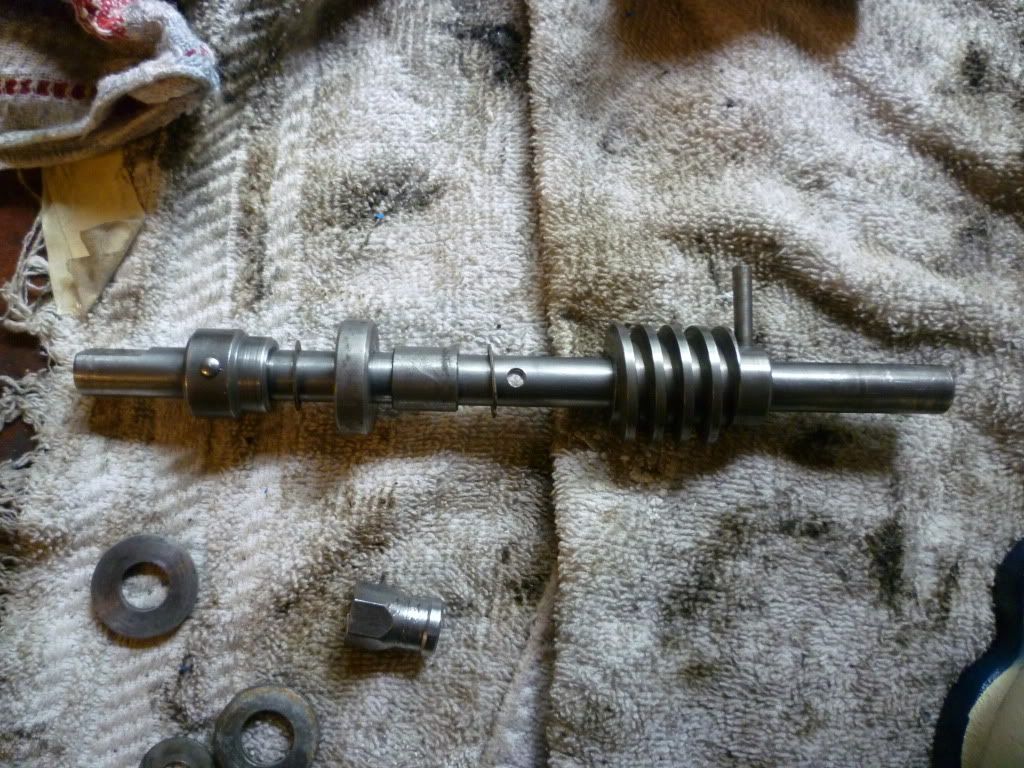
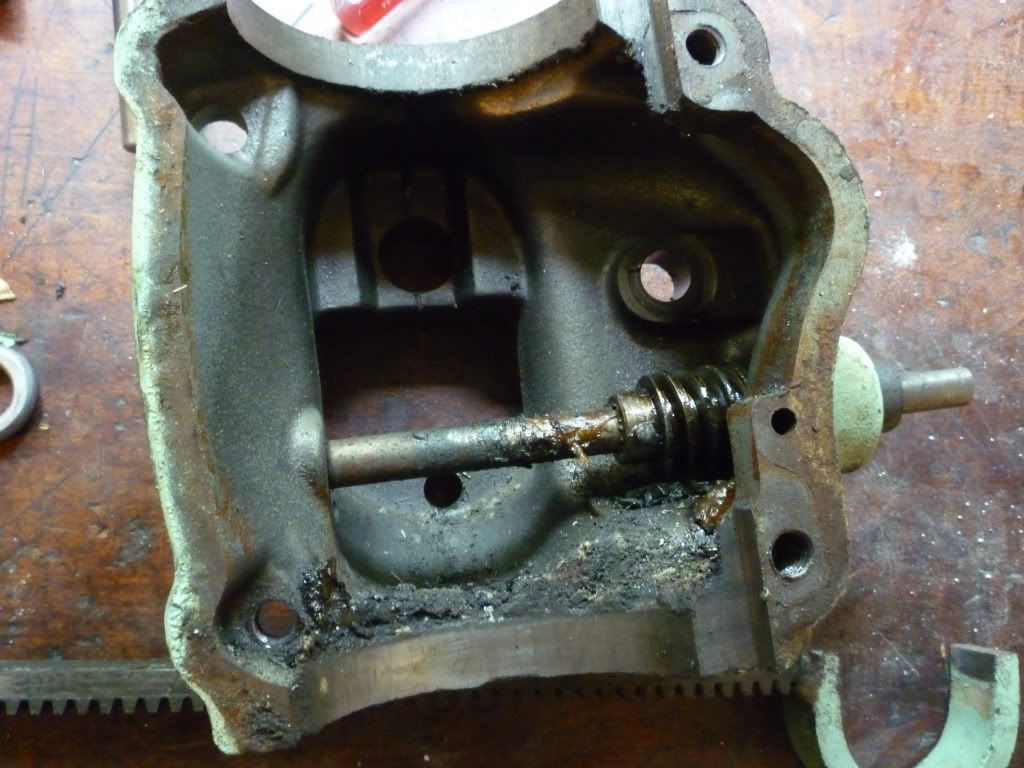
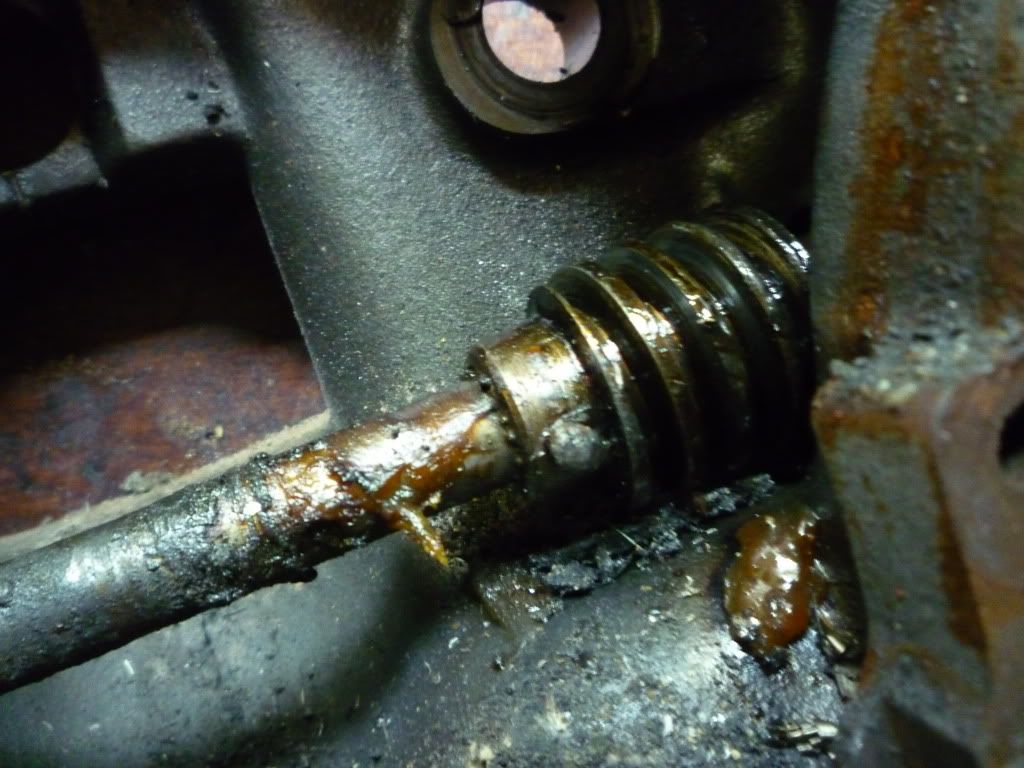
I forgot about 3 times while putting this part together that you need to have this funny set nut thing (dont know the name) in place as you push the worm drive through the casting. So as to lock it all in place.
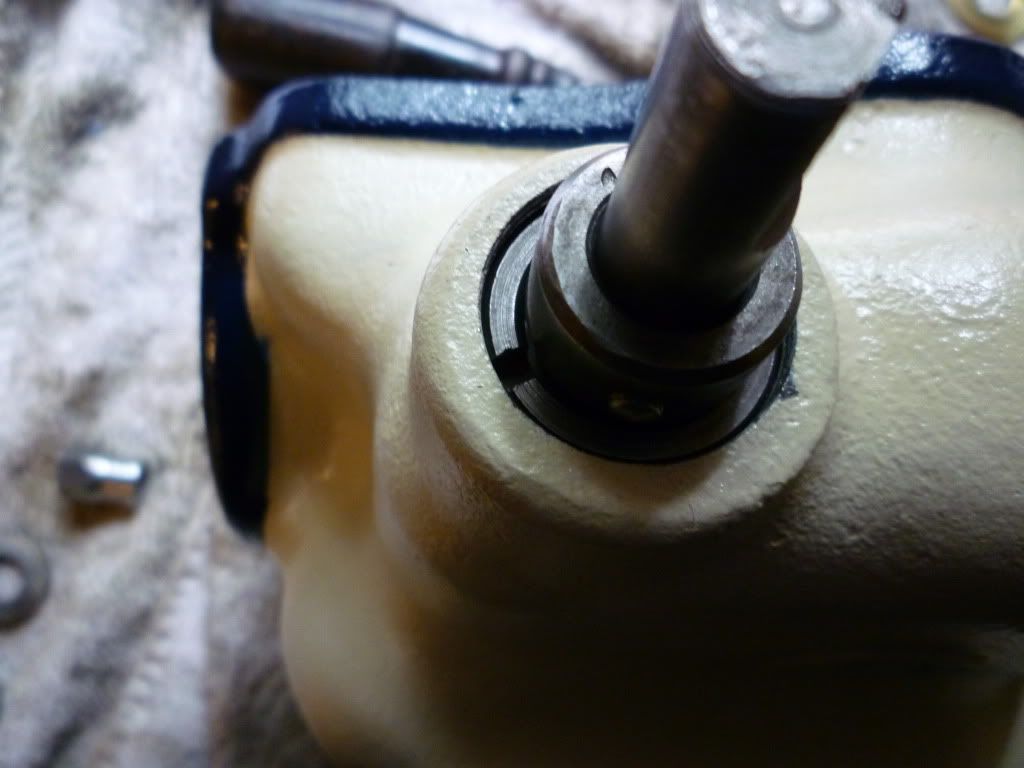
now this the wrong pin but it gives you the idea for the drive gear.
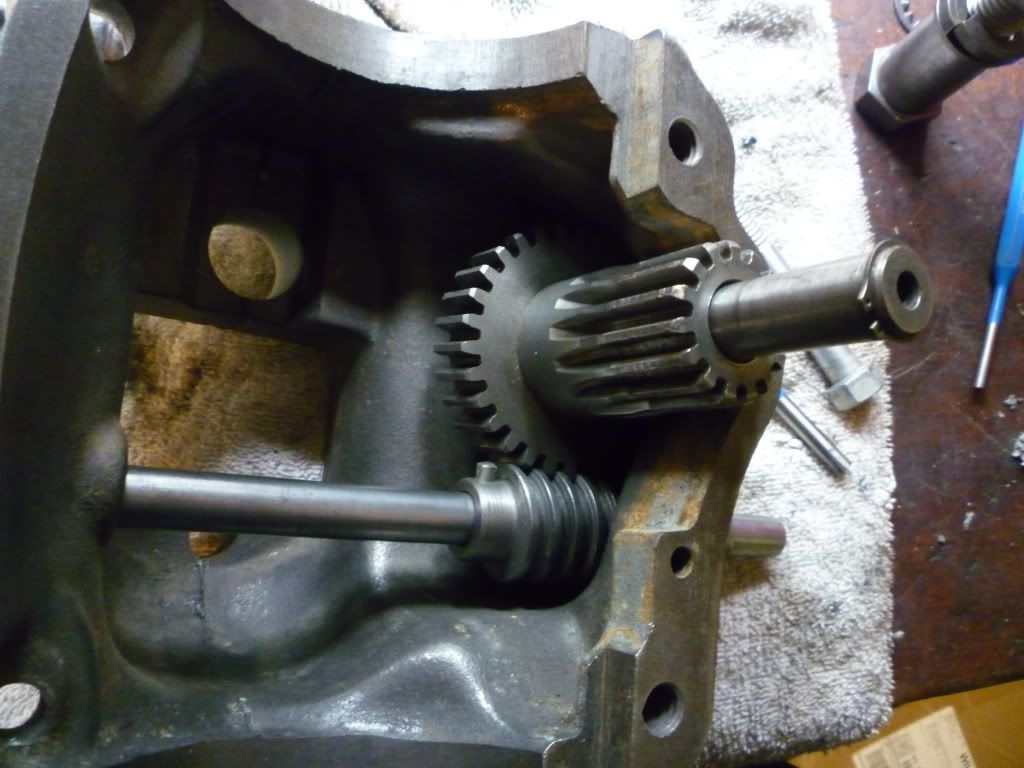
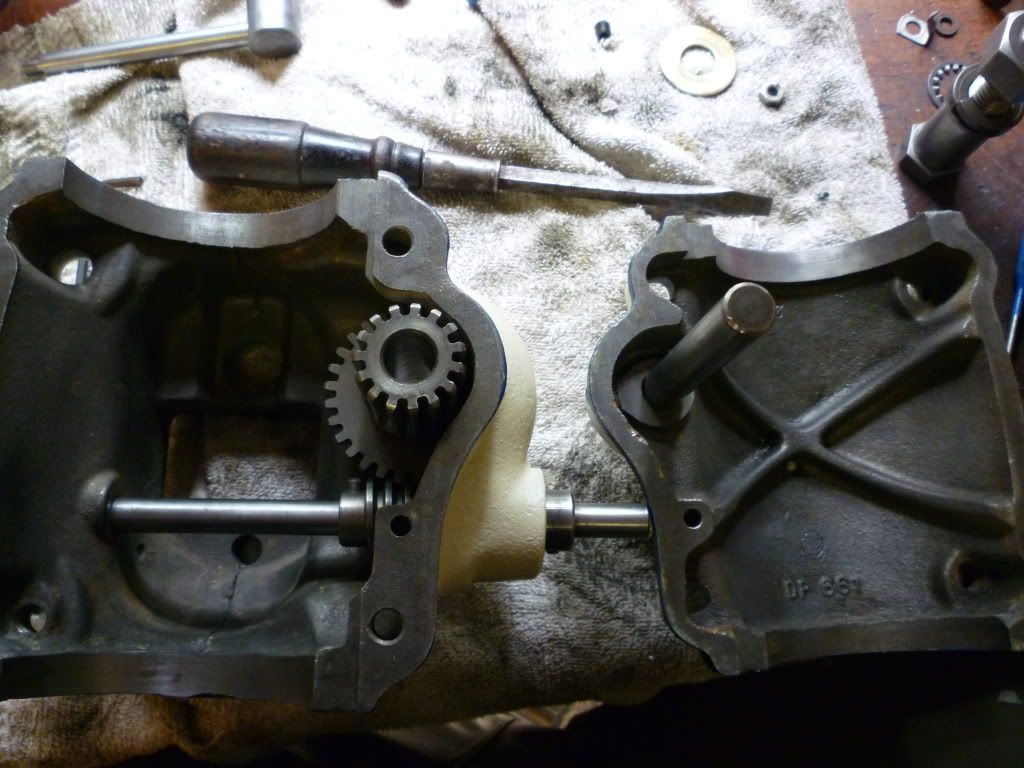
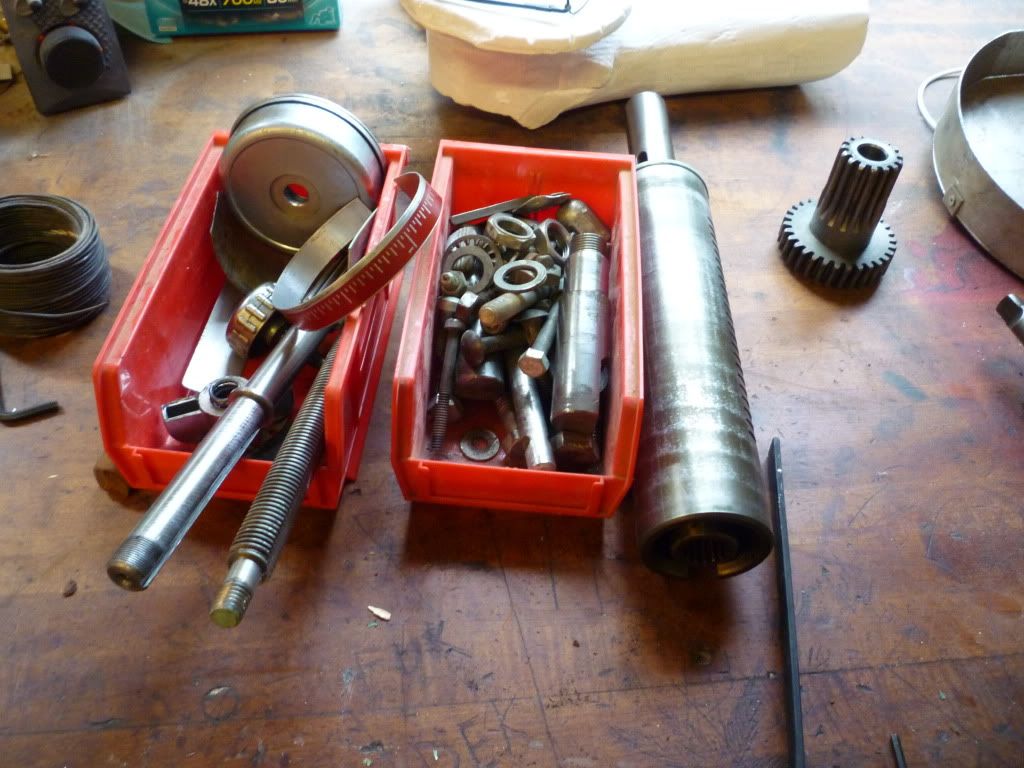
Then I make sure as to have the parts in the right order before putting this part together.
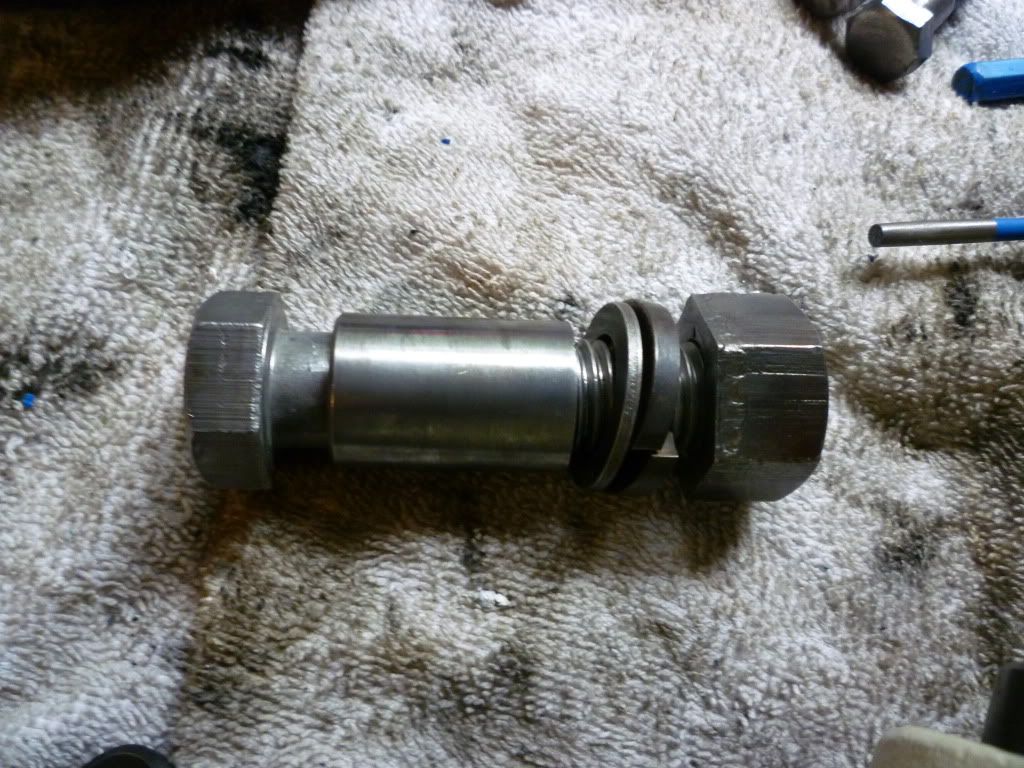
I assemble this collar loosely then put it on the column and tighten it in place.
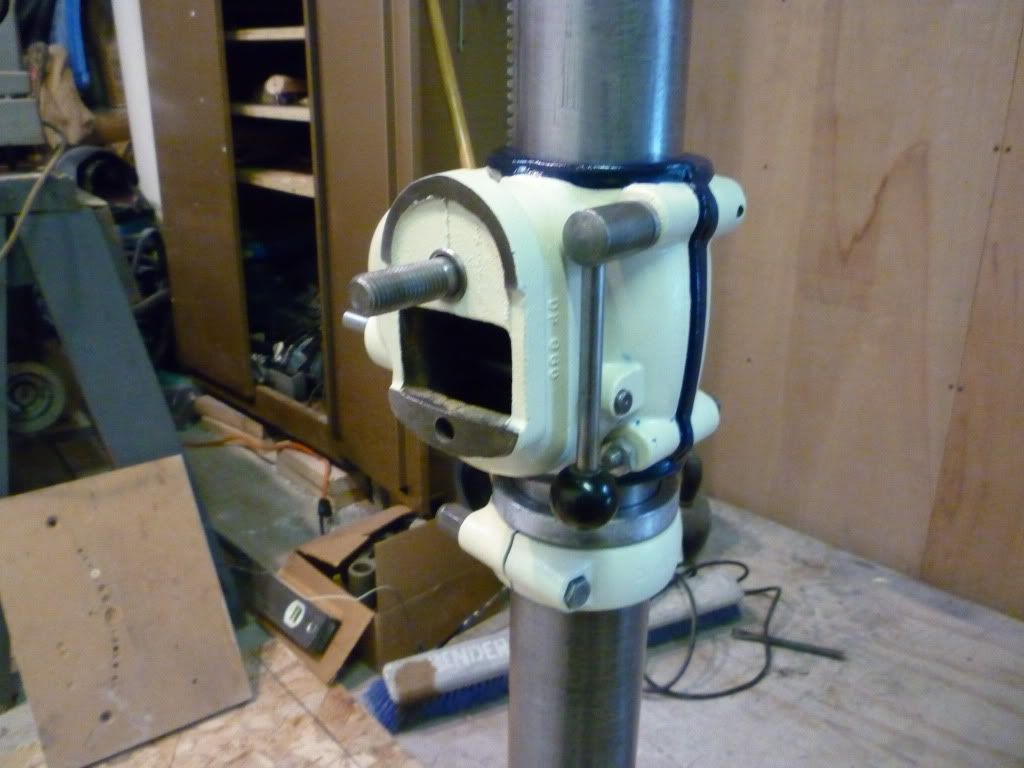
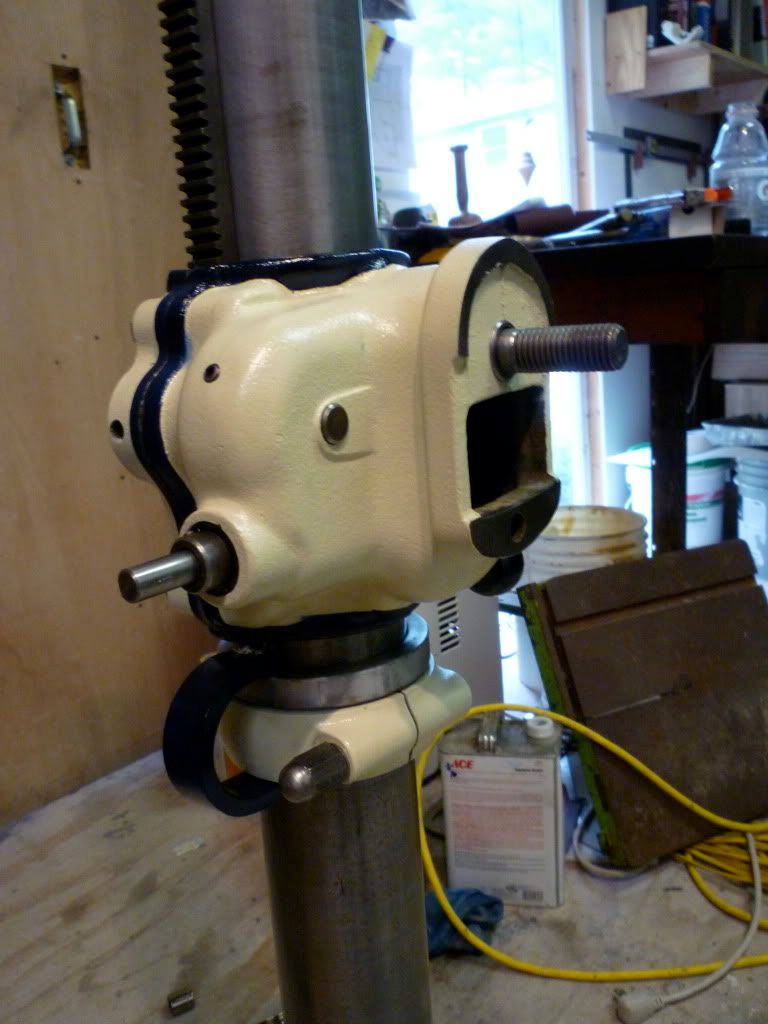
Assembling the table.
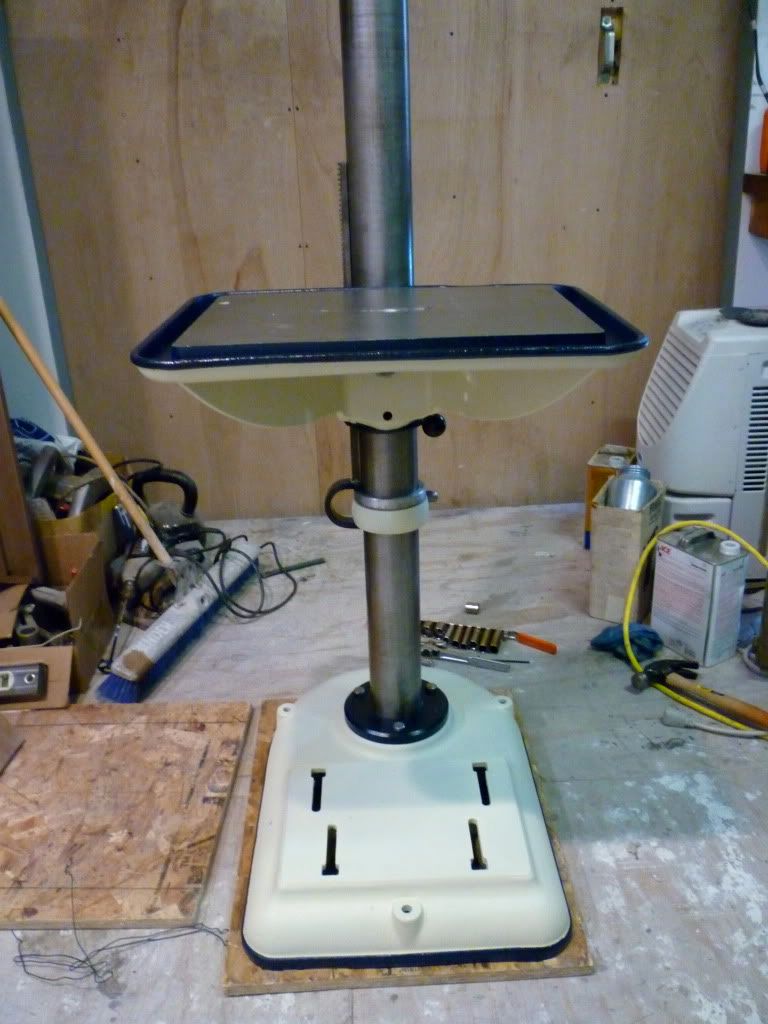
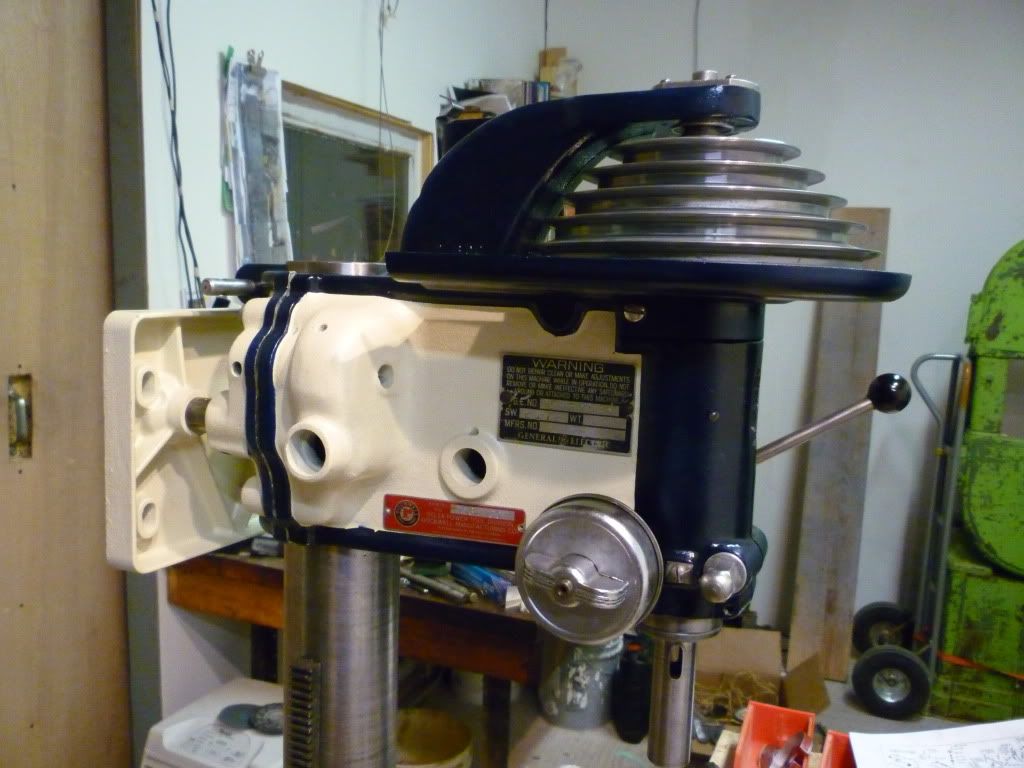
Now back to the head stock.
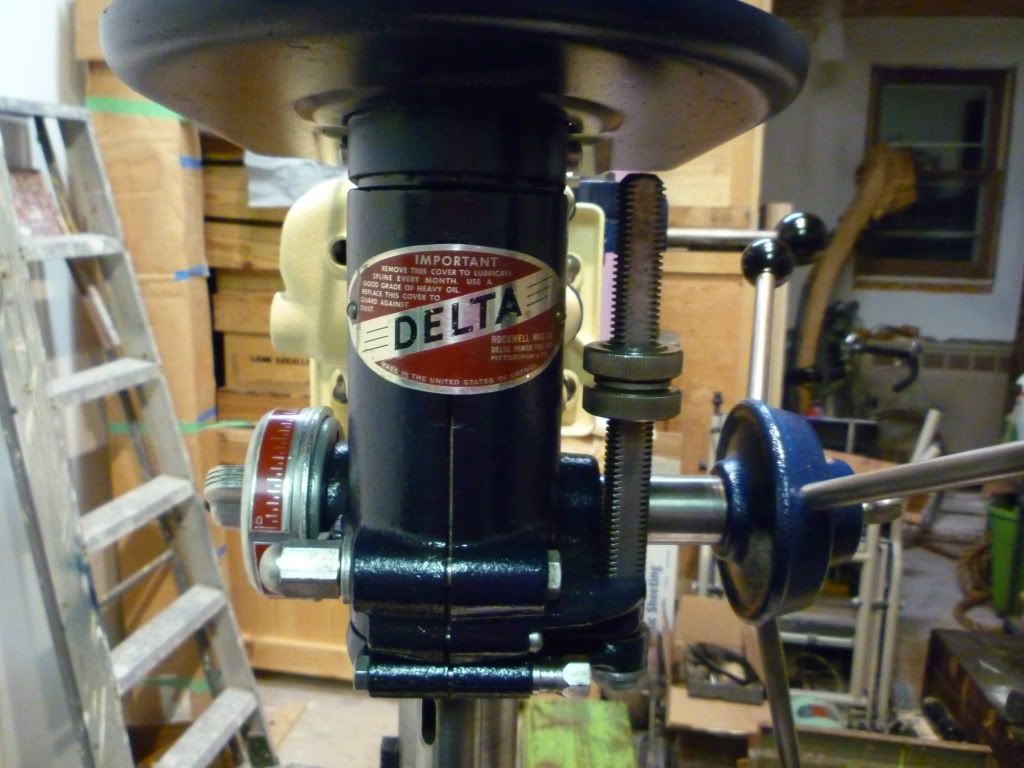
I attach the cap on the quill assembly.
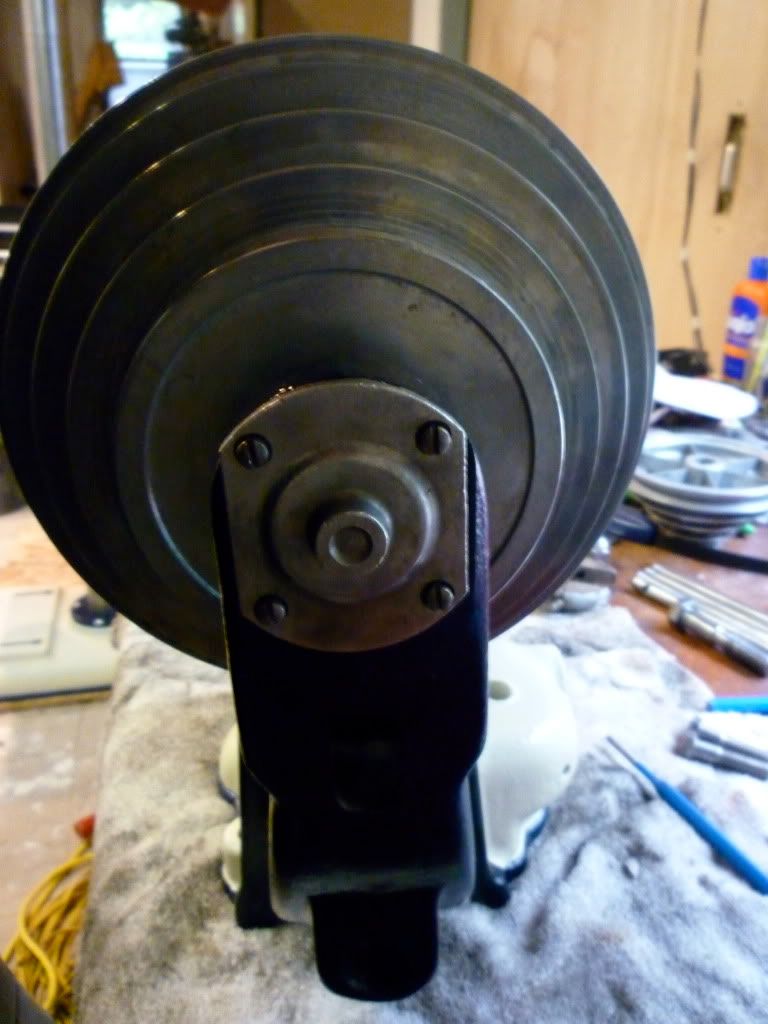
Now some of you may notice what I forgot in this picture. Esp. Crzypete. I'll get to the funny part shortly...
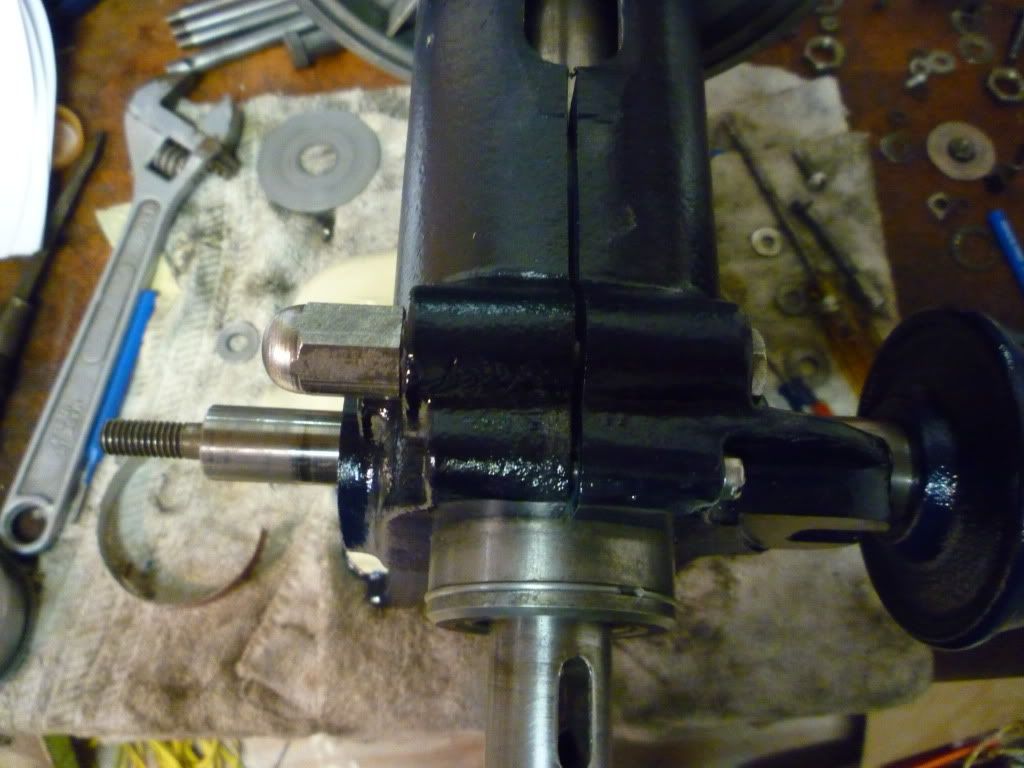
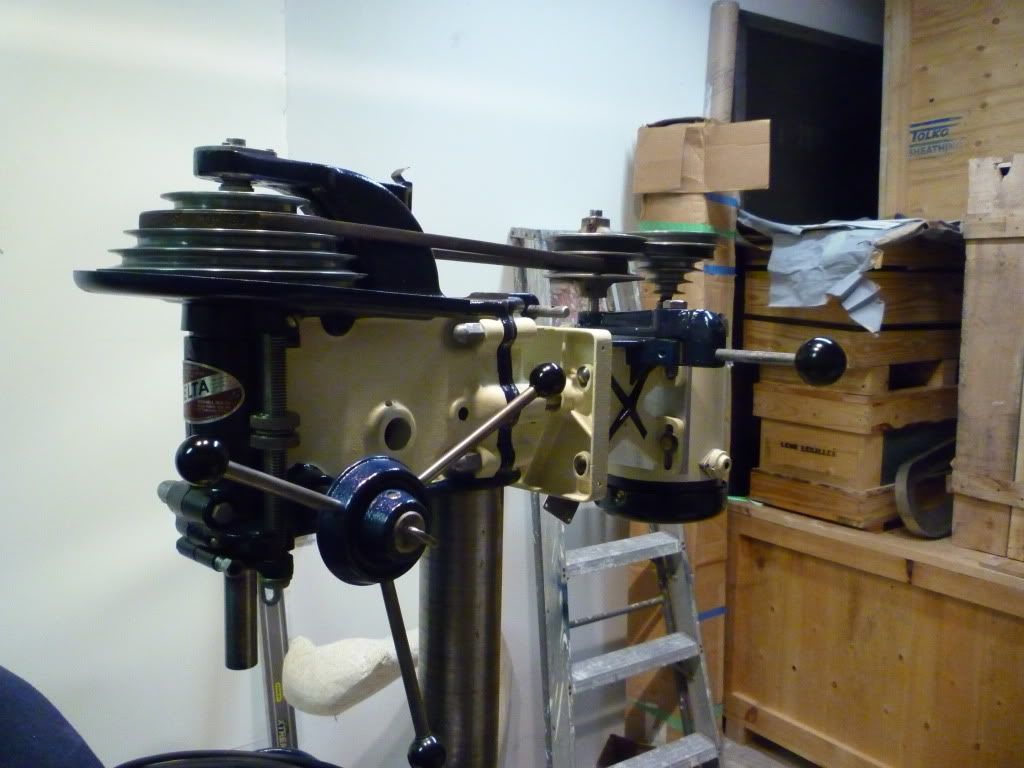
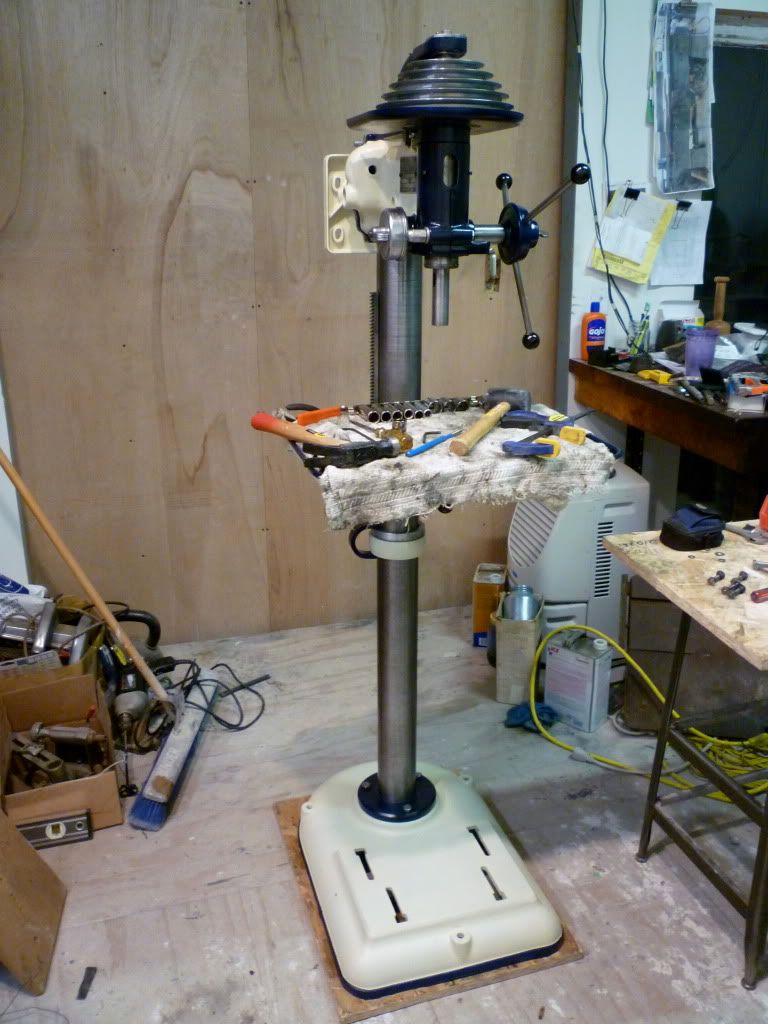
Now I'm a pretty strong guy I think but I don't have enough gusto to palm the head stock and tighten the bolts. So using a bit of that grey matter in my skull. I used the table as a base to rest the head stock on and cranked it up into place so as I could bolt it in place at the height I wanted it at.
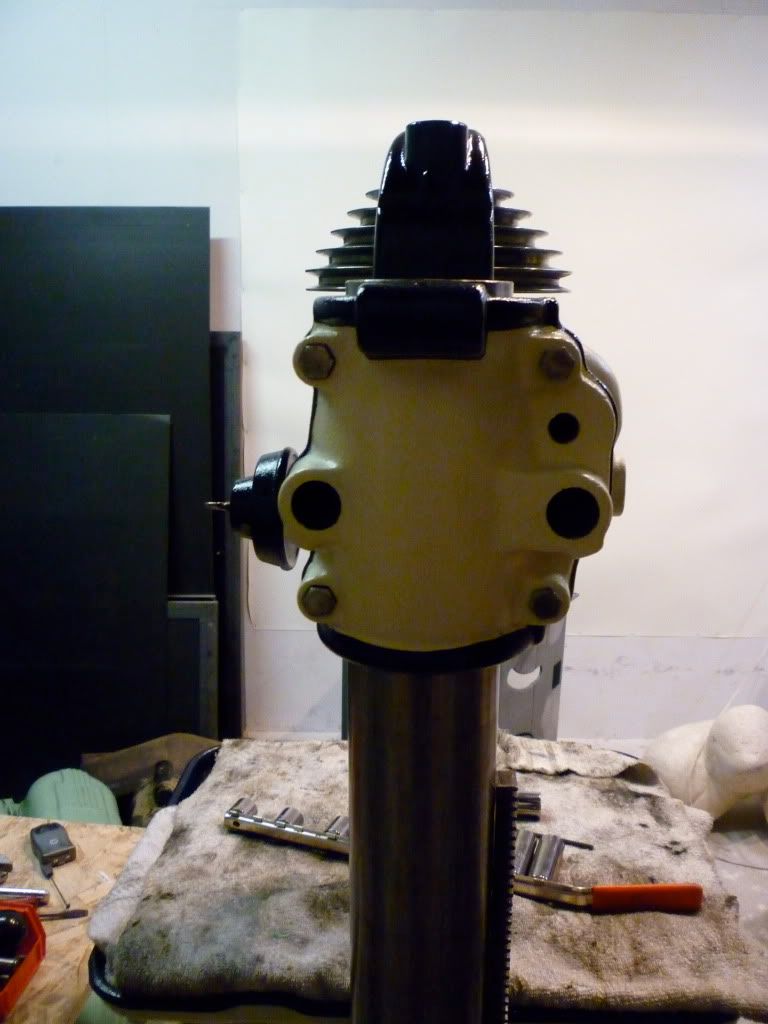
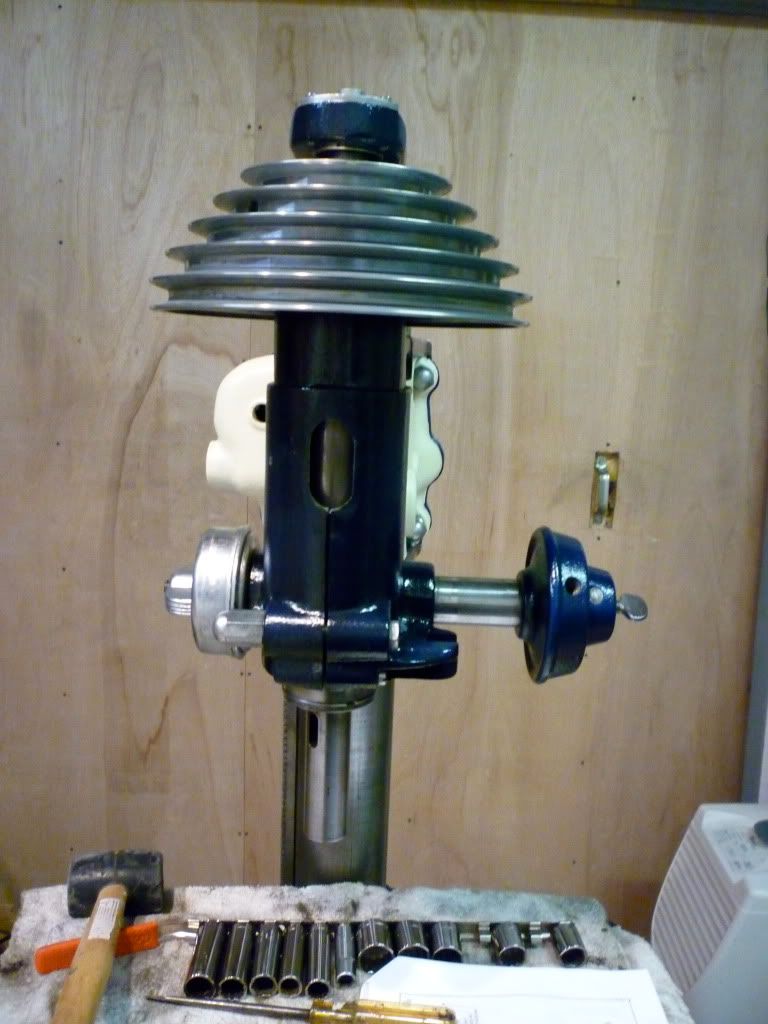
Now as I have learned from the drill press master. hand tightening the spring and then feeding the screw into the assembly behind it makes this process of dialing the quill retriever very easy. Then just lock it in place with a bolt.
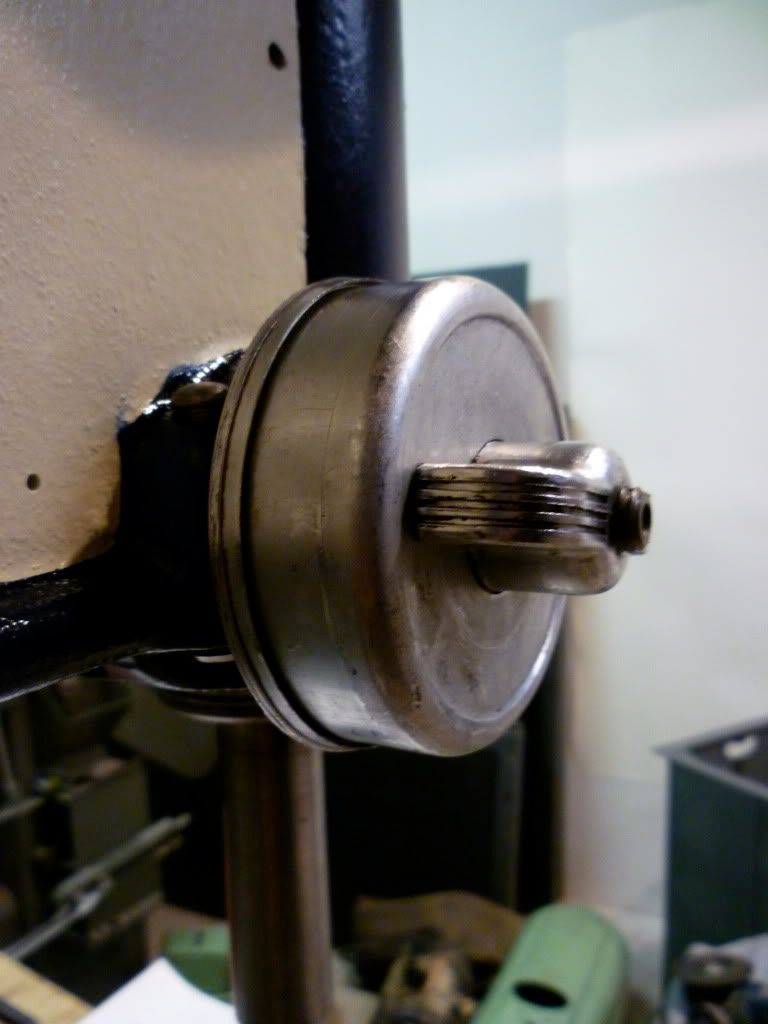
spider... pretty self explanatory I think
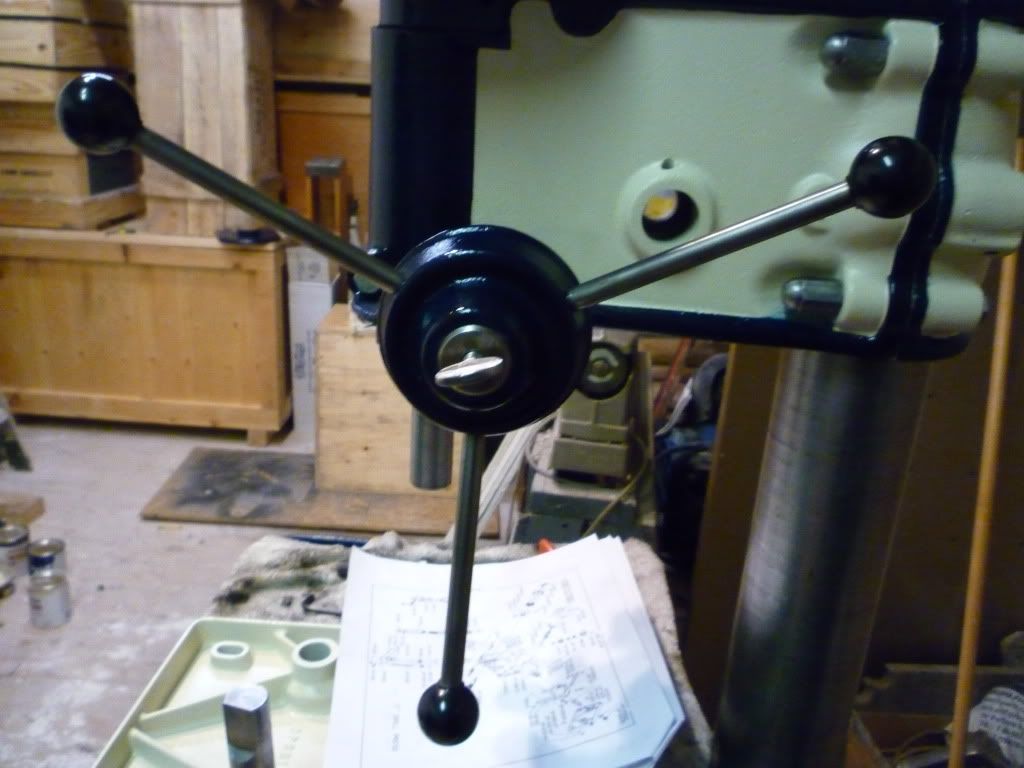
So I'm about half done now.
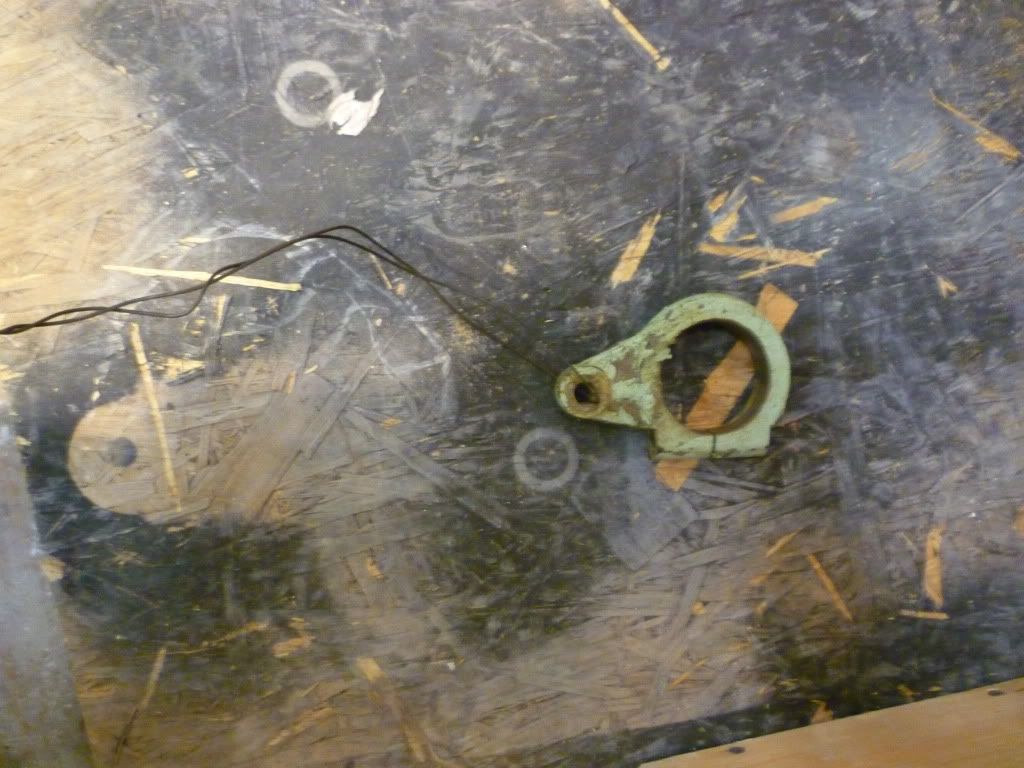
Now I know tags are last but I realized that somewhere along the way I lost the small pin for the bottom plate. In my studio finding it is like trying to find the sun while standing in your closet with the door closed and you being blindfolded.
So in the case of self preservation.. some tags...
So back to the missing part.... I searched high and low. Near and Far. Finally after referencing my original photos I knew that I lost it and that it didn't come without out it.
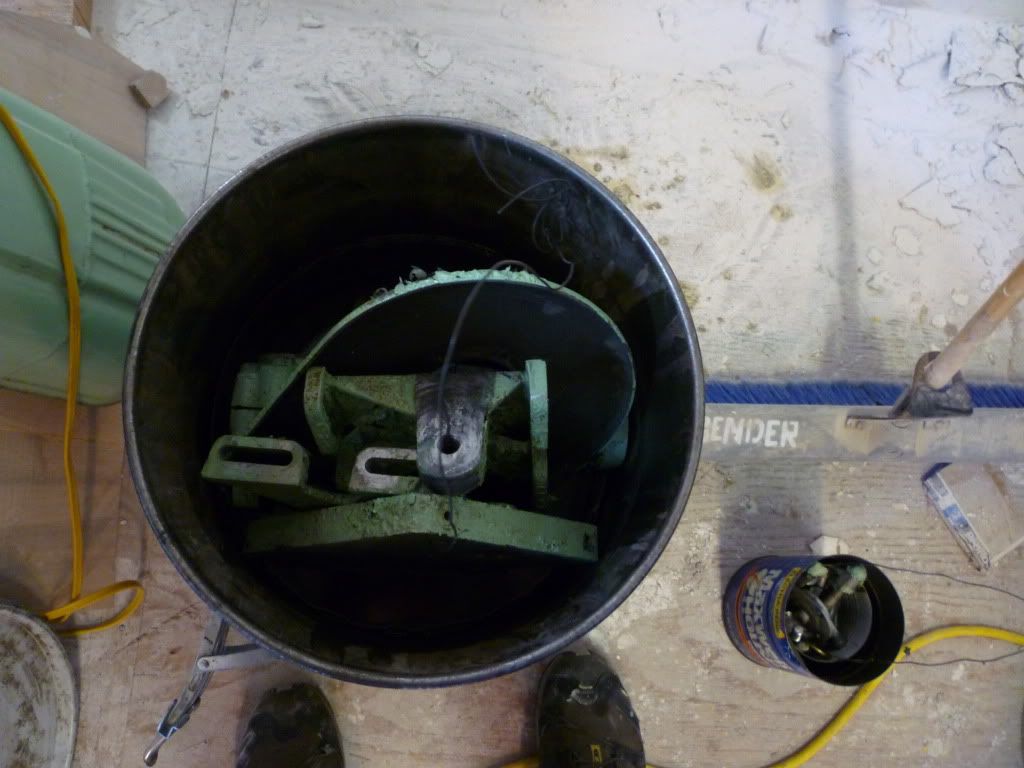
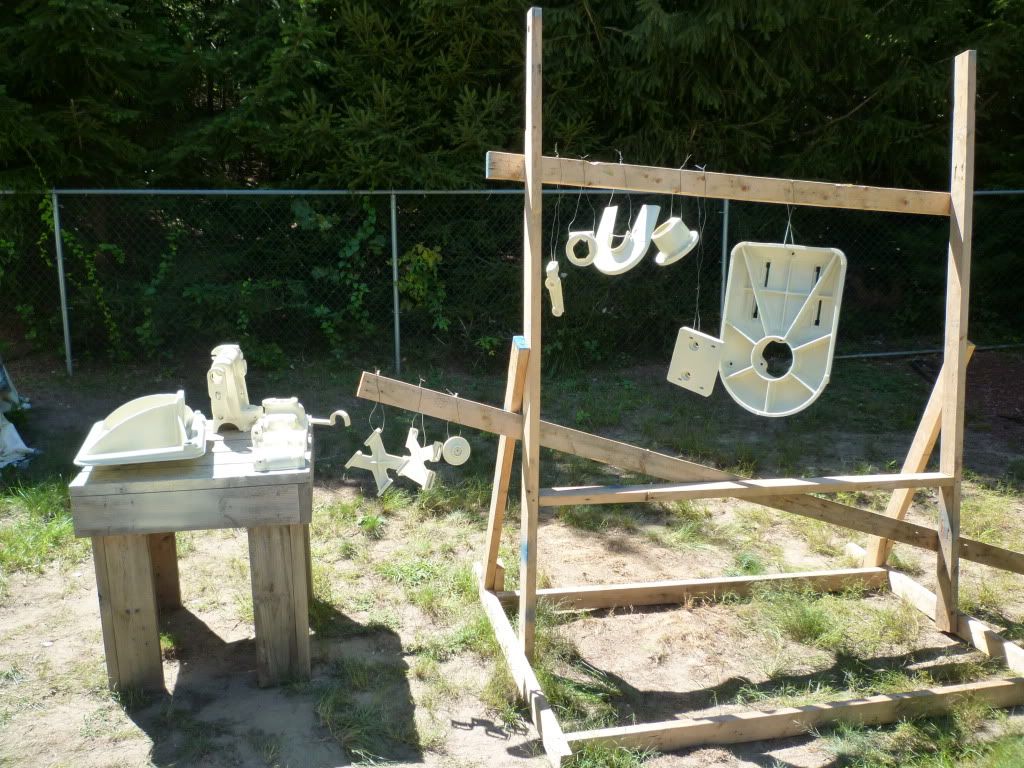
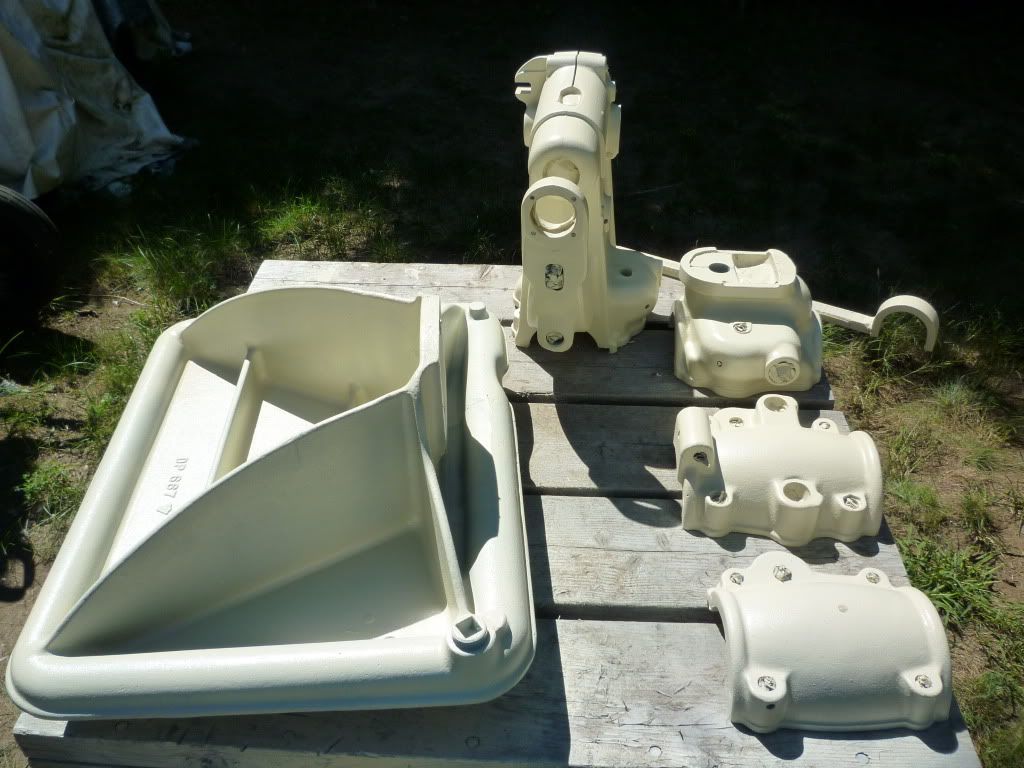
So with some despair I moved forward with the assembly. I sat down to think about the next step. When I realized I was sitting on the lacquer bath tank. It dawned on me that it might be still in the "soup". I opened it up and fished around with a stick. what did I pull up. yep you guessed it. the missing collar. After getting super excited I then realized that I needed to strip the paint, repaint and...then remove the quill again and put it back on....more to post shortly...


