Oakley H-648 Edge sander

techniques and projects: share and learn

Moderator: nektai

Post Reply
crzypete
Posts: 1691
Joined: Thu Dec 16, 2004 10:45 am
Location: New York State
Contact:

Oakley H-648 Edge sander

Post by crzypete »

Hello fellow junkies. I recently came across a nice looking Oakley H-648 edge sander on Craigslist and made a deal to buy it. Today was pick-up day and I had help from two fellow junkies- Mr douglas and Diamond saw Dave.

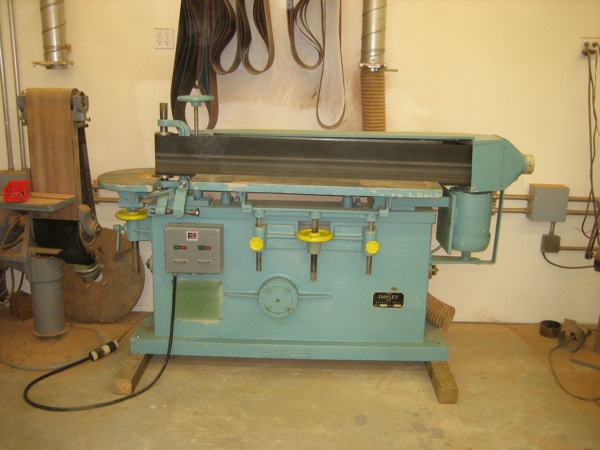
The sander was even better in person than on craigslist- a pleasant surprise that doesn't seem to happen too frequently. I payed the owner and then we proceeded to rig it. It was on the fourth floor of 1 cottage Street- a massive old building in Easthampton mass that houses numerous artist studios and other small businesses. There is a freight elevator, and a dock height loading dock, so we had some assets, here are the pics and story.

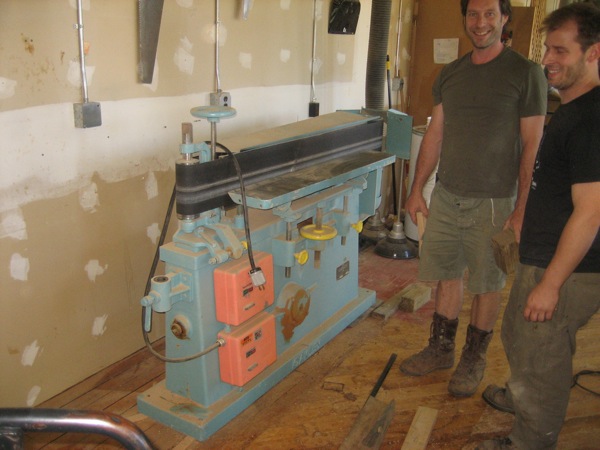
Mr D and DSD get ready to block it up
Image

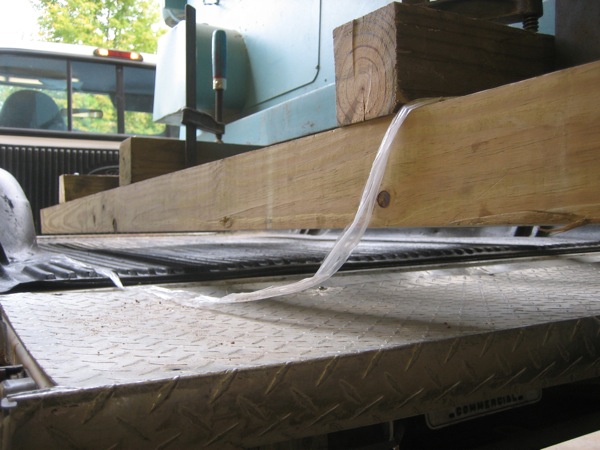
Mr D has done some fancy bridging to get my truck up to dock height and accessible to the dock. Loading dock height is actually kinda way high! His dock plate will be key to our load.
Image

So we were working pretty quickly and I never got any pics of the skidding. We skidded it so that it was pallet jackable from the ends and quickly wheeled it down the dockplate and into my truck.
Image

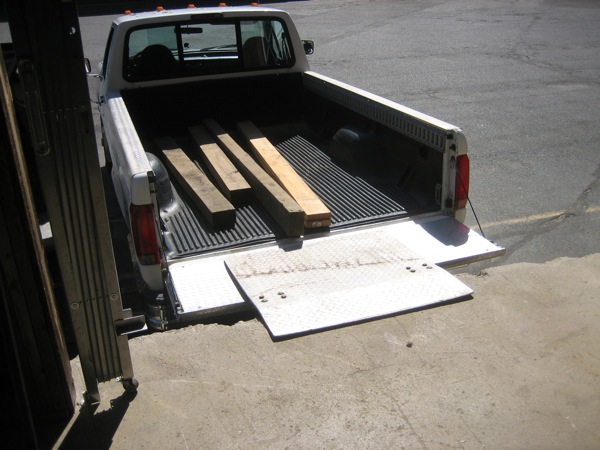
fully loaded- you can see the makeshift dock leveling ramps!
Image

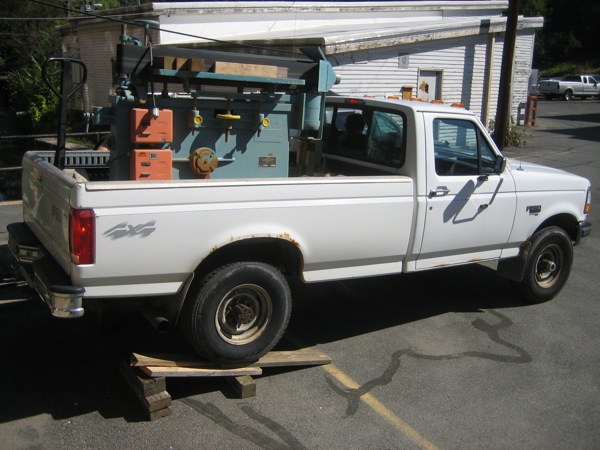
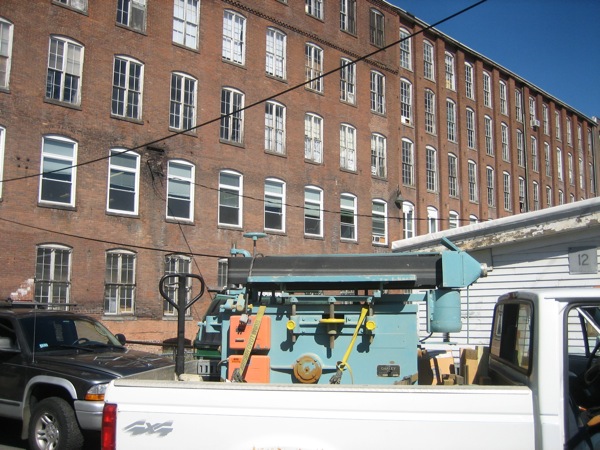
a glory shot in front of the old mill. The load was textbook perfect, we were loaded within 45 minutes and felt safe the whole time.
Image

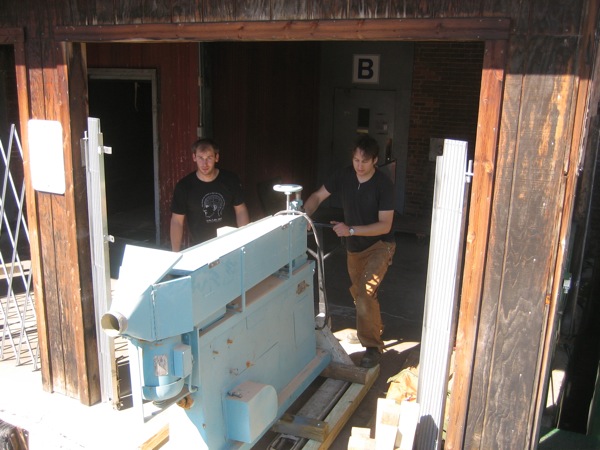
This photo should win me a beer from Mr D, my crown forklift was able to lift the sander from the end...just barely. I mean it was kinda sketchy and we had to add some extra counterbalance, but it went up!
Image

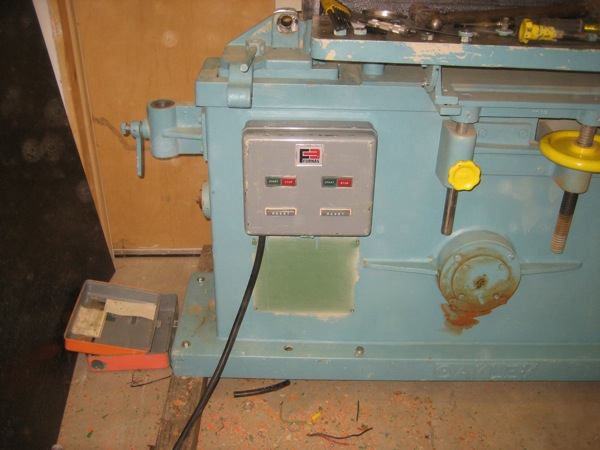
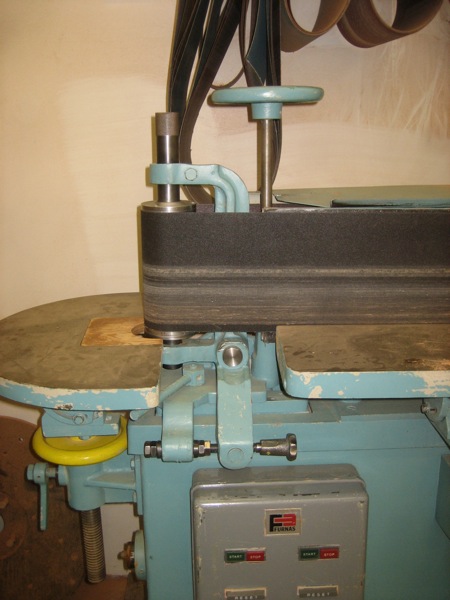
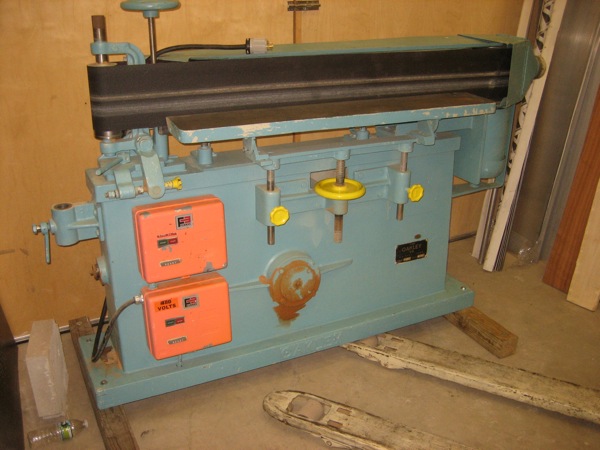
finally on the floor and de-skidded., what a beautiful sight.
Image

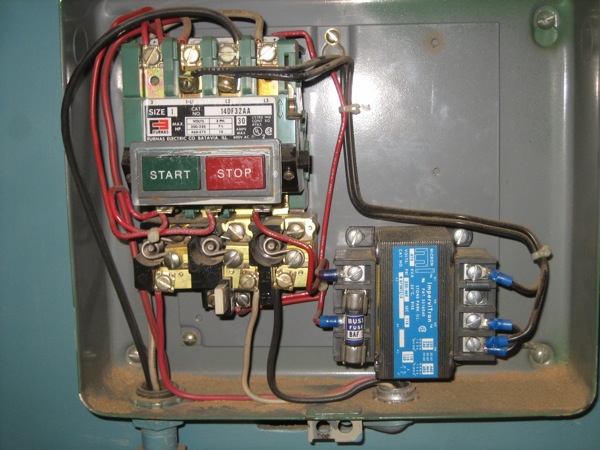
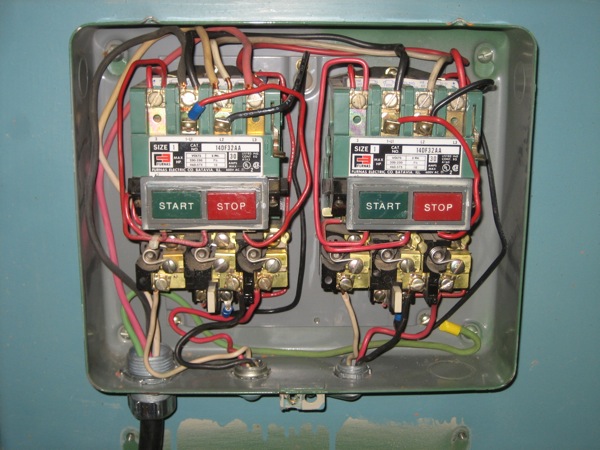
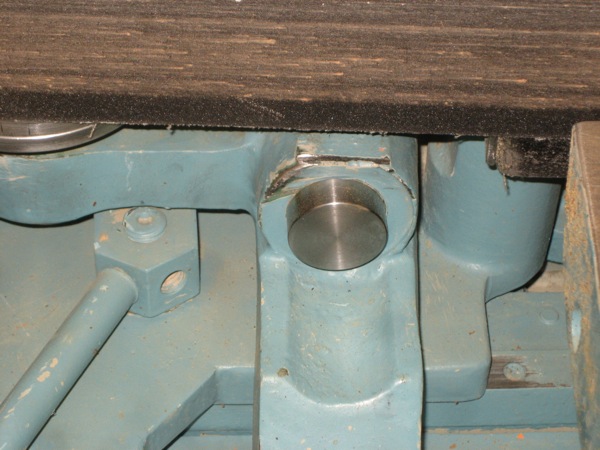
Next step will be some re-wiring of the switches- i think I can configure them better. And soon a craigslist ad of my own- I now have a Newton oscillating edge sander for sale.

I should also add, that even though it is not pictured- the end table for the free spindle came with the sander as well. Also, four new belts and a miter attachment.

Lastly, Thanks to my two ace helpers. I couldn't have done it without you!
diamond saw dave
Posts: 45
Joined: Tue Aug 04, 2009 4:01 pm
Location: Saratoga Springs NY
Contact:

Post by diamond saw dave »

Hey I made the post! lol

Congrat's on the buy Pete. That sander is minty. Also it was a great day with great people. Loved the NOJO shop tour just around the corner. Always good to see Mr. D too!

Now we just need to get that Tanny back together and running. See ya when I get back from Toronto.

Dave
diamond saw dave
Posts: 45
Joined: Tue Aug 04, 2009 4:01 pm
Location: Saratoga Springs NY
Contact:

Post by diamond saw dave »

Let me rephrase that. YOU need to get that Tanny back together and running. I have enough of my own projects of stupidity. lol

:-)
nowhere man
Posts: 4
Joined: Tue Oct 07, 2008 10:35 am
Location: massachusetts

Post by nowhere man »

Pete,

That sander looks really usefull. It looks to be in good shape too.

Please let me know if you need any help moving machines in Massachusetts, I'm usually available to help.

Dan Dolan
crzypete
Posts: 1691
Joined: Thu Dec 16, 2004 10:45 am
Location: New York State
Contact:

Post by crzypete »

Hey Dan, thanks for the offer, I look forward to doing that some time.

I got into the sander a bit this afternoon. I was not wild about the free-spin-ability of the idler drum, so I busted it apart. Sure enough one of the bearing was a tad gravely. New ones are on order and pictures are definitely needed. The idler assembly is uniquely engineered.

Pete
crzypete
Posts: 1691
Joined: Thu Dec 16, 2004 10:45 am
Location: New York State
Contact:

Post by crzypete »

I believe the sander was shipped from the factory wired 440. I also believe I am the third owner. The second owner's shop had 220 3Ø just like my shop and they converted it to run on such. I was not fully happy with the job they did and today I remedied my unhappiness and made the electrics much more compact in the process.

The enclosures were double sized enclosures from the factory. Inside they housed a transformer that dropped the current for the coil from 440v to 110v. This was necessary to run the sander in the factory configuration, but the coil also has the option to be configured as 220v, thus eliminating the need for the transformer altogether. Here you can see the transformer next to the magnetic switch- both the top and bottom boxes looked just like this.
Image

I rewired the coils to 220v, eliminated the transformer, and moved both switches to the top box. The boxes are actually designed to accept two switches. Here are the two switches sitting side by side.
Image

The disgusting orange paint on the boxes turned out to be latex. It had major adhering problems when scraped with a chisel. I was able to get down to the original gray with a little work. Here the switches are now side by side and enclosed. This is a major plus over the old scenario where the switch for the oscillating motor was very close to the ground. I was not looking forward to bending over to hit that switch every time I used the machine.
Image

I am thinking about stealing a page from my AEM sander. It employs separate starters for both the feed and the belt motors, but it has one mushroom stop button that will shut off both motors simultaneously. I have enough room in the box to add a mushroom switch between and slightly below the two reset buttons. I picked one up on eBay this morning and am debating whether to locate it there on the box, or perhaps in a separate box somewhere more ideally suited.

Pete
diamond saw dave
Posts: 45
Joined: Tue Aug 04, 2009 4:01 pm
Location: Saratoga Springs NY
Contact:

Post by diamond saw dave »

Wow got into it right away. I like the idea of the mushroom in the box but someplace more appropriate might be best. Also the shut off for both of the motors I think is a great idea.
crzypete
Posts: 1691
Joined: Thu Dec 16, 2004 10:45 am
Location: New York State
Contact:

Post by crzypete »

I talked to Oakley yesterday and got some information about my sander. Firstly, it was made in 1979. It had a tag on it that said HMI, I couldn't decipher that, but Oakley informed me that is was originally sold to Herman Miller. Very cool!

Pricing for a manual is $50.

He also told me that the oscillating motor should be 1/2 HP and 1200 RPM. Mine is a 1/3 HP. He said that the one shipped from the factory would have been 220v/440v- debunking my theory that the oscillating motor was replaced because it was a 440v only when they did the voltage lowering on the machine. Anyhow, he said to run it until it burns up and not to worry about the HP.

The Sander is is position and quite a bit bigger than the Newton. I am happy though and feel it is a nice upgrade. Bearings for the idler should be here this morning.

My old Newton is now posted in the Classified section. http://machinejunkie.com/forum/viewtopic.php?t=720

Pete
crzypete
Posts: 1691
Joined: Thu Dec 16, 2004 10:45 am
Location: New York State
Contact:

Post by crzypete »

Two more oakley projects have happened and I have a bunch more photos to share.

Project one was a through shaft whose head had been severely cut with many slips by people who mis-tracked a belt.

a blurry photo....
Image

in profile
Image

Using my mig welder I slowly build up material trying to take time in between passes as to not overheat it.
Image

After I have built up enough weld, I turn it on the lathe, add a bit more weld on the edges, and re-turn it. the final result... much better!
Image

Pete
crzypete
Posts: 1691
Joined: Thu Dec 16, 2004 10:45 am
Location: New York State
Contact:

Post by crzypete »

Continuing right along to my next project, new bearings in the idler spindle.

I mentioned an interesting design in my previous post, well here is the spindle. The bearings sit in the two depressions.
Image

How do they do that? Magic!
Image

In re-installing the bearings, my first step is to press one into the spindle and the other onto the shaft- you can see both of those here.
Image

Then the one on the shaft is pressed into the spindle.
Image

The caps are screwed on and the whole assembly is reinstalled into the sander.
Image

A special call-out to my newly resurrected stud
Image

It will sure be nice to get rid of the terrible blue paint one day, but for now the Oakley is up and running and in use. I picked up a dust adapter and the hood pics up alright, but it could definitely use a 5" port rather that the 4 that oakley provides, and/or perhaps some extended sheet metal on the front. Anyway that is all thought for another day. Here it is in place ready to make some serious dust.
Image
nektai
Posts: 1019
Joined: Fri Dec 17, 2004 9:34 am
Location: Long Island, NY
Contact:

Post by nektai »

Welding and turning that arbor was above and beyond. I expect nothing less from you!

Well done.
Post Reply