Its been an istresting winter. I will be glad to switch to some wood working this summer. Then I get to use these to make a few wood working tools....
Reg
I fought to keep the Gov. in power......they keep screwing around I'll fight to get rid of them.
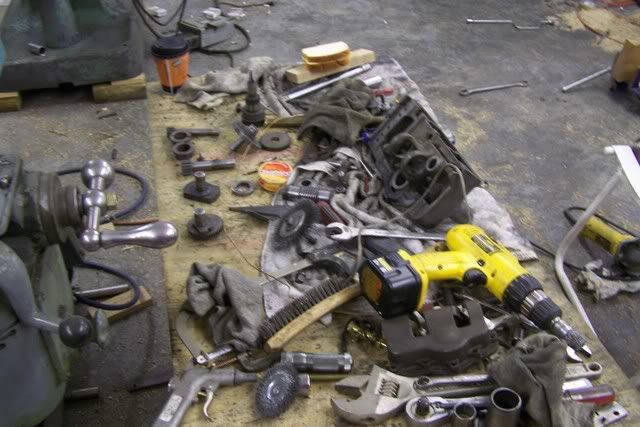
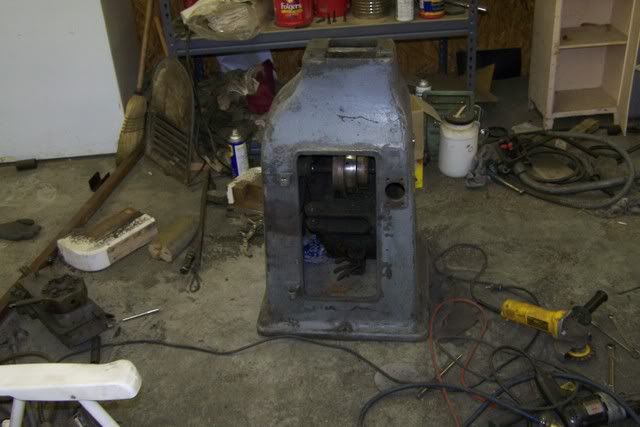
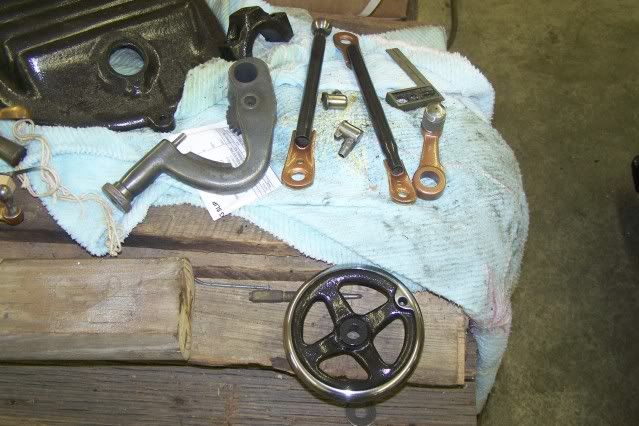
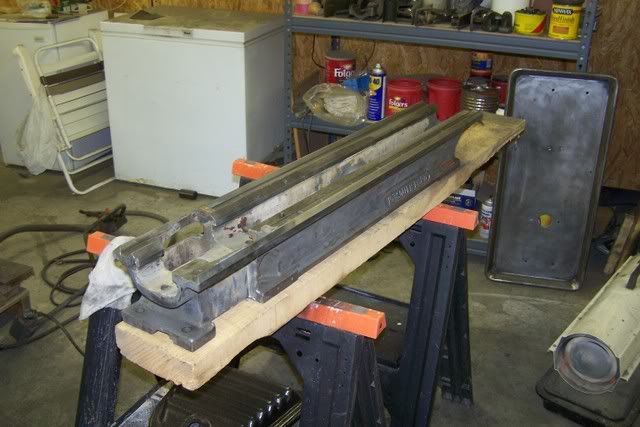
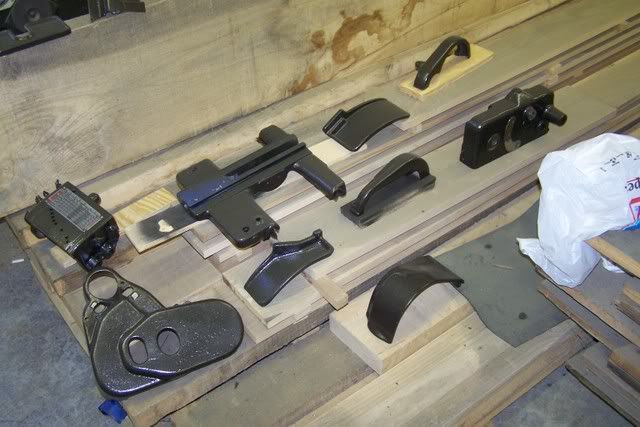
Been busy cleaning stripping, cleaning stripping. I will have a few pics in a few days of the parts going together and some of the painting. It has been a little cool for paint in my area. Its really a big mess trying to keep things going waiting for parts and trying to work around obsticals
Reg
I fought to keep the Gov. in power......they keep screwing around I'll fight to get rid of them.
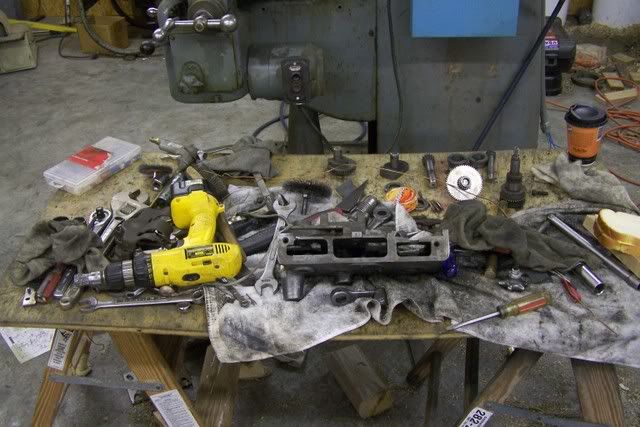
I am very impressed. I dont think I have ever seen a metal lathe taken apart to this level. I would be terrified that i would forget a part when it goes back together. What is your system for keeping things straight? I have resorted to shooting video of some of my complicated projects. It has saved my backside more than a few times.
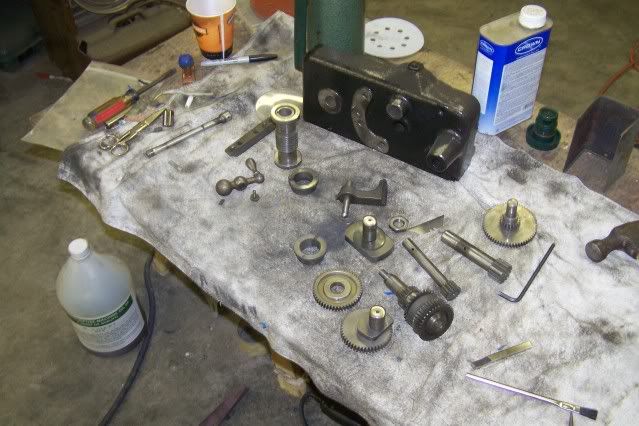
It's called parts diagram and piles. I keep a parts dia. along with a "pile" that way when It gos back together I have a list of parts that gos with that particular item Ie apron, cross slide ,head ect. The parts diagram shows all the parts and where they go. So if your done and you haae a part left you know you did something wrong and you need to find that part on the diagram and see where it gos
Reg
I fought to keep the Gov. in power......they keep screwing around I'll fight to get rid of them.
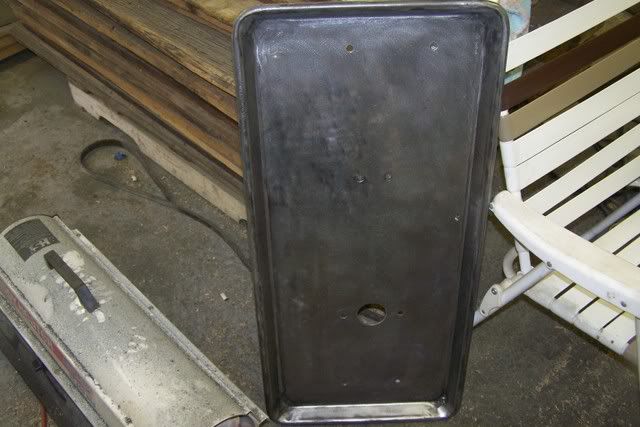
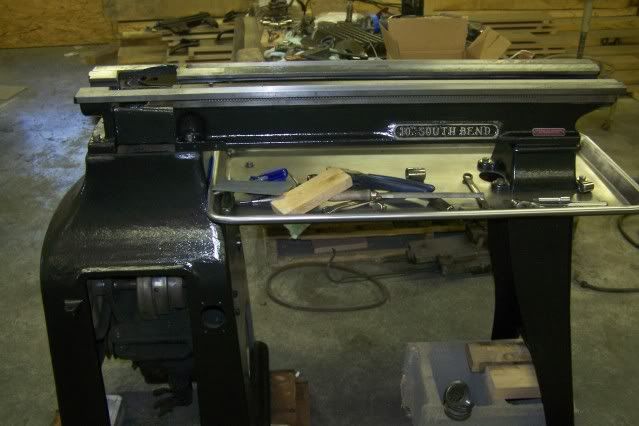
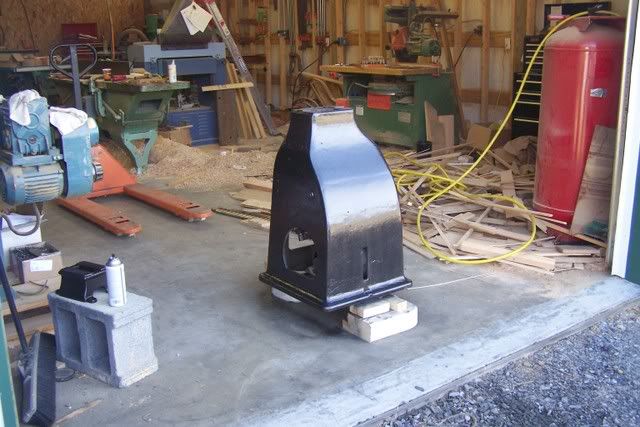
A few more pics of the base getting ready to paint. I won't take it to the metal because I have to clean the bondo too and I am not excited about doing any bondo work. I will get the rust off and feather it all to match and shoot it
The try I did take to the metal since it is flat stock and there was very little bondo in it. Only around the conors under neath.
Reg
I fought to keep the Gov. in power......they keep screwing around I'll fight to get rid of them.
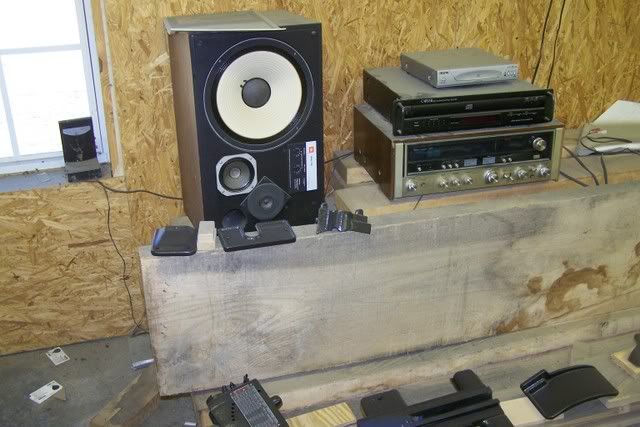
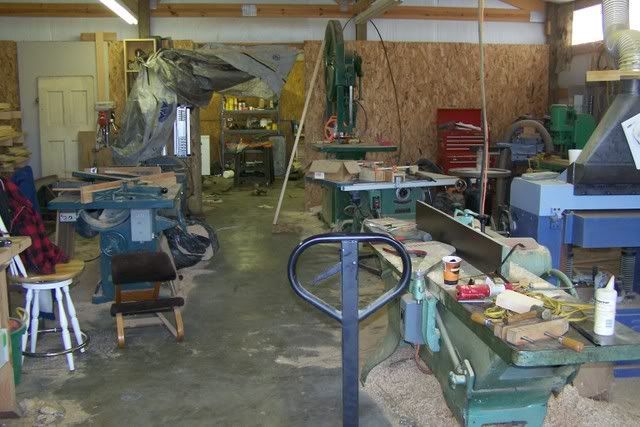
Also Thanks for the shop overview, They are definitely the most telling pics I have seen of your space- looks very comfortable and quite spacious.
I see you have the big doors open, I am guessing it is getting warm down that way. Hoe soon until you can start planting? our snow is finally melting up here- Spring is closing in on being a reality.
Wow Pete, I thought I had posted pic of my shop. I will get you a tour as soon as I get the main componets of the lathe back together. No clean up or stageing just as it is at the moment.
Planting I already got peas, onions, lettus, spinish out. Going to put out potatoes, turnips, radishes, carrotts out in a few days. Got tomatoes growing in the house to trans plant when it gets warm enough...
Reg
I fought to keep the Gov. in power......they keep screwing around I'll fight to get rid of them.
Still have a lot of work to do shimming the head putting the apron together fuigaring out the oil felts but It will be a bit yet. Its gardening time and I have to split my time.....not to mention the oven I have to build.....that will be intresting
Reg
I fought to keep the Gov. in power......they keep screwing around I'll fight to get rid of them.
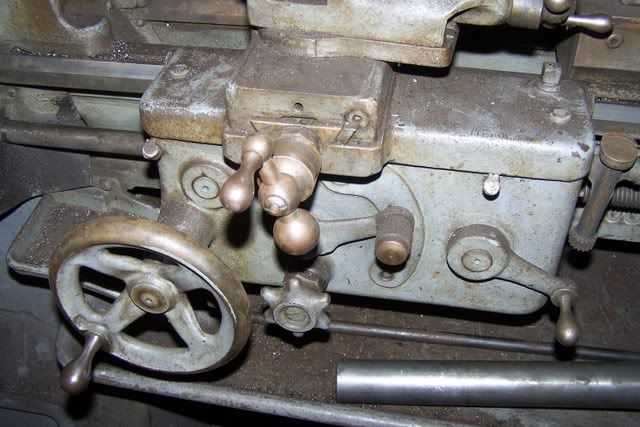
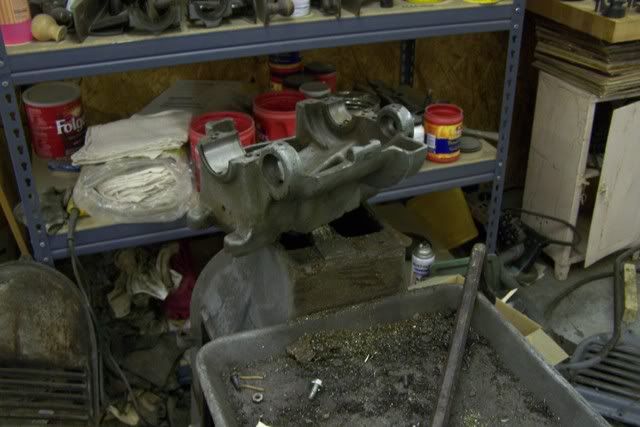
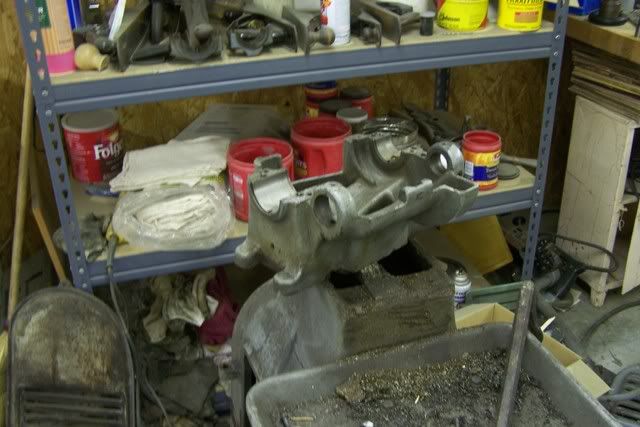
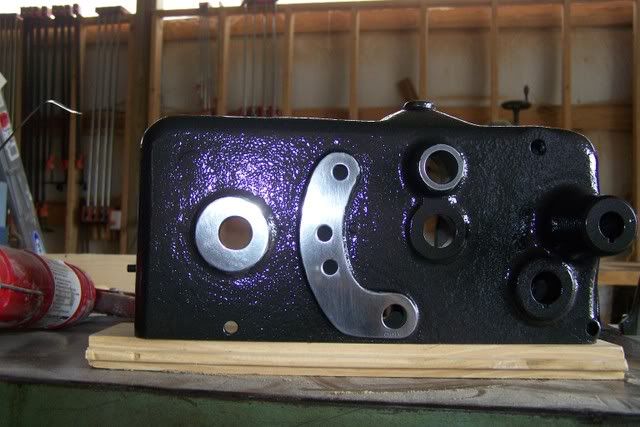
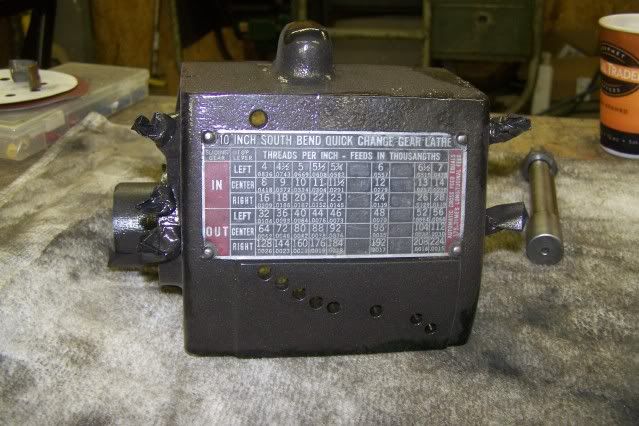
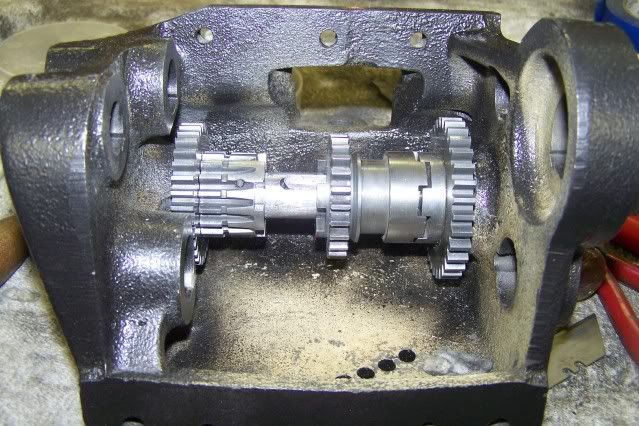
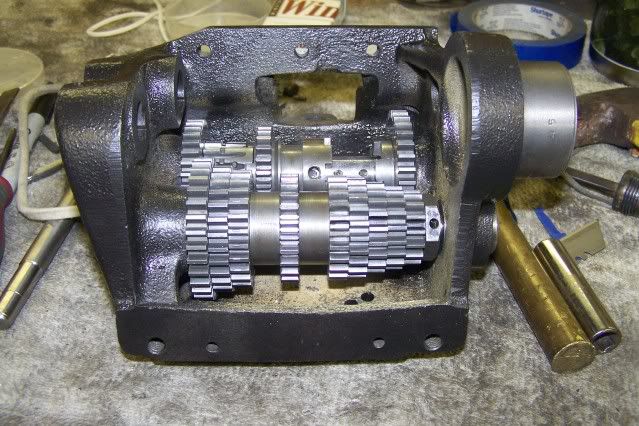
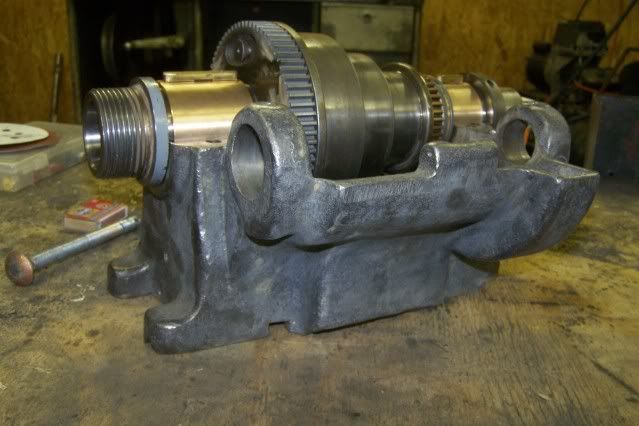
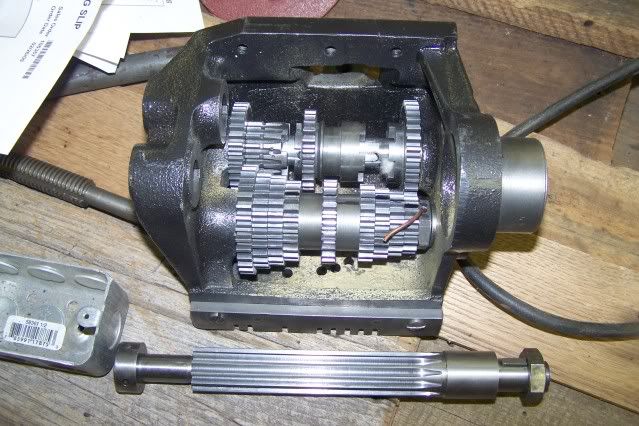
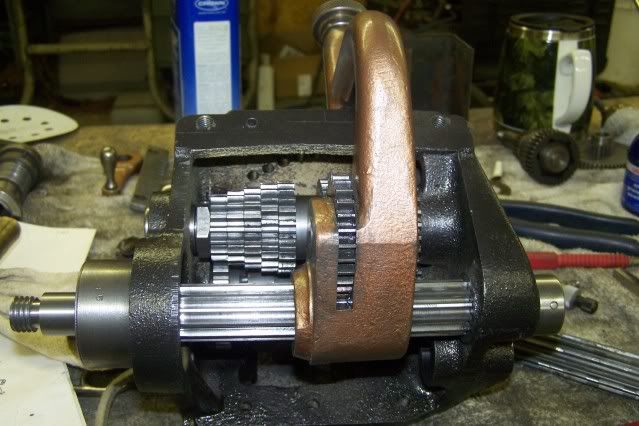
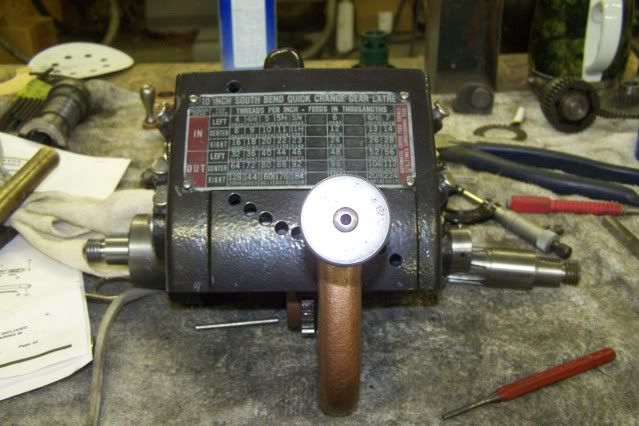
Here's a few pics of the QCGB put together
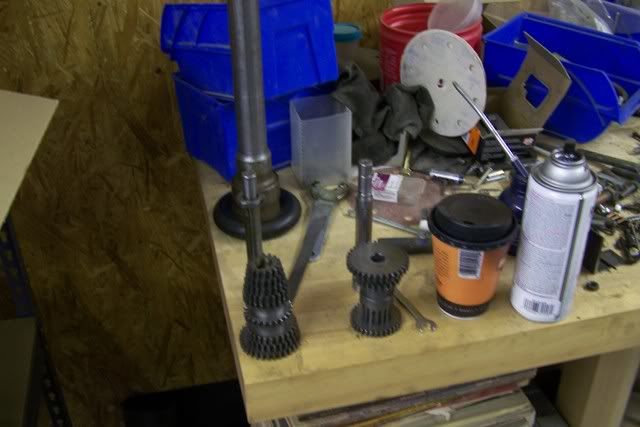
along with the gear I have been waiting for
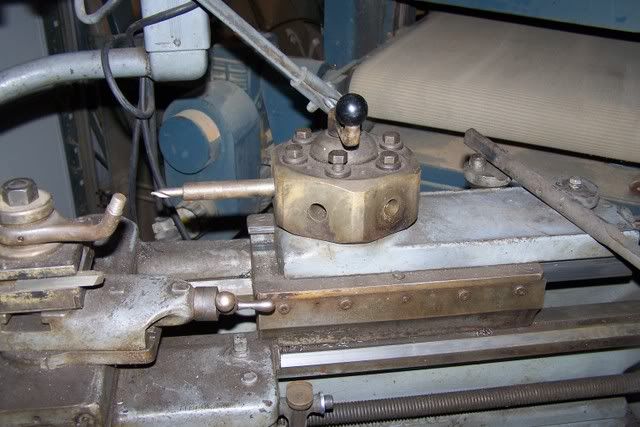
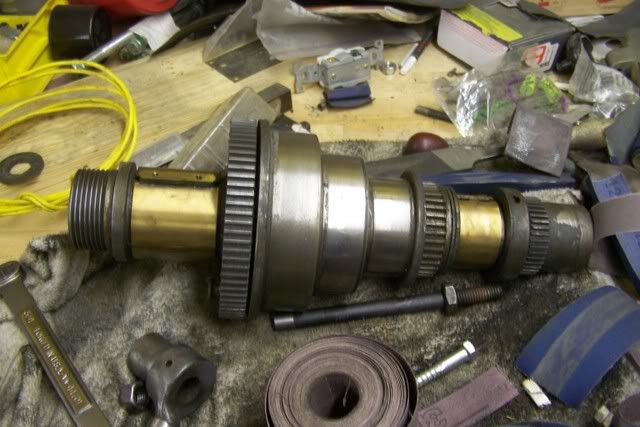
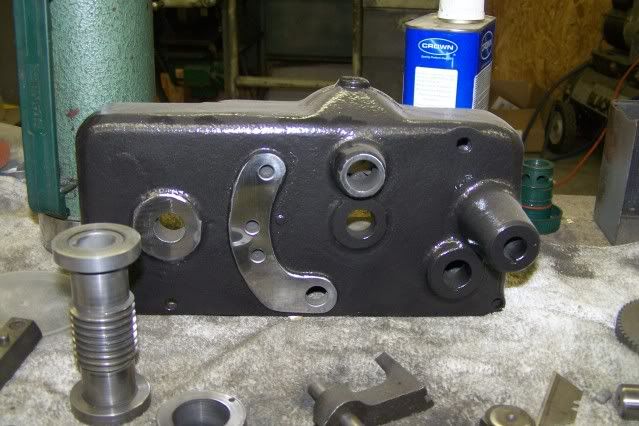
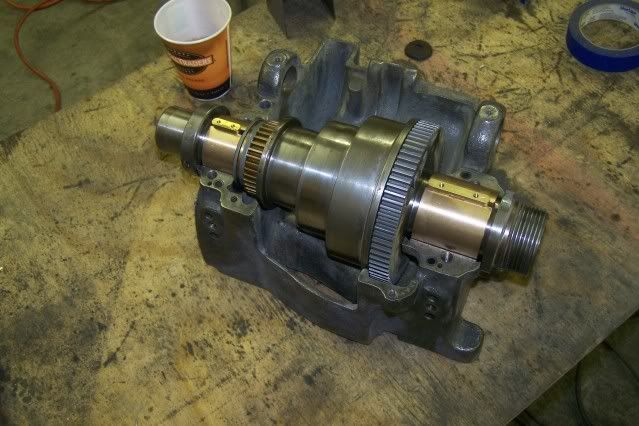
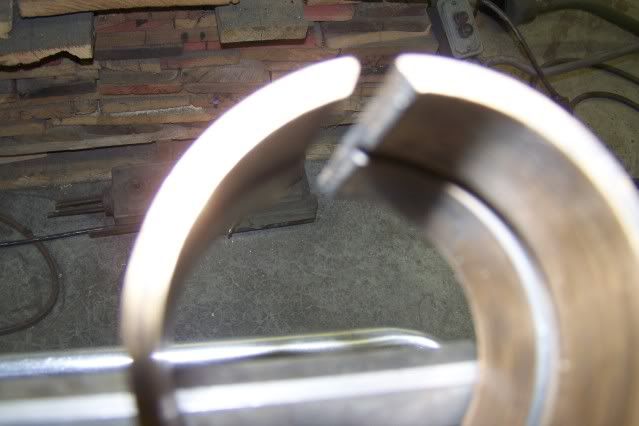
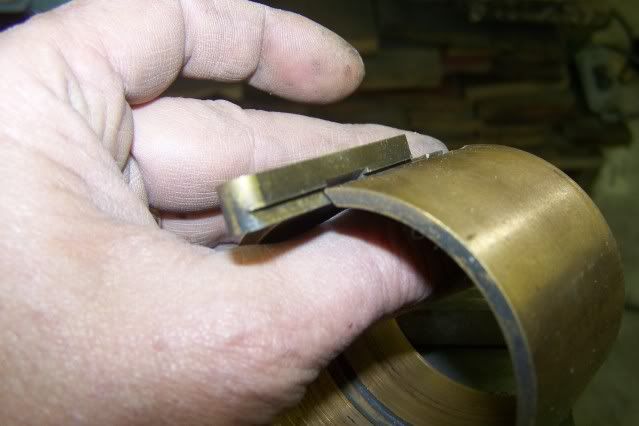
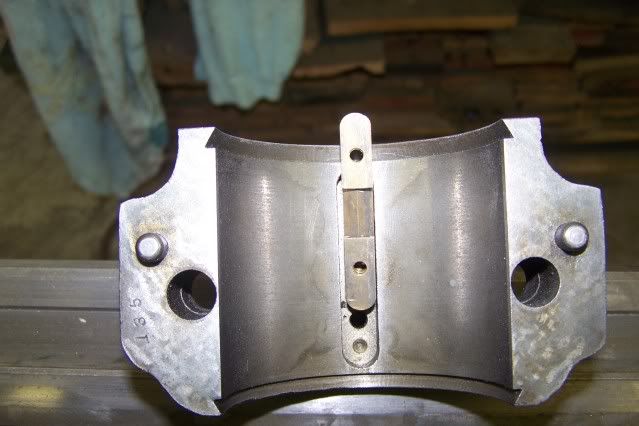
Pete, heres a cpl pics of the bearing and the "spreader" that I am able to ajust the bearing tightness with. The holes are tapped giveing me access from the outside of the cap to change the dia slightly. Heres what they look like assembled
I will be starting on the apron tomorrow since it will be raining and I can't get into the garden.
Reg
I fought to keep the Gov. in power......they keep screwing around I'll fight to get rid of them.
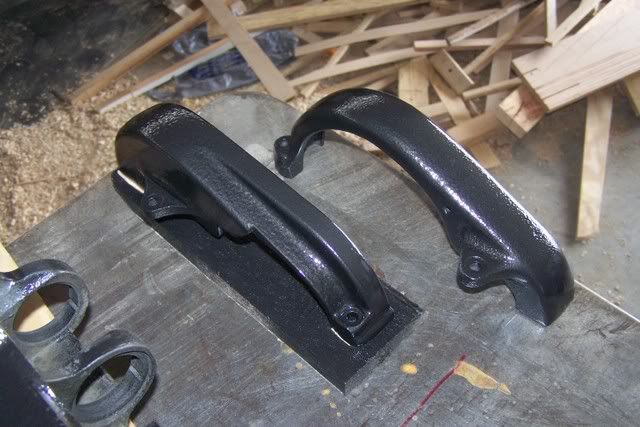
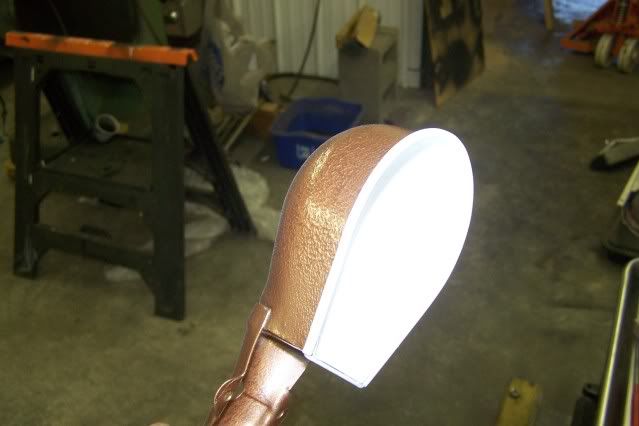
Reg, looks like one heck of a project. I'm just about to start my first ever rebuild and repaint. Just out of curiosity what are you using for paint/primer? I really like the two tone you've got going with the copper? colored handle.
Thanks
Craig