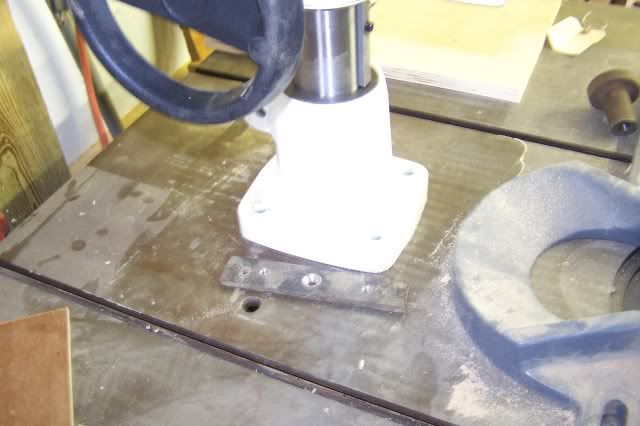
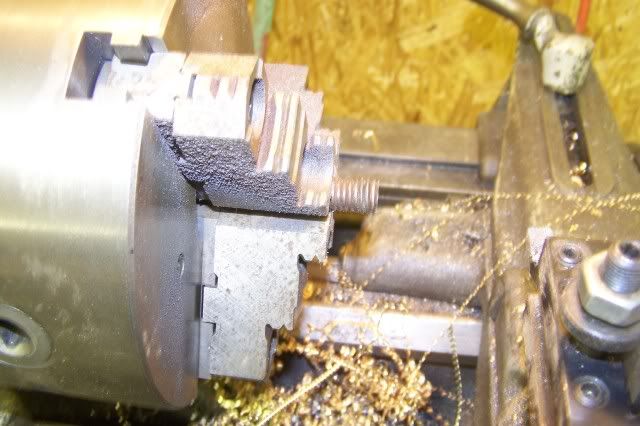
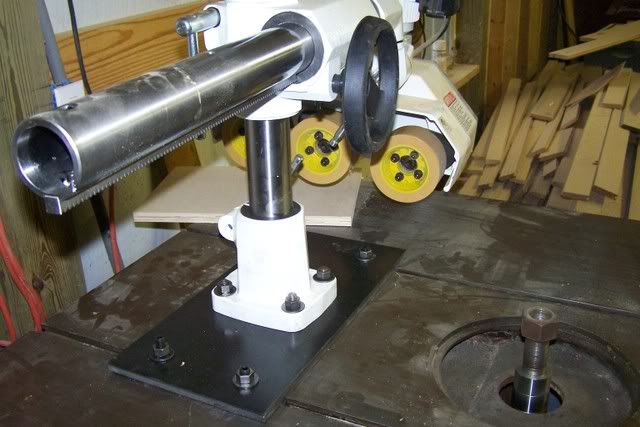
Well its time to get the feeder onto the shaper. The 552 lightning had a dust shute in the center of the table cast into a small tunnel. The metal is a little thin there so I am going to mount the feeder onto 1/2 plate and secure the plate via T-nut slots in the table
I'll try to get the T-nuts milled tonight or tomorrow. It is an odd slot and a normal T-nut won't fit so I'm for to locate some 1" sq stock
Reg
I fought to keep the Gov. in power......they keep screwing around I'll fight to get rid of them.
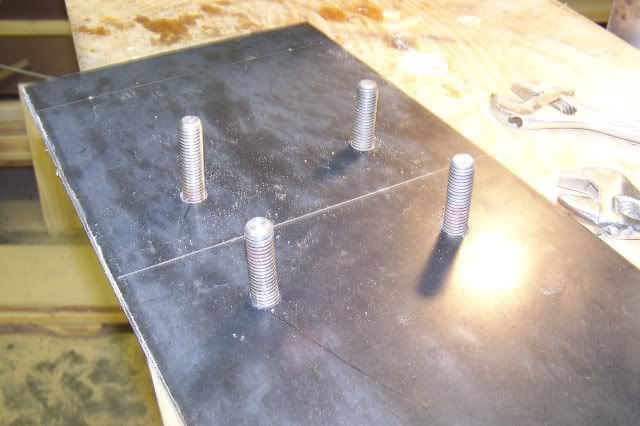
Here is a pick of one of the T-nuts. I will have to finish the other one later when I fuigar out how to lock my draw bar onto the hex nut at the top. Mine cam apart so I can lock in the collet to finish the other on
aideas on the draw bar Pete
Reg
I fought to keep the Gov. in power......they keep screwing around I'll fight to get rid of them.
Hey Reg,
Not sure on your drawbar, I would need more information.
Sweet concept with the plate and the T-Nuts.
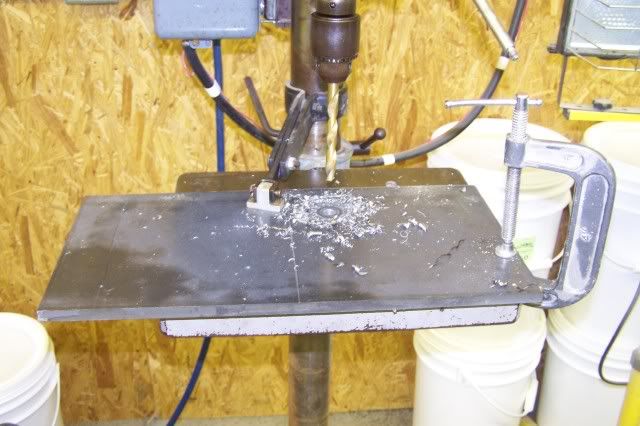
I am not sure if I am reading you photo right, but it looks like the tap may not have been perfectly perpendicular to the work. You can help avoid this by starting the tap in the drill press- with it turned off- it will help align it. When you get gutsy, you can turn it on and then off-as it is coasting down, feed it into your work- it will get you a ways in, perfectly straight. Make sure you have clearance below the piece for the tap.
When you get bored with that start searching eBay for a procunier tapping head- they are pretty plentiful and when you use one, it will blow your mind. They have a clutch and they reverse at 2x speed.
Yes its looks a bit out but I think its just the shot it lines up fine. I will look for the tapping head tho. I should have the T-slots tapeped and installed tomorrow
Reg
I fought to keep the Gov. in power......they keep screwing around I'll fight to get rid of them.
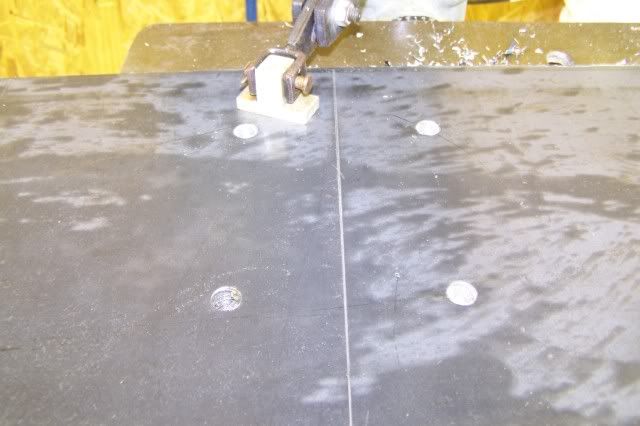
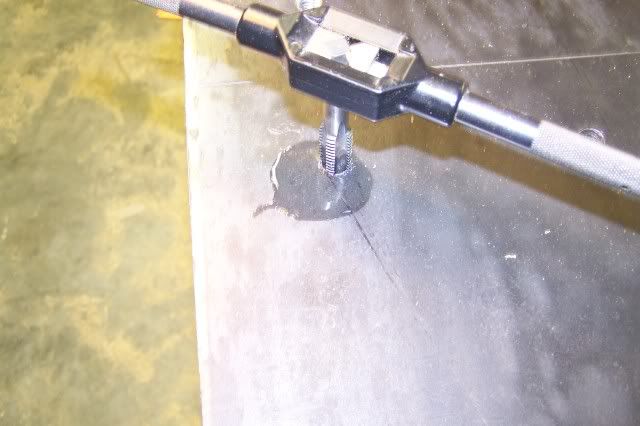
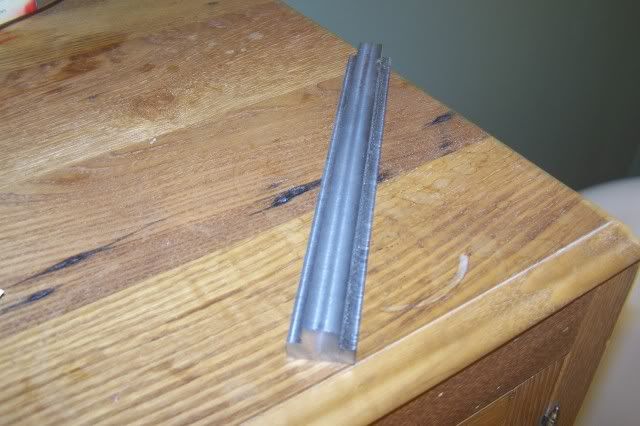
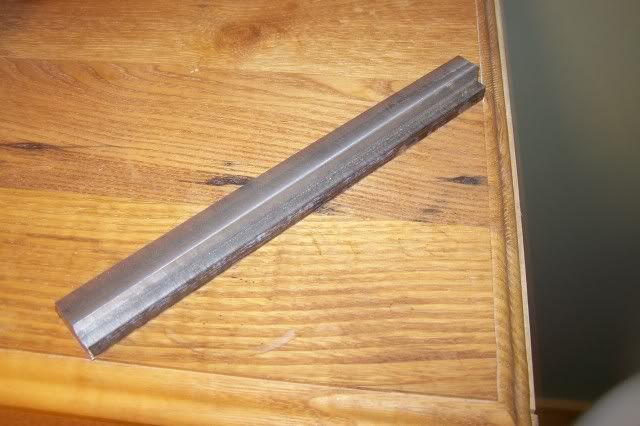
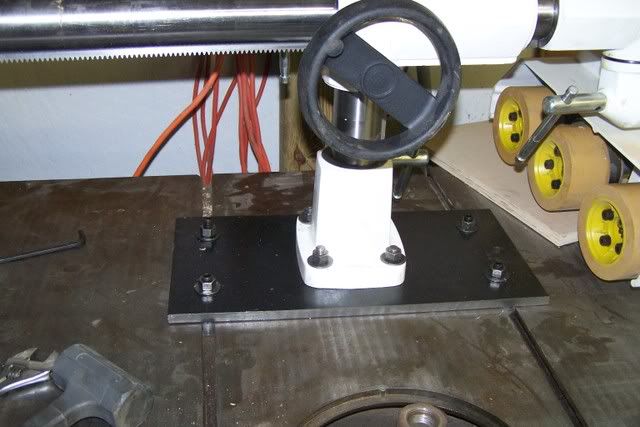
Well heres the finished result
Was a fun project. I found some things about the machines I have that I need to dress also. Nothing major but anoying just the same. Soooooo
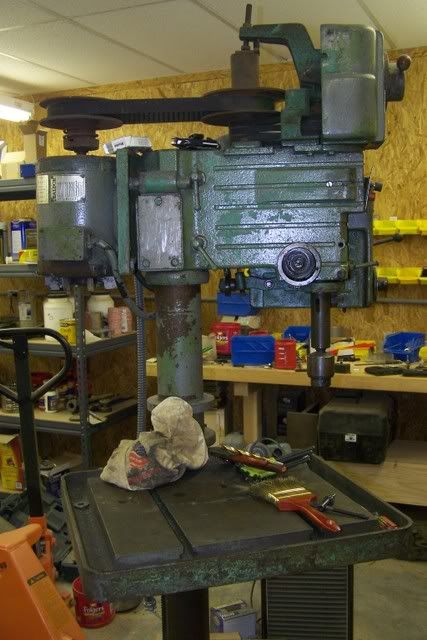
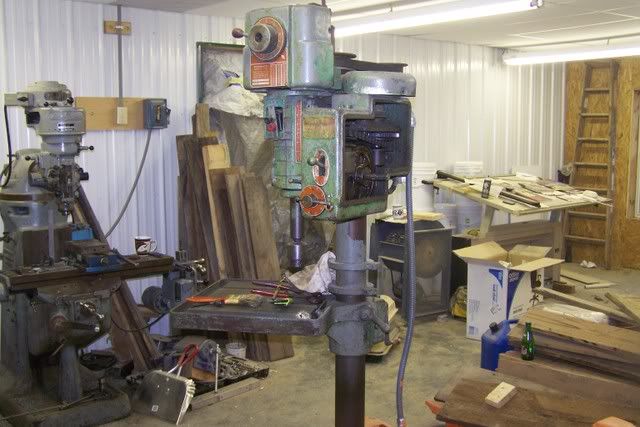
For my nest project I have elected this
Something I picked up this summer to have to work on this winter. It's a 1200 Powermatic with a powerfeed. Guess I'll get started on it this weekend.
Reg
I fought to keep the Gov. in power......they keep screwing around I'll fight to get rid of them.
Nice Job Reg. A very elegant solution to a problem.
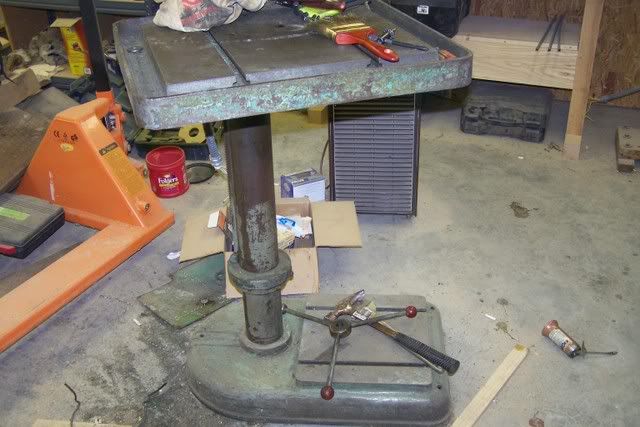
The drill press will be a sweet ride as well. I am not sure what work you are doing with it, but I would consider removing the powerfeed- unless of course it allows you to hand feed as well and is not too much in the way.
I think I am gonna keep it Pete. I can had feed as well. It works good and all I need for it is a bearing that fell out in 2 pieces on thespeed control knob. I will have to drill and take out a few broken screws that werk broke on the spindel speed knob but every thing else looks good
Reg
I fought to keep the Gov. in power......they keep screwing around I'll fight to get rid of them.