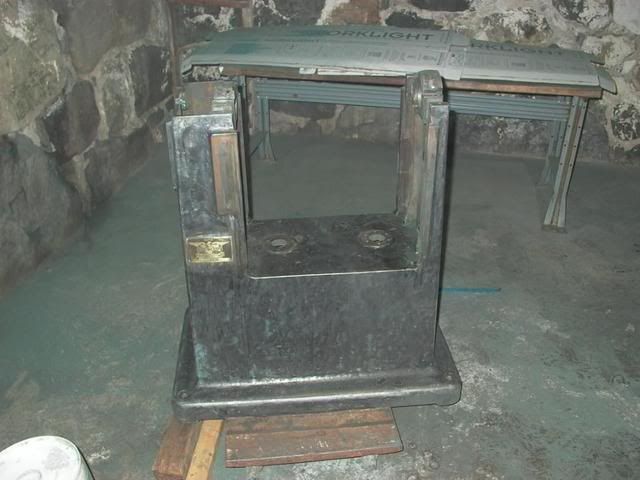
Came across this site from the other one and thought I would start my own thread so some of you might be able to help along the way and add your two cents when you feel like it. Picked this 399 from a recent school auction. All things considered I probably could have gotten away with just sharpening the knives and letting her buck but what fun would that be. Plus I wanted to know this girl from the inside out.
Great purchase and I look forward to seeing that girl get a new dress.
The pictures did not mount correctly Lets see if I can make it work?
No I can't either. It appears as if these are page links rather than the JPEG images.
You can see if the pictures will work before you place the post by pressing the preview button on the bottom of the page. I am afraid that some experimentation will be necessary on your part.
N,
Thanks and thanks for checking that info out. I will see what I can do about the few bucks. If I get it to work I'll start posting some more pics. thanks agin.
Welcome. I am looking forward to watching your progress. I will do my best to help you through any disassembly snags you encounter.
On my project the hardest step was getting the cutterhead out of the machine. I did not want to force it without being 100% sure there was nothing else holding it in. Turns out that the three socket head caps screws by the motor are all you need to remove before pulling the cutterhead.
pete,
already on it regarding the photo site. As for the cutter head I'll be tackling that on thursday. thanks for the heads up. Everything has been pretty smooth so far. Thanks. any advice on Oliver grey mix or what is a good alternative?
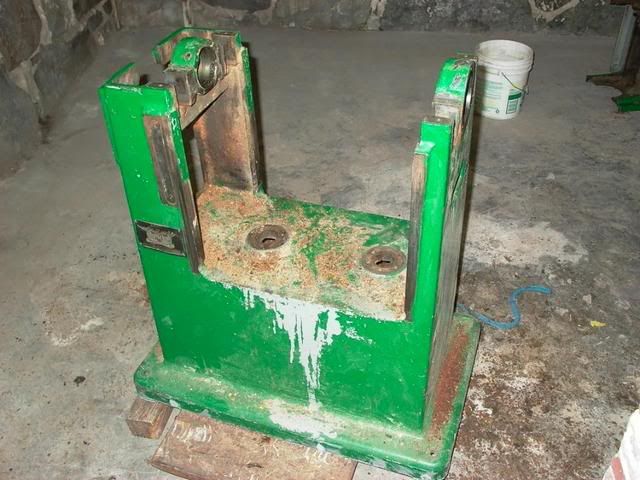
I know its going slow but unfortunately I do have other things to accomplish. Here's where I'm at.
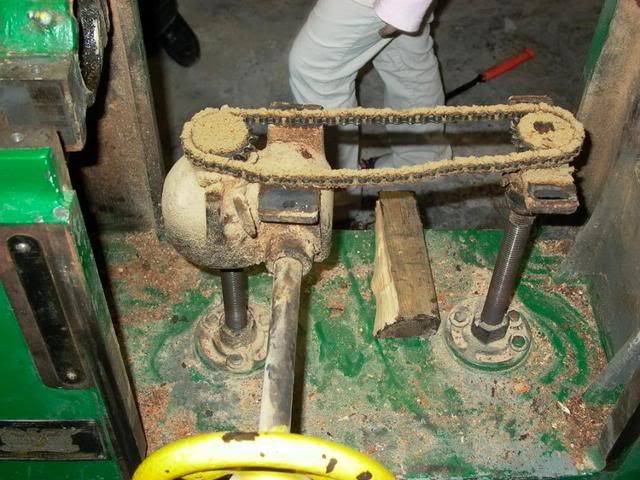
man this thing is dirty....
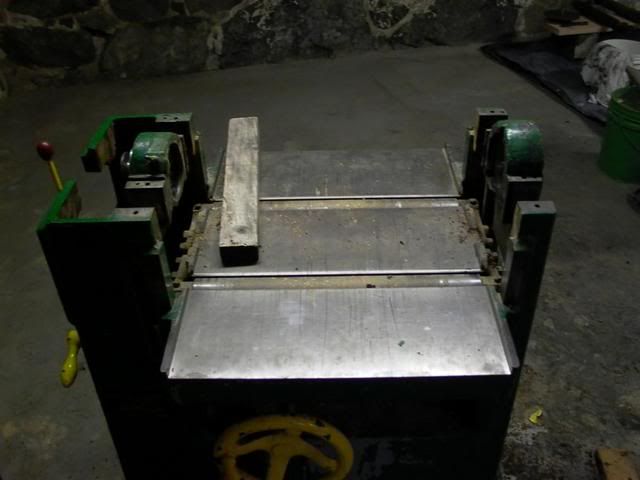
So now I have to get the cutter head and motor off which is proving difficult at the moment. Hopefully this can be tackled this weekend. I have started to clean a few parts as you can see. Most hings will require adouble cleaning as everything in this machine is caked with all you can imagine.
Make sure you remove the three socket head cap screws before trying to remove the cutterhead/motor assembly.
After that is is all hands on deck trying to get it to move. You will need gear and bearing pullers to get at the bearings.
You can probably put a bar between the motor housing and the body of the planer and try to get some leverage there. Or perhaps wood wedges.
If you must use a large hammer, make sure you do not hit parts directly, always use an intermediate block to make sure you do not "peen" anything over.
Be smart, analyze whether a part is thin before you apply force to it.
well with the good words of pete in my head I went after the cutter head and motor with some help from my father. Lo and behold a little leverage and penetrating oil she slid right out. way easier than I thought it was going to be. So i guess now I will prep her for sand blasting and start the arduous task of cleaning my parts.
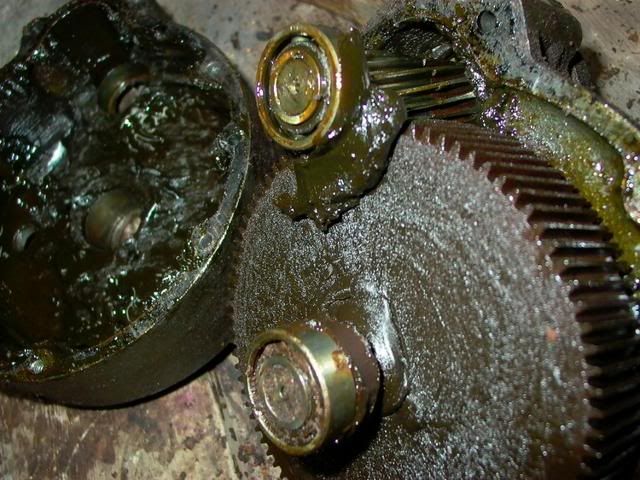
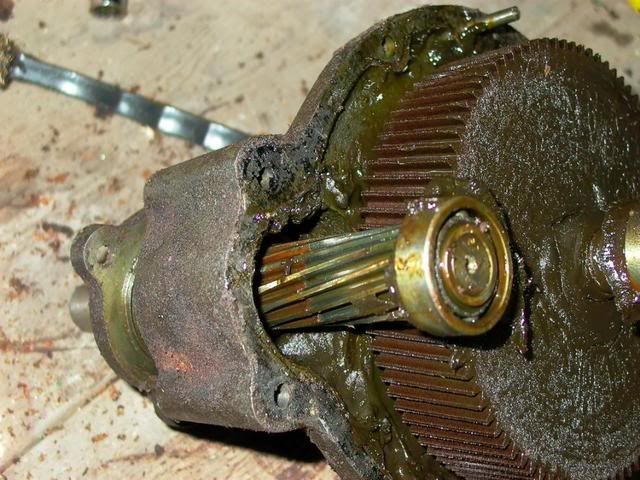
oil/grease build up in speed control case. some of it is probably a 1/4" thick.
Last edited by LD21 on Wed Oct 17, 2007 4:25 pm, edited 1 time in total.
Congrats on getting it apart. you should feel very accomplished.
I am not the biggest fan of sandblasting as a means for removing paint. It has a number of negatives (as all methods do).
Notes on sandblasting:
-The primary negative is the lingering sand which can damage your machine later.
-It can be slow unless you have a good sizes blaster and compressor to match.
- You need to mask off all machined surfaces. The finish it leaves here is not nice
- Once you are done blasting you need to clean it down with a solvent to try to get all of those particles off of the machine.
-It does work well for undersides of tables
-Sand everywhere.
Not that any method is perfect. I was able to scraoe the paint off of my 399 with a one inch chisel- fast work and not dusty- see my pics.
Here are some general notes on removing paint and rust:
I like a knotted wire wheel on an angle grinder to remove paint on big parts. Use a mask, consider all paint to be lead based.
I like a dunk tank of lacquer thinner to remove paint on smaller parts (really the best method I have found, I use this on any part that fits)
I like a wire wheel on a bench grinder to polish machined parts and bolts. This removes rust rapidly and leaves a nice patina.
I tried electrolysis, it is slow and best used for parts which are heavily rusted or very intricate.
Pete,
That's good advice pete. I did a little testing with an angle grinder tonight and thought it worked pretty well. I will likely stick with it. I can't tell you how great it is to have others out there who have been through the process and are willing to help out. Kudos to all of you. Iknow I said I was ready for the stripping etc. but I still have two rather cumbersome tasks to undertake before that can proceed. one is the sepereating of motor and cutterhead and the other is getting the table height adjustment mech apart.
Pete,
I looked through your thread on removing the motor and cutterhead. Any tips on what you might have done differently? I plan on going back through the thread how difficult was the gear puller modifcation? thanks again.
hers some photos of what's been goin gon with the 399.
really rough casting
I was nervous about removing the tag or how to get it done so that i wouldn't regeret it.
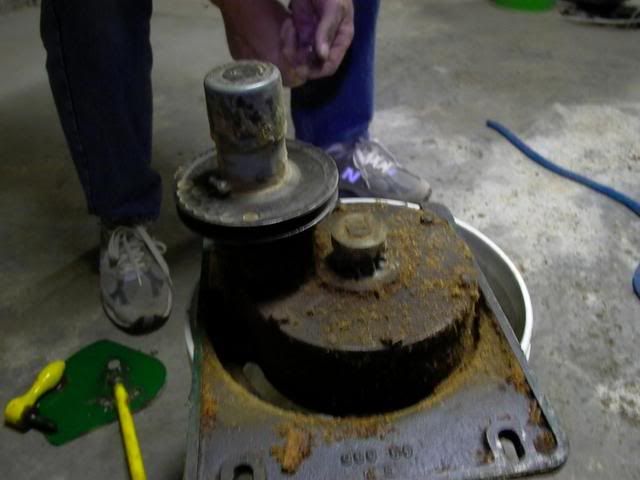
I've stripped most of the small hardware and some of the bigger parts. I get some shots in the a.m.. still have to get the speed control gears apart though.
It looks great. What method did you use to strip? do you plan on using bondo?
The oliver plate is affixed with drive screws- not rivets. They will twist out without too much effort. Normally the hole they are in is a through hole and you can drive them out from behind with a 1/16" punch.
When they are blind, it is a bit more complex. Some people cut a slot to use a screwdriver in. I often just grab them with a pair or vise grips and twist. This is definitely the easy part of the journey you have just taken. Plan on replacing them and everything is easy.
thanks pete. I used the knotted wheel and grinder per your advice on the main casting. Other parts are getting a lacquer thinner bath. The grinder worked really well, a tad messy but hey what isn't in a project like this. Thanks for the info on the plate. I'll give that a try today. WHat paint did you end up using on your plate restore, i know your thread mentioned japan colors? Not there yet, just wondering.
A special thanks for your rebuild post I keep referring to it and it's been a big help as has all the info on this site and the other one. Thanks.
Hot pink, huh? I'll have to give that a thought. Not sure on what color scheme I'll be going with. Likely a close to original grey with some other colors thrown in there to make it a bit more personal.
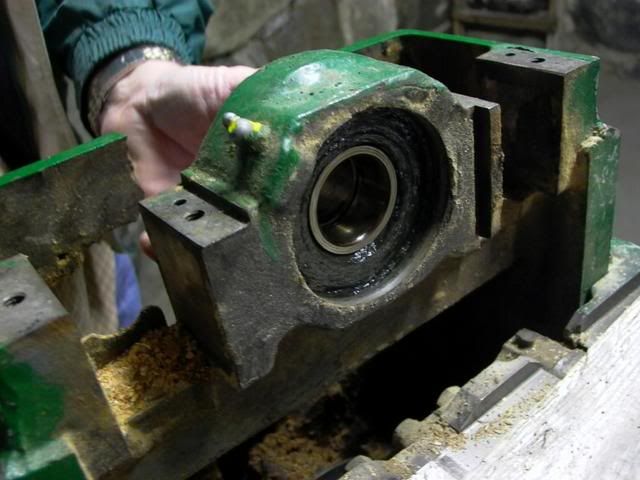
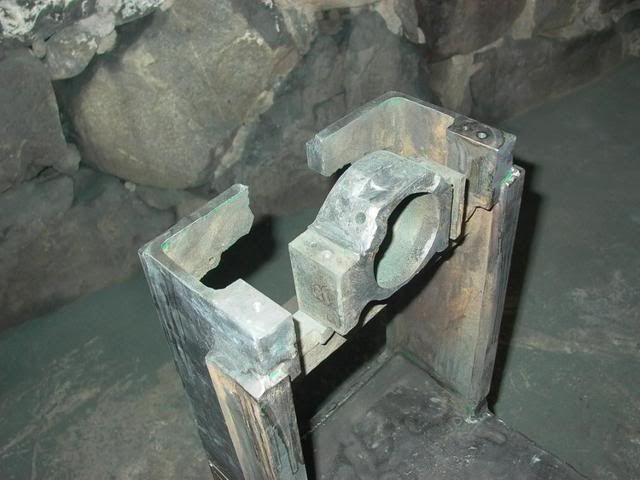
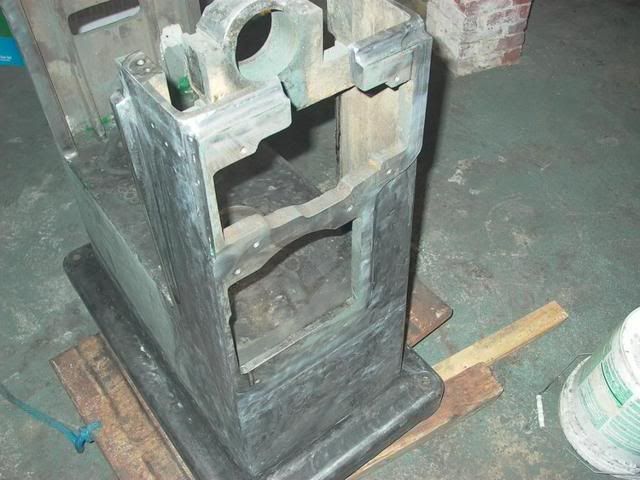
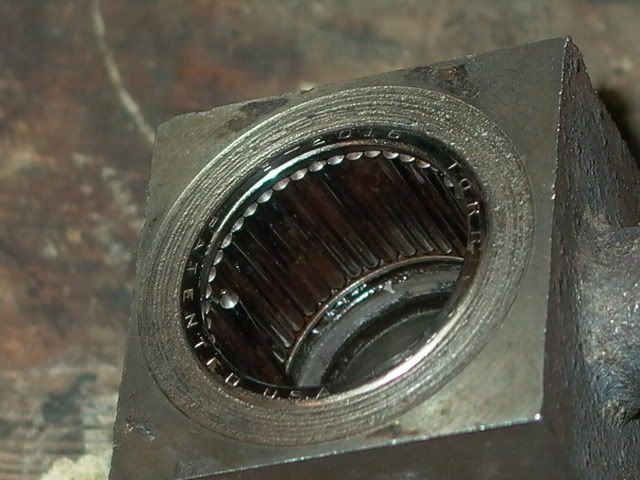
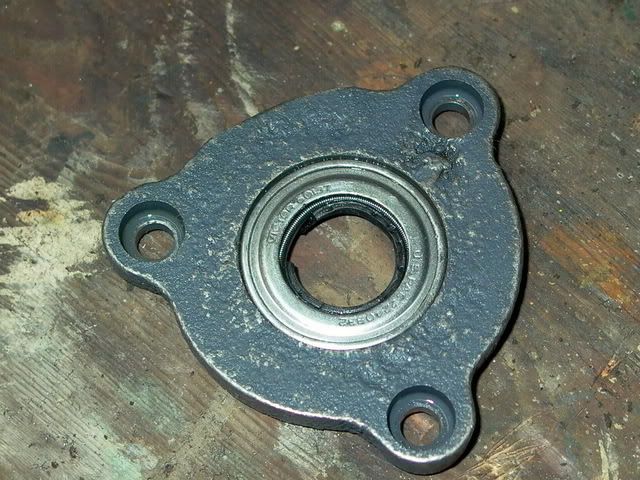
Here are some parts that need attending to.
this bearing is fried. WHile i was cleaning this roller the little parts started falling all over the place. it then revealed a crack in the metal housing big enough for th ebearings to slip out.
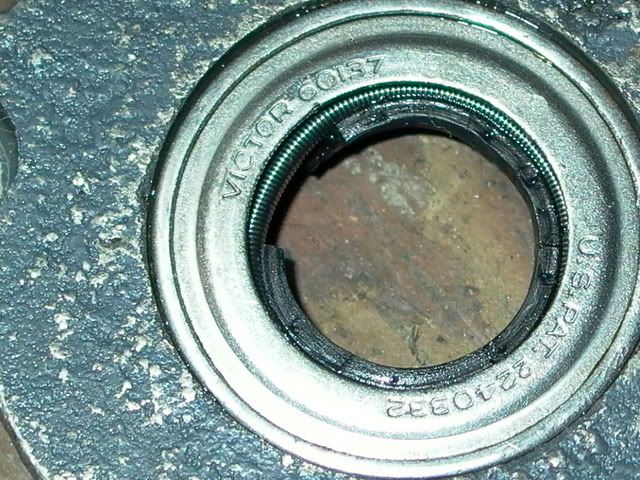
this is a plate that attaches to the speed control. the gasket has cracked and the spring is protruding, not sure what to do about this yet.
thanks for looking and any and all feedback is appreciated.