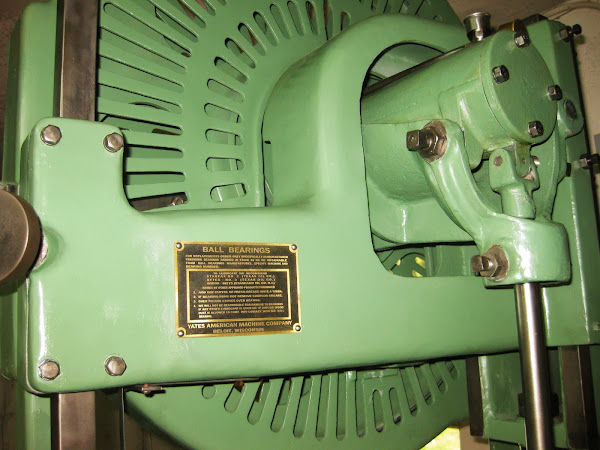
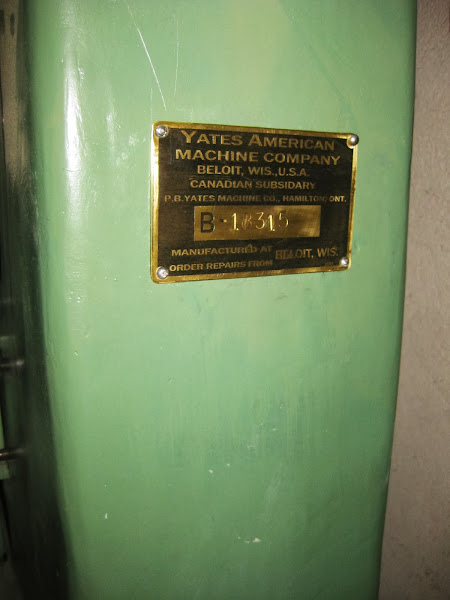
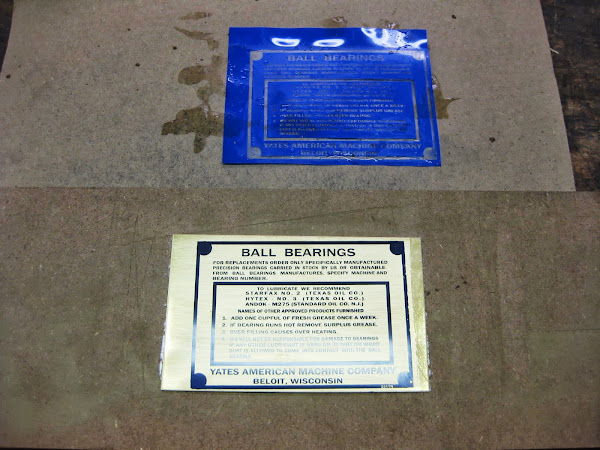
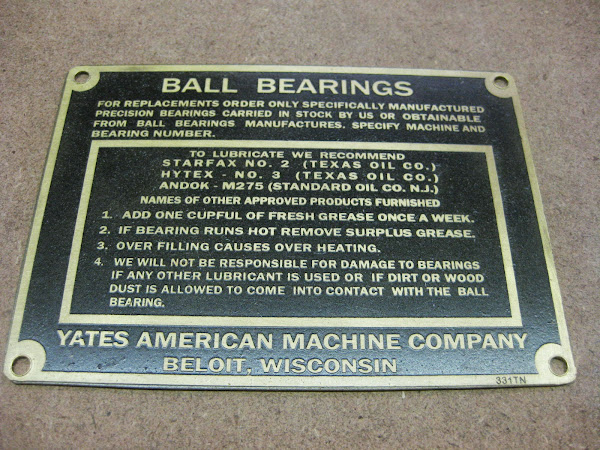
Everything was done, but one thing had been bugging me about the saw since the day I got it. The name plate and greasing instruction plate were in very poor condition. These really stuck out like a sore thumb on a band saw that now sparkled.
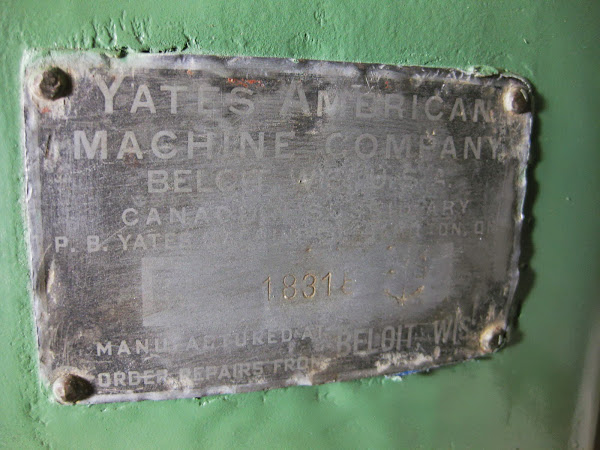
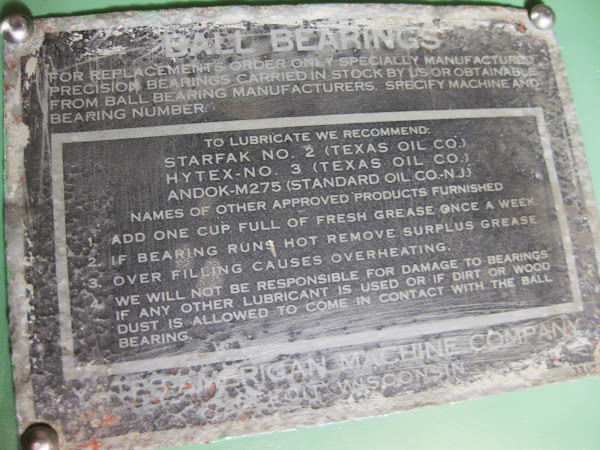
Age and use/abuse always contribute to the degradation of these plates. However, another factor was that they were etched and printed on zinc. I am guessing that this was due to brass being rationed during the war. Zinc is softer and corrodes more than brass. I have seen this before on other machines, and tried to rejuvenate them by touching up the surfaces. These two plates were beyond my patience and experience in doing this kind of work. So after everything was completed, I decided that they were too far gone to leave as is and decided to try to make new plates that were close to what the originals probably looked like. This eliminated making decals and would require etching and printing on brass.
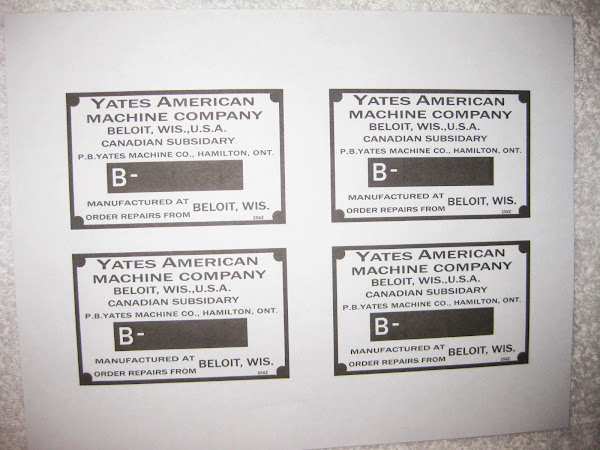
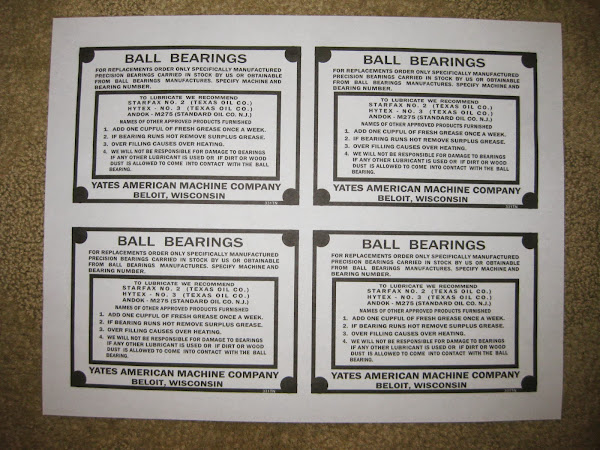
To make the two brass plates for the band saw required that I copy as close as possible the graphics on the two original plates. To do this, I used MS Publisher. There are far better software packages out there, but this is all I had. After a lot of trial and error and fiddling, I came up with two graphic patterns that I was satisfied with. They were not perfect, but close enough. I set up the printer to put four images on a page to maximize the space available.
I then began reading up on how to etch and print on brass. There is a lot of information on how to do this on the internet, and also some in OWWM Wiki. Here are some links:
http://gasengine.farmcollector.com/Equi ... z2bKevdYgR
http://www.youtube.com/watch?v=m69aHYMw_yY
http://www.youtube.com/watch?v=5YrkHClYXLA
I bought a small sheet of 18 ga. brass from McMaster-Carr and four sheets of Press-n-Peel PCB Transfer film from ebay. This transfer film is used in masking and etching of printed circuit boards on copper plate. I also bought a bottle of ferric chloride PCB etching compound from Radio Shack. I now had all the materials necessary to do the work. The question was how tricky would it be to etch and print out a quality piece.
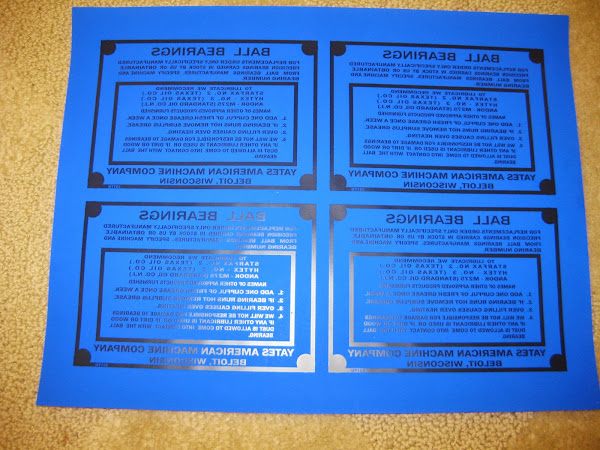
To get correct imaging on the Press-N-Peel film, the printing needs to be done using a laser jet printer. I have an ink jet, so I put the two designs on a flash drive and took them to the FedEx Store and printed out each design on a single sheet. The transfer film has a shiny side and dull side, and the printing is applied to the dull side. Each sheet has 4 images which will allow for some trial and error in the masking and etching process. Also, these pictures are a reverse or mirror image of the graphics above. The printer was set to flip the image so that when the printed side is put on the brass plate and heated with an iron, the transferred image will turn out correct.

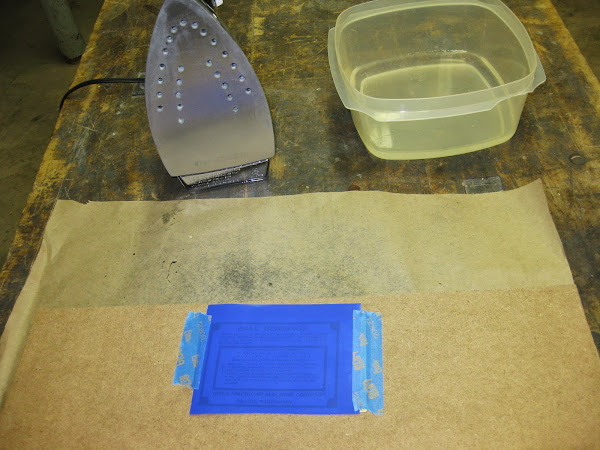
I cut the brass sheet into sections that would handle both pattern sizes with room to spare. This gives you adequate space to position the masking film on the brass. The excess brass will be trimmed later. The brass was sanded with 400 grit sandpaper to prepare the surface to accept the pattern. It was then cleaned with lacquer thinner and then with soap and water. A single pattern was cut from the master sheet, and taped to the brass with the dull side down. A clothes iron was then used to apply the pattern to the brass. The iron was set to the temperature for ironing polyester and rayon. The masking transfer from the film to the brass took about 3 to 4 minutes, and the heated brass was put into a bowl of water to cool it off. The plastic membrane was peeled off which now revealed the masking pattern on the brass. Note that there are gaps in the masking pattern on the right border. This happened during the ironing process where the ink did not adhere to the brass. I filled the spaces with paint so that no etching would occur in these areas.
The next step involved putting the brass plate in a plastic container that held about a ¼” of ferric chloride. Before doing this, I put packing tape on the back side of the brass plate to keep the acid from attacking it. Ferric chloride is a mild acid and it etches the areas on the brass that are not masked. I let the process proceed for about an hour, agitating the brass in the solution about every ten minutes. The brass was then removed, cleaned with water, dried and then the masking ink was removed from the brass with acetone. Note: More details on ironing on the pattern and using the ferric chloride to etch the brass (Particularly the safety in handling the ferric chloride) the can be found on internet links shown above.
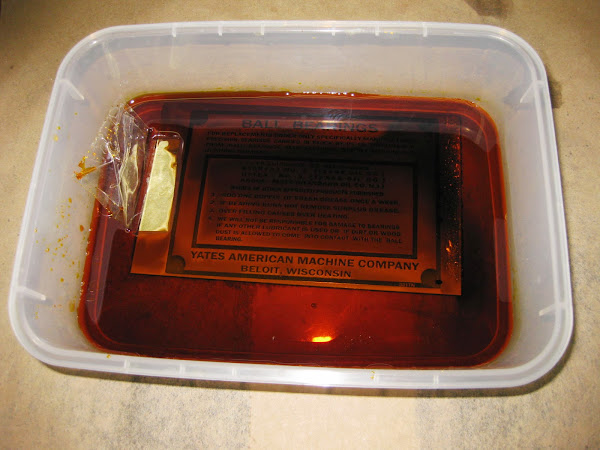
I found that there was some discoloration of the brass that was exposed to the acid during the etching process, but this will not be a problem as this area will end up being painted.

The masking ink was then removed with acetone.
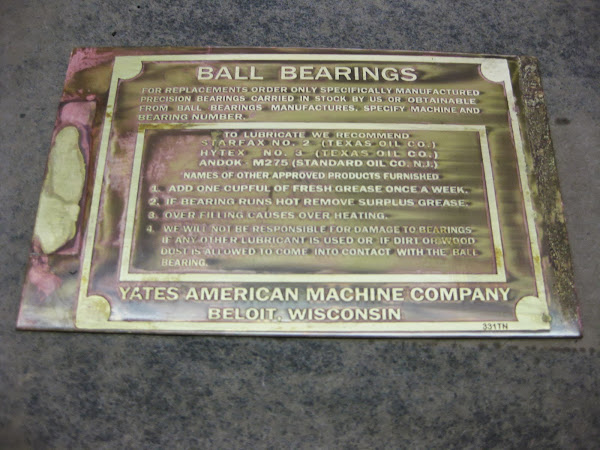
The brass was then cleaned, spray painted and allowed to dry overnight.

The next morning, I put a sheet of 400 grit sandpaper face up on the table saw and rubbed the painted side of the brass against it. This removed the paint and exposed the brass on the high surfaces. In the etching process the high surfaces are a few thousands above those that were etched. The 400 grit will remove very little of the exposed brass, so you do not have to worry about it sanding off the high surfaces. I have also tried removing the paint by rubbing the brass with a rag covered block and paint solvent, but found this method was not as reliable.
The little “blobs” you see on the right border is where I filled in gaps in the masking ink. They will disappear when the plate is trimmed.
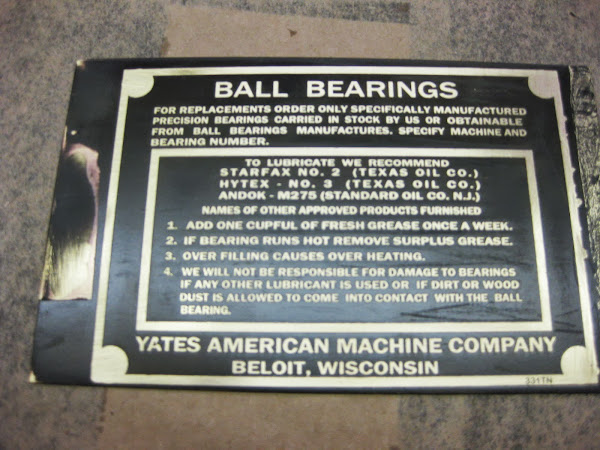
Next, the plate was trimmed to size and mounting holes were drilled using the old plate as a template. The plate was then clear coated with polyurethane spray and was ready to be mounted on the saw. The same process was followed with the name plate, except that the serial number for the saw was stamped on the brass plate.
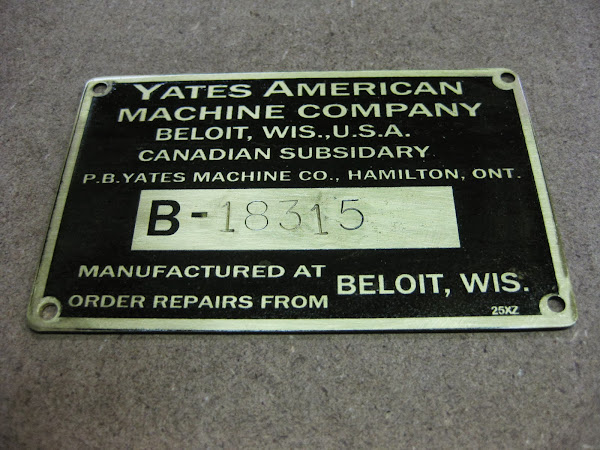
I was very happy with the way the two plates turned out, and the difference they now made with the saw. My eye/hand coordination on stamping the serial number on the name plate was not spectacular. However, I am rationalizing that I have seen worse on other plates over the years, so this looks pretty “realistic”. The only thing missing from the nameplate is the U.S. Navy anchor. The only way I see that this can be done is either engraving it by hand, or doing another name plate and including the serial number and anchor as part of the graphics and then etching it. There is no margin for error when you are engraving on a shiny brass surface, so I will probably opt for the etching route. However, I am out of brass, Press ‘N Peel Transfer Paper, and have business to attend to, so this will have to wait. In the meantime, I have a band saw to use that is functionally and esthetically the finest I have owned.