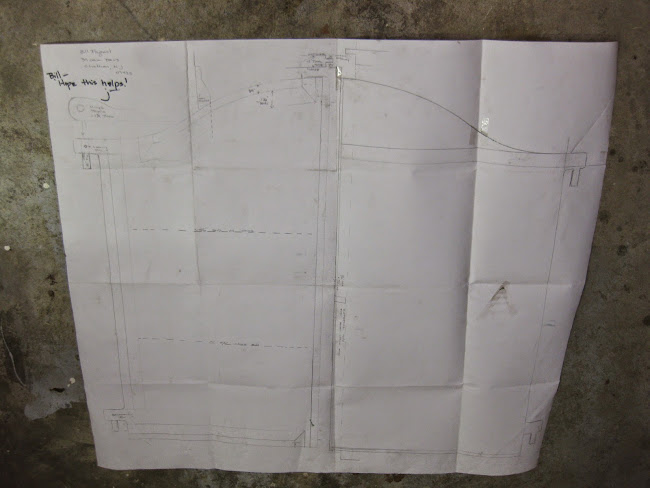
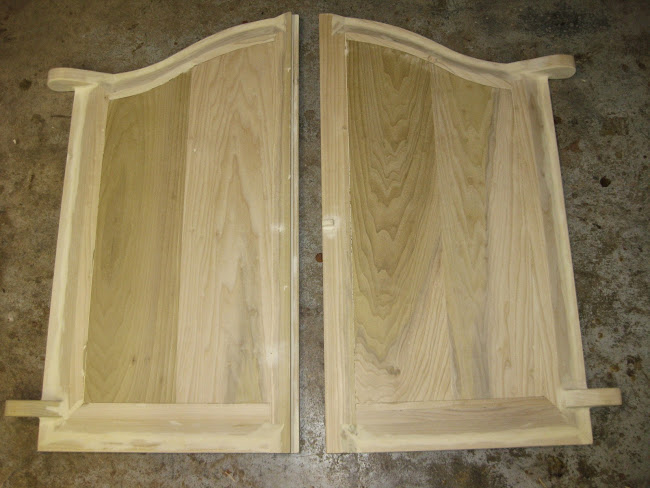
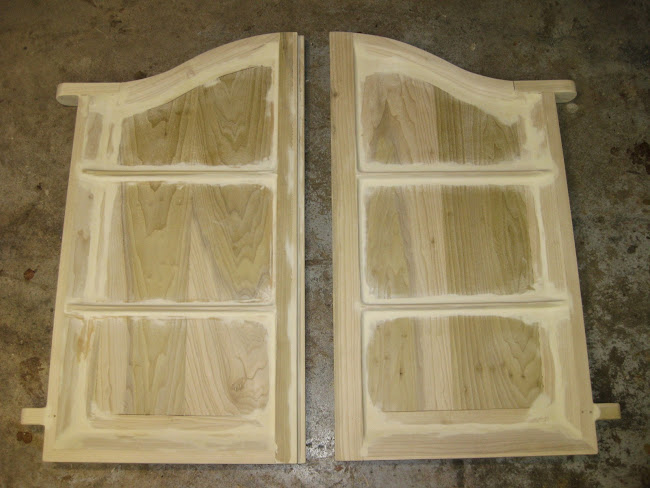
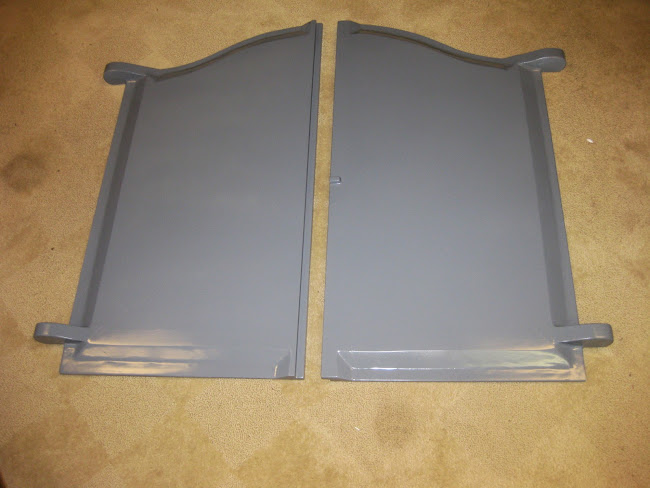
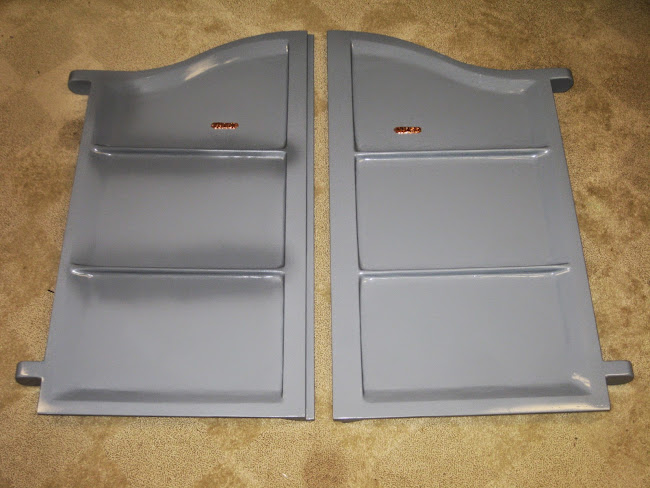
I had never made patterns before, so I was a bit intimidated in tackling this project. So I read up on pattern making and decided to give it a try. In constructing the patterns, I added 5/16” to the height and 3/16” to width of each of the door dimensions from James’ tracings to compensate for shrinkage of the cast iron. The wood medium used was poplar, as I had it on hand and the more traditional woods were more expensive. The construction process was more tedious and time consuming than I had thought. The more time I spent on it, the more I wished for a CNC router to knock these out. Using James’ tracings and photos, I constructed the patterns in pieces, glued them together, and used wood filler for making fillets and filling in cracks and wood grain, then put a couple coats of glossy paint it.
I contacted Emmanuel King at the Cattail Foundry and asked him if he would be able to do castings of this size. He said he could do it and it would probably be a couple months until they would be able to get to it. I packaged up the patterns and sent them on their way.
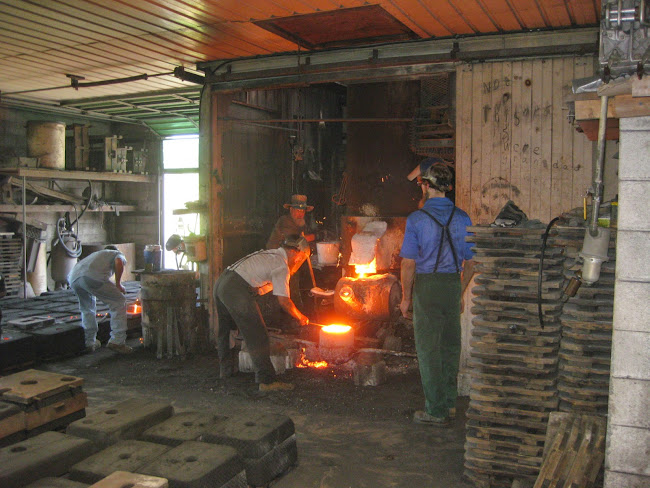
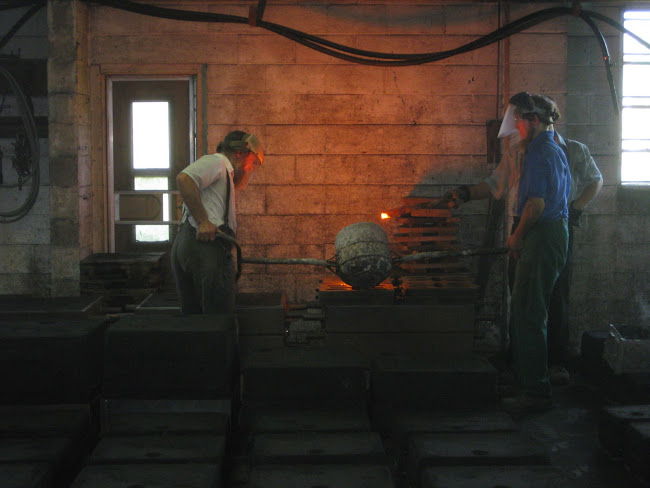
Six weeks later, he contacted me and said the doors were ready. I asked him if it would be possible to pick up the doors, as I lived about two hours away, and it would save on freight (Each door weighed about 55 pounds). He was happy to do it as it would be a pain to package them up. When I arrived at the foundry, I was fortunate to be able to see the operation and they allowed me to take photos of them casting iron for some diesel engine parts. They would pour the molting metal from the furnace into a ladle and then two people would carry the ladle over to where the mold was located and pour the molting iron into it. The light level was low as there were no electric lights which made picture taking difficult. The guy you see in the white shirt with suspenders in the pictures, I believe is Emmanuel King.
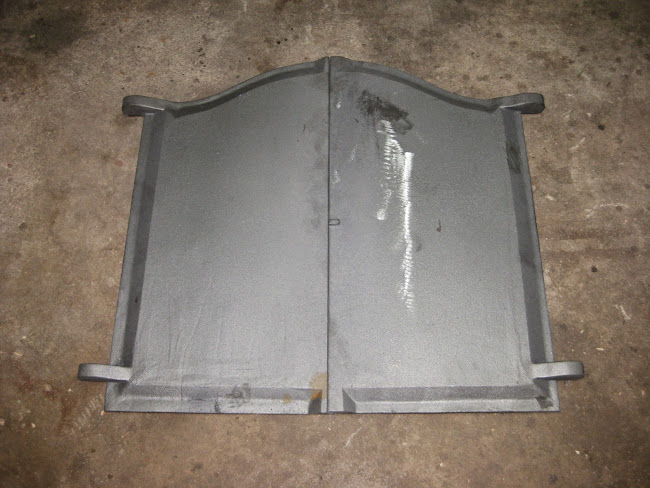
After I got the doors in the shop, I was relieved to see that the doors had no warpage or defects from the casting process. There was some extra cast iron on the inside edges of both door lips. This was caused by sand that clung to the patterns when they were removed from the mold. This was my fault as I did not put enough fillet on the corners and no taper the sides. Cattail had done a great job. To me it was not an eye sore, and I was not in the mood to do a lot of grinding, so I left it alone.

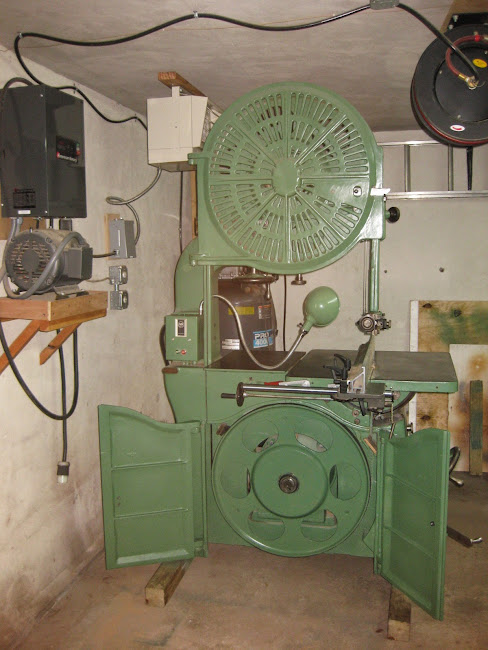
The question now was how well would they hang and would they align properly. A friend and I put the doors on the saw hinge mounts, and held them in place with clamps and were pleased to see everything aligned pretty well.
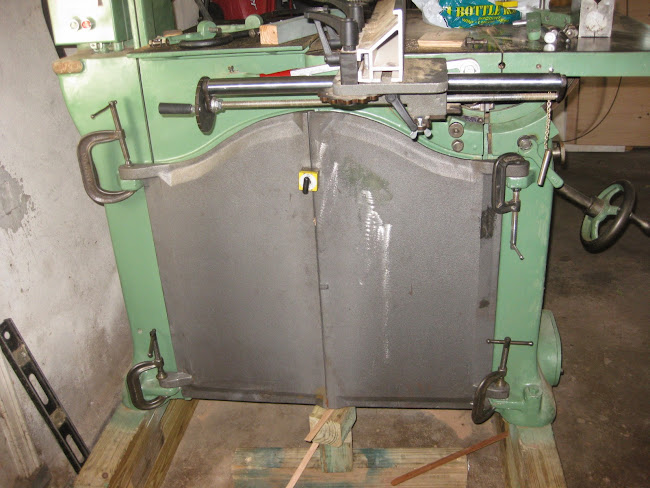
We then started scratching our heads about the best way to bore out the holes for the ½” hinge pins for the doors so they would line up with the holes on the frame. We bounced around some ideas and my buddy suggested using ½” o.d. bushings that would fit in the holes in the saw hinge mounts and act as a guide for drilling the holes in the doors. Because of the tight space, we used a right angle drill, and started out with a bushing with a ¼” i.d. The ¼” hole served as a pilot for a 3/8” bit and bushing, followed by a ½” bit that used the ½” hole in the saw hinge mounts as the final guide. The cast iron was tough, and we went through two ¼” drills. Once the holes were drilled, pins were put into the hinge holes, and the clamps were removed. The doors remained aligned and swung easily. Both of us breathed a sigh of relief. Next the holes for the door latches and set screws for the hinge pins were bored out on the drill press and the set screw holes were tapped. The door was ready for painting. I used some bondo and glazing putty in the rough spots, then primered the doors and followed up with the same top coat batch I used when I thought I had completed the restoration of the saw a year ago. The doors were remounted to the saw and the latches put into place. Hopefully this is the final investment in restoring the saw!