Making an arbor for a Hammond

Discuss the coveted printers saw

Moderator: crzypete

Post Reply
crzypete
Posts: 1691
Joined: Thu Dec 16, 2004 10:45 am
Location: New York State
Contact:

Making an arbor for a Hammond

Post by crzypete »

Hello Junkies. In the process of hotrodding my franken-hammond and adding a larger blade I decided to make a more traditional arbor to mount my blade.

Armed with Bob Vaughn's PDF http://www.owwm.com/files/PDF/FAQ/HammondGlider6.pdf I pulled my spindle I set out working up plans. I decide to weld the flange to the shaft so I did not have to start with such a large piece of metal.
Image

First stop was the horizontal bandsaw cutting a piece of stock to length
Image

Next, to the metal lathe, I face the ends and centerdrill in preparation to turn the shaft between centers.
Image

While the chuck is on the lathe, I want to prep the flanges, so I am back to the bandsaw cutting two discs off a a big honking piece of 2 1/4" diameter stock.
Image

The two flanges. The one on the right will be the loose flange, and the one of the left is roughed out to be welded in place and turned again.
Image

I turned the shaft to accept the flange and am ready to press them together.
Image

I use my arbor press to push the parts together. Like Buttah!
Image

After they are together I weld the joint using my mig welder.
Image

More to come........
Last edited by crzypete on Sun Mar 04, 2012 10:07 pm, edited 4 times in total.
crzypete
Posts: 1691
Joined: Thu Dec 16, 2004 10:45 am
Location: New York State
Contact:

Post by crzypete »

OK, Part 2.

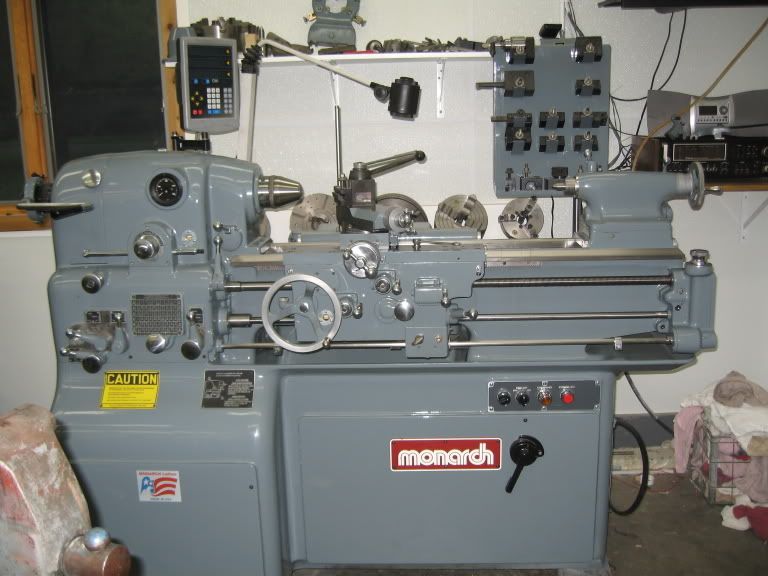
Back to the lathe. As stated before I am turning between centers, this gives excellent repeatability when swapping the part end for end and makes turning threads easier because you can remove the part from the lathe to check your threads without loosing your reference to the leadscrew. The part is driven by what is called a dog- a clamp with a leg to drive it. Here I am about to start turning the body of the arbor.
Image

The body and bearing surfaces of the shaft turned, I cut the 20tpi thread which will be on the right side when finished. It is a standard right handed thread.
Image

Here is the part so far. The more polished areas are the bearing surfaces. The dog is removed so I can flip it end for end and work on the blade side.
Image

Just to be certain that everything is happy I indicate the shaft after it has been flipped
Image

Now I turn the flange which I had previously welded on.
Image

The thread on this side is left handed 5/8-11. It is cut with the carriage moving away from the headstock- the opposite way of cutting a right handed thread. The nut is a stock nut.
Image

Unfortunately some photos are missing from the next couple of steps. I turned the weld to tidy it up and the back of the flange. I assembled the nut and floating flange onto the arbor and turned the outside diameter and the cut the outside face of the flange.

At this point I put the chuck back on and using a spider- the wood and a Dial test indicator I trued up the disk using the surface that I had just cut while it was assembled. The outside face is then trued.
Image

Next is a trip to the mill to add a keyway for the pulley.
Image

Finally Done! Note the cleaned up weld which I forgot to take a picture of the turning of. Not bad!
Image

I have been running it and already happy with the performance. I feel it is more stable than the faceplate and will be a great addition once my new bigger blade shows up from Forrest.

That's all for now.

Pete
swparish
Posts: 35
Joined: Tue Sep 11, 2007 4:18 pm
Location: Ft. Worth TX

Post by swparish »

Great pictures.
Need more drama. I want to know what was going on in your head; the classic man against himself/nature/man.
...and your metal working tools make me jealous.
Stephen
guzziguy
Posts: 796
Joined: Thu Dec 16, 2004 7:17 pm
Location: Western NC
Contact:

Post by guzziguy »

I just noticed that your metal working machines don't get the same treatment as your woodworking machines. Where's the paint? and the smooth bondoed surface?
crzypete
Posts: 1691
Joined: Thu Dec 16, 2004 10:45 am
Location: New York State
Contact:

Post by crzypete »

Hi Steve, Unfortunately this was simply a fun day in the metal shop. I am currently involved with an epic battle with apart from my lawnmower, but it just isn't the same..... Perhaps you could run a seminar on spicy writing for wood geeks- I would be all ears with my taped up glasses.

Guzzi, There is just something different to me about the metalworking machines. They just are oily and dirty. Some of the paint jobs I have seen are amazing, but I have to think in use they don't last. I have painted a few machines in there and a few others will get their day, perhaps, one day..... I guess for metalworking I try to buy machines with original paint, but don't worry too much if it has some patina. Want some candy? Check out this dudes repaint and refurb of a monarch 10ee. I don't think I could use it.
http://img.photobucket.com/albums/v492/ ... 205001.jpg
Post Reply