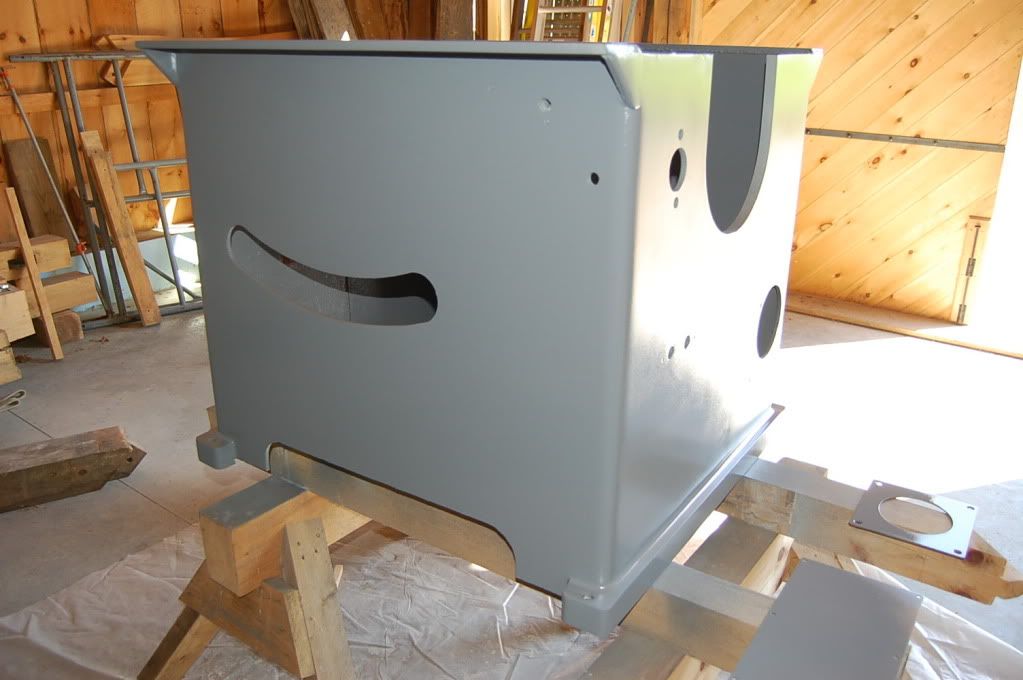
Thanks Pete, I'll try that with the photos when I get the base painted. I tried spraying today. The inside of the base and the dust doors came first so I could get used to the gun. There was a little orange peel so I made some adjustments to the gun and started on the outside of the base. I got one coat on but managed to get two runs in the paint - my fault, I was spraying too heavy. I am going to try and sand them out tomorrow and try again.
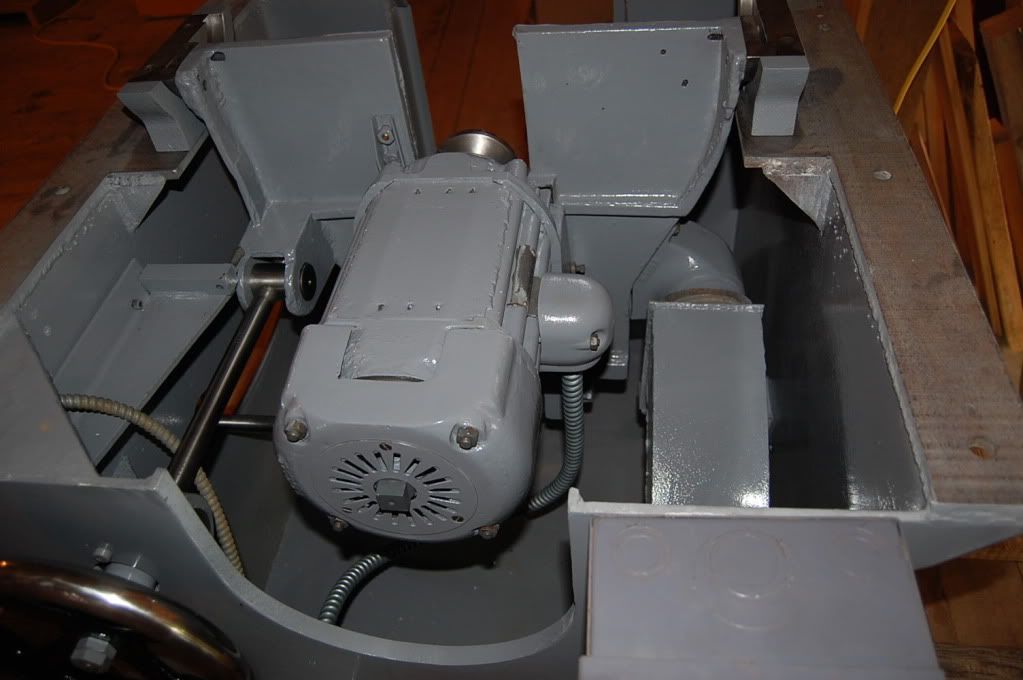
I would like to use your idea of acorn nuts on the motor, I thought they really looked good on your saw. Did you go with regular steel ones ? I see that graingers has the steel high crown ones available (10 for about 6 bucks).
tannewitz xj project
Moderator: crzypete
I looked back at my photos to see what I used for acorn nuts and think I may have used two types. I am pretty keen on the standard zinc plated ones, but the inside ones that are closer to the arbor appear to be from a batch of nickel plated ones that I bought from Mcmaster at some point. The nickel plated ones are a bit shorter, but I don't think I needed the height savings, I think I may have been out of the standard ones.
For some reason the nickel plated ones are cheaper
http://www.mcmaster.com/#acorn-nuts/=c7qju1
Pete
For some reason the nickel plated ones are cheaper
http://www.mcmaster.com/#acorn-nuts/=c7qju1
Pete
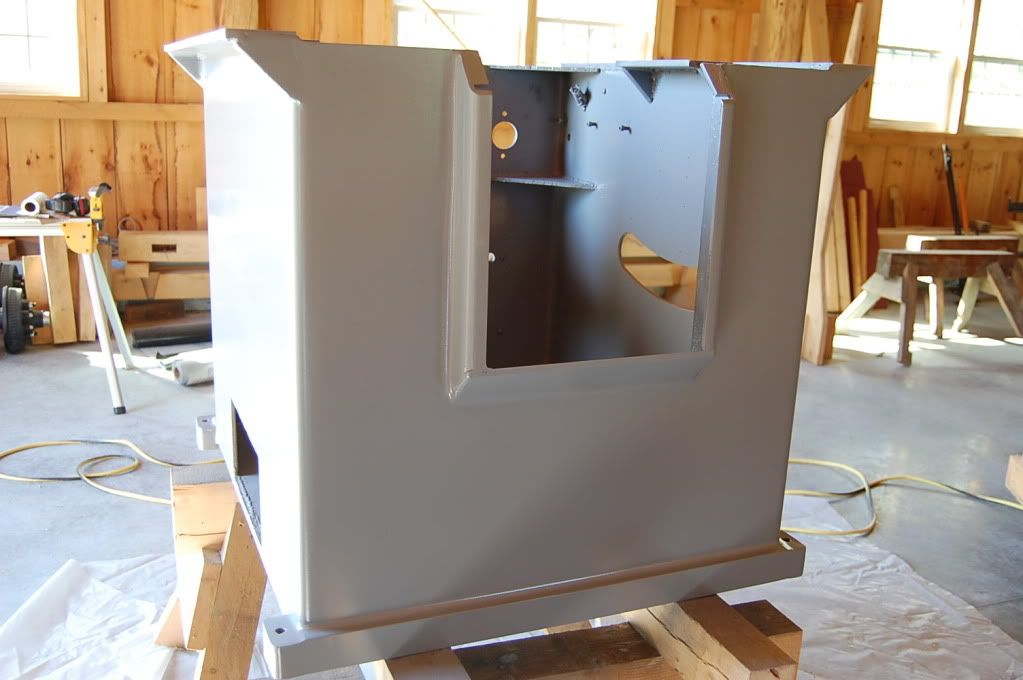
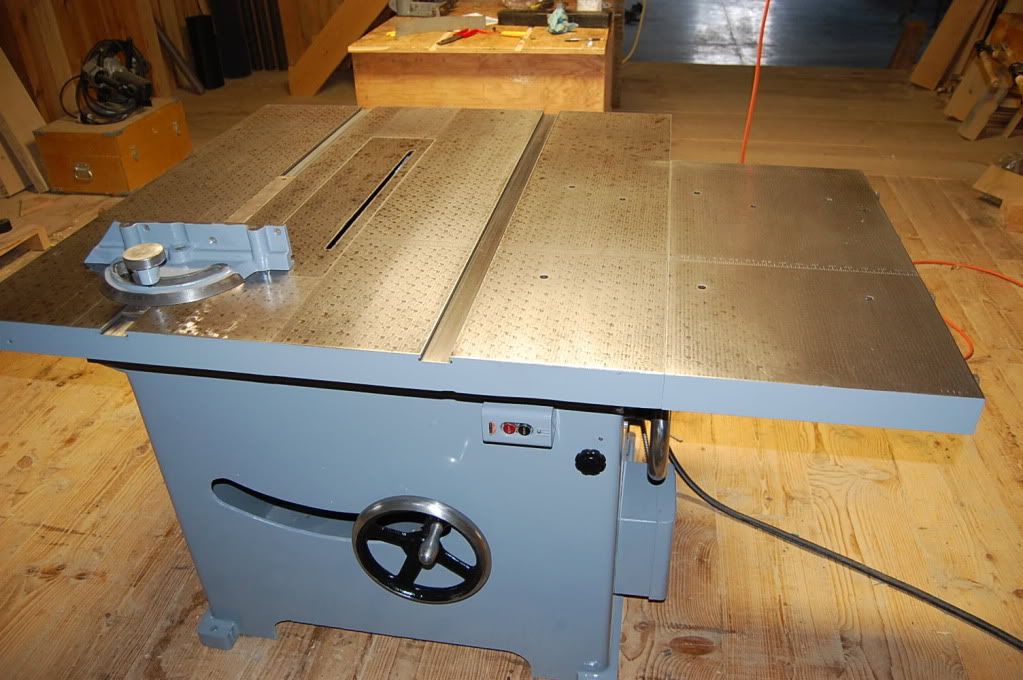
I wet sanded the saw base after my first attempt at painting and then tried again. I still got some orange peel and a couple of runs. Getting to apply the paint just right is challenging. You can see the surface is not the best. Now I will probably just wet sand the runs out and spray those areas again.
 [/img]
[/img]tannewitz xj project
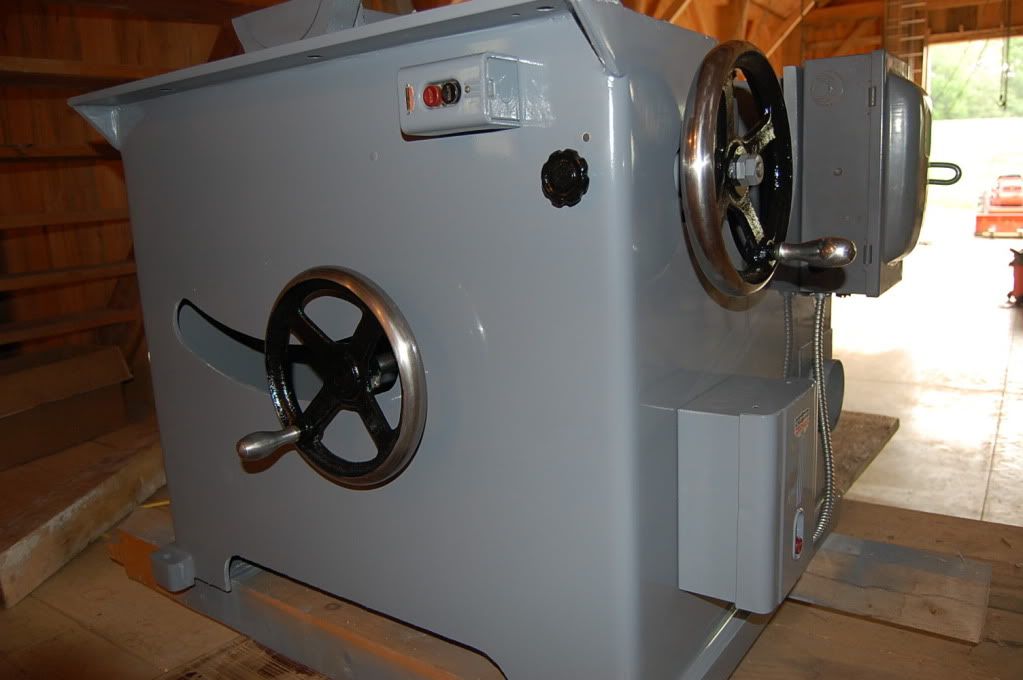
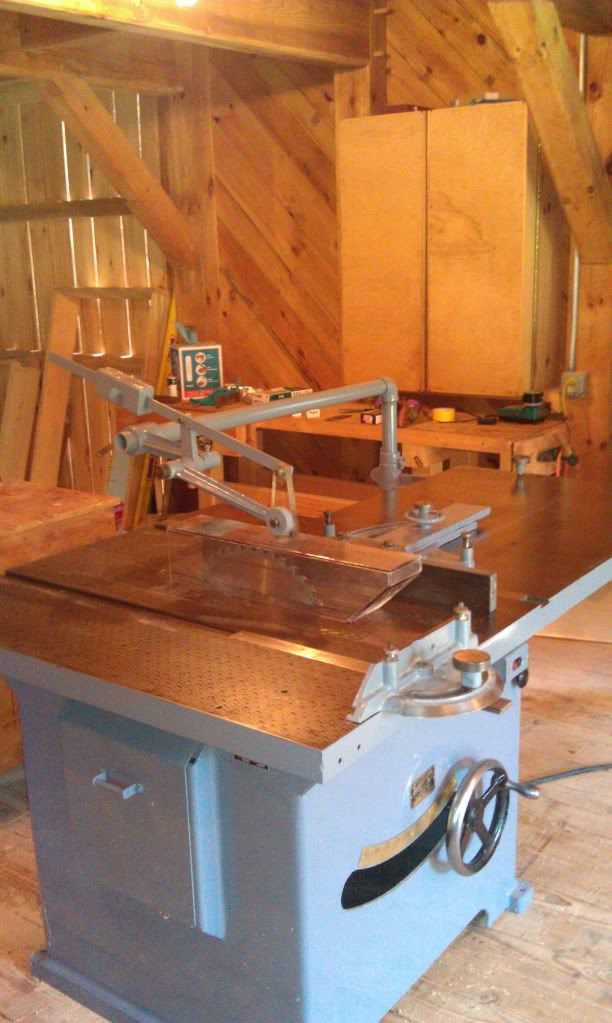
I'm back with some recent photos of the almost completed saw. I wet sanded the base and repainted with better results. I turned the top over, cleaned and painted the underside which came out pretty good but not great. The top is back on and the photos show one table extension in place. I have since completed cleaning and painting the blade guard pipe and frame and installed them. The lexan guard was broken so I sent it to a company in illinois to use as a template for a new one. This saw runs beautiful, although the 16" blade does make a bit of a high pitch noise (ear protection is a must). The rack and pinion fence is almost done (There was a hairline crack in the "boss bar" on the fence and I'm having a pattern made for a new cast iron replacement). I will post additional photos when completed.
tannewitz project
I finally got around to getting a picture of the finished saw . I was waiting on a piece to the fence to come back from the patternmaker. I assembled the fence with the cracked piece for now while the new one is being cast. According to the manual the piece is called a grossbar (I called it a boss bar in an earlier post). I attached the brass angle gauge to the saw with tiny brass machine bolts (about 1/16" diam) and nuts from Mccmaster. I have a box of 100 if anyone needs some let me know. The new lexan guard works great and I purchased a new 16" ripping blade from Dinosaw in Hudson,NY (about $119.00). The saw runs nice and smooth. I am now looking for a 4" arbor for dado blades. Thanks to everyone who heldped me with the rebuild. It was well worth the effort.
http://i1191.photobucket.com/albums/z47 ... AG0065.jpg
http://i1191.photobucket.com/albums/z47 ... AG0065.jpg