Walker Turner 16" W/M Bandsaw

All strange discussion and debates

Moderator: crzypete

Post Reply
diamond saw dave
Posts: 45
Joined: Tue Aug 04, 2009 4:01 pm
Location: Saratoga Springs NY
Contact:

Walker Turner 16" W/M Bandsaw

Post by diamond saw dave »

So my quest for a wood/metal bandsaw has been long and arduous. After such a long search I had expanded my CL search area all the way to Boston and Buffalo and even considered driving to the Pennsylvania line if the price was right. For some reason though with my constant travels back and forth to Vermont once a week never had me searching much further north.

I recently got an email from crzypete stating HERE IT IS!!!! and a hyperlink underneath it. I clicked on it and there it was a Walker Turner 16” W/M band saw. It was rough but the price was right. So I emailed the person as there was no phone number to call and waited for a response. I assumed it was gone due to it had been posted for a couple of days and I was just getting to it then.

I received and email back from Dave (Ironically the last 4 of 6 CL transactions I have had have been with people that share my name). Dave said he had two other people interested in it but if I wanted to come take a look at it I could come up on sunday. So I packed all of my cribbing and tie-downs and made sure I was ready for anything for when I went to get it.

Dave is located north of Lake Placid so it was a beautiful day for a drive into the Adirondack Park. I filled up the truck with gas and got on the move. When I found his address I had about a 1 mile drive down a rough dirt road and everything about it screamed in my head that I was going to be butchered and buried in different places all over this guys backyard. With great comfort and surprise though as I rounded the last corner of the drive way I saw a 7 foot tall vertical stack of rocks precariously placed on top of one another. I knew only good things could come from this place.

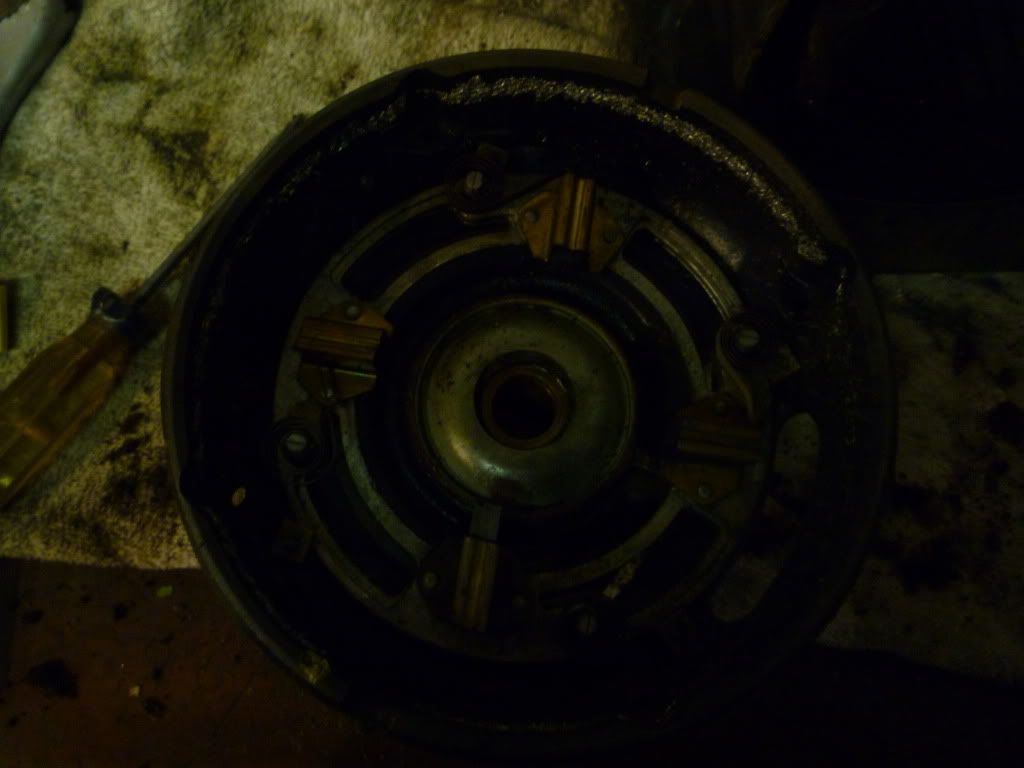
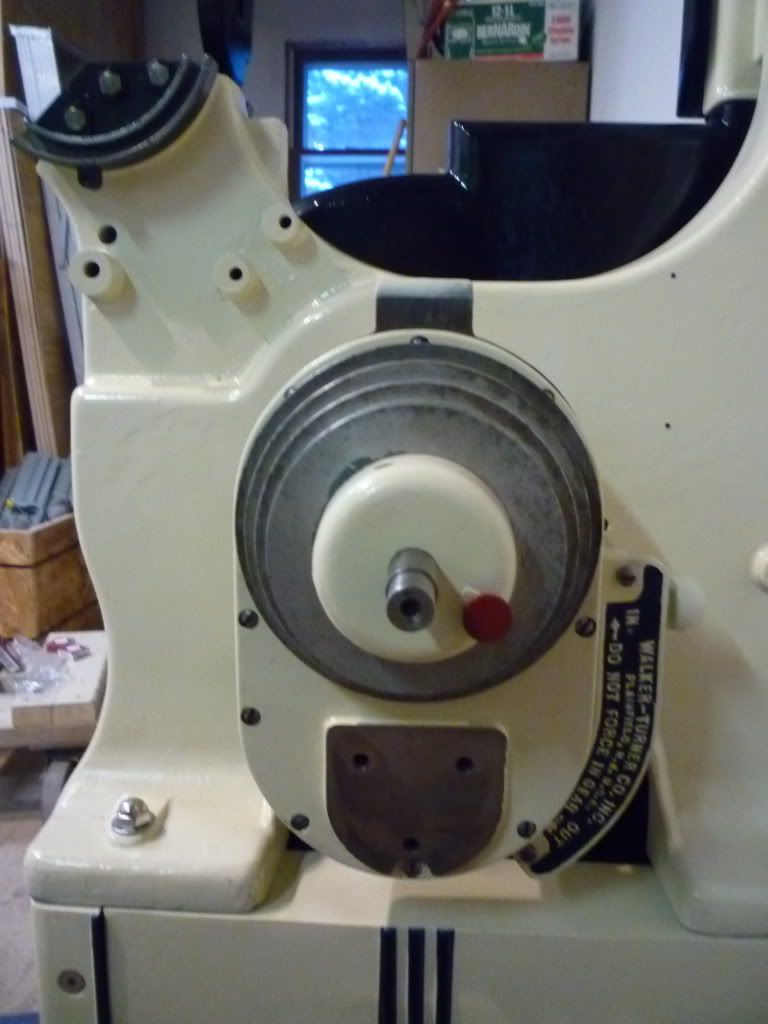
I pulled up to the first of 3 of Dave's Barns. He came out of the house and shook my hand and we went about business. We walked out to his shop and took a look at the saw. I gave it a good through check and even fired it up. Everything was in good working order considering the state it was in and I told him I'd take it. So I got him talking as we were loading up and found out that he moved up that way in the early 70's and was training for the 76 and 80 Olympics for the luge and the bobsled. He had a terrible accident competing and spent 9 month in a hospital bed in Germany with 57 steel rods in his foot while it healed. Fortunately he is able to walk because of all of the time he took to let things heal right.

After that he started building the bobsleds and luges for the US Olympic team and worked as their manager. He also let me know that I was the last person to contact him but he checked out my website liked the work and thought the saw if I wanted it would go to a good home. So he called me first. First time my art practice has ever gotten me preferential treatment. Dave is now retired and restores fire towers for private investors and designs and build gyrocopters. Cool dude.

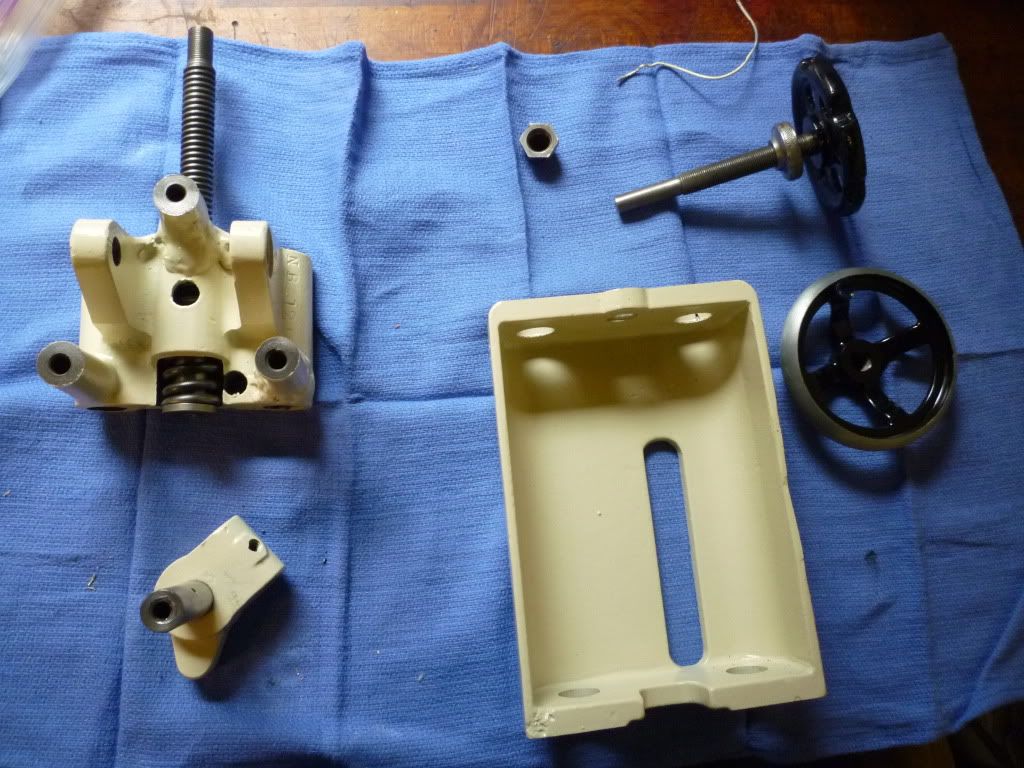
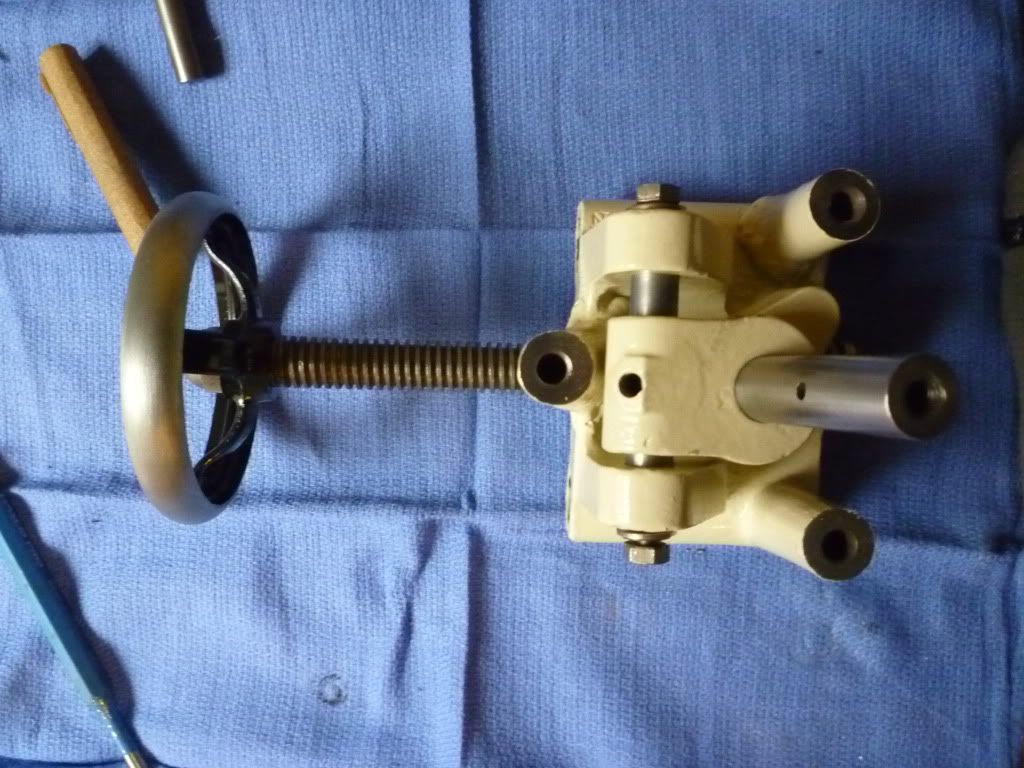
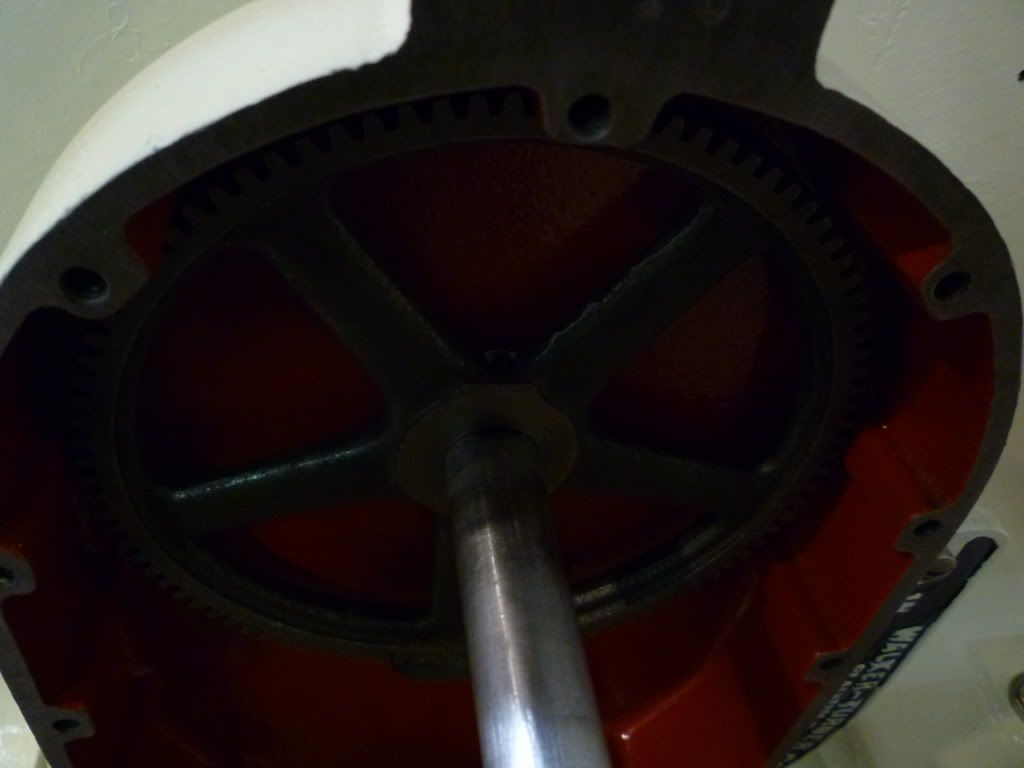
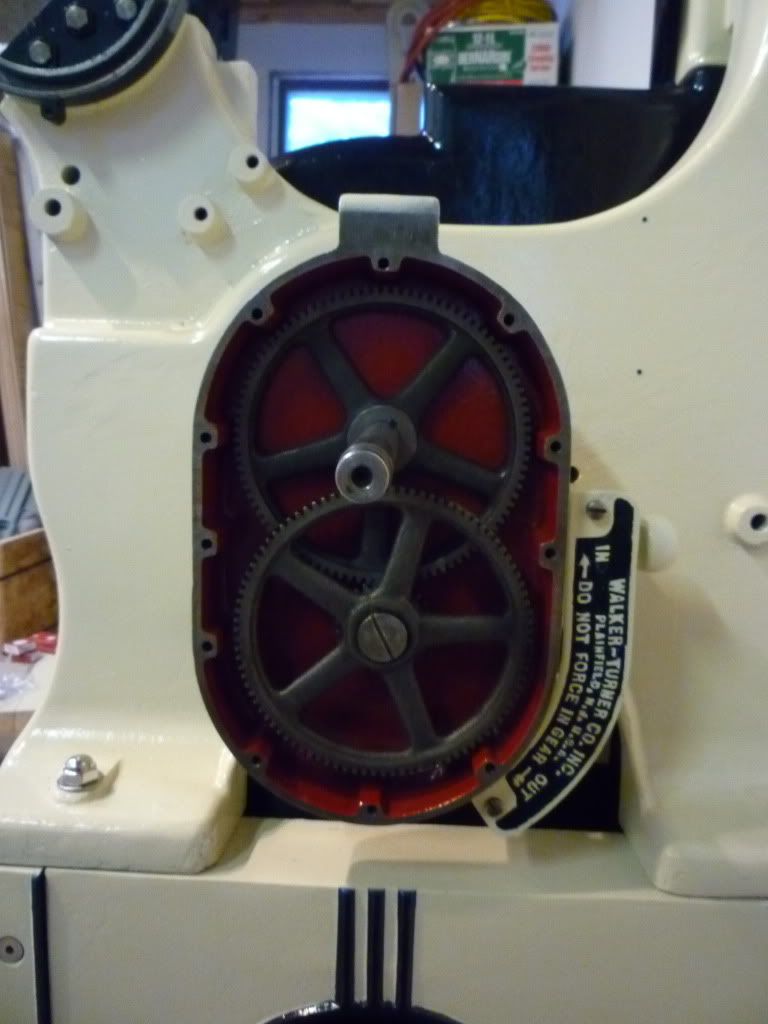
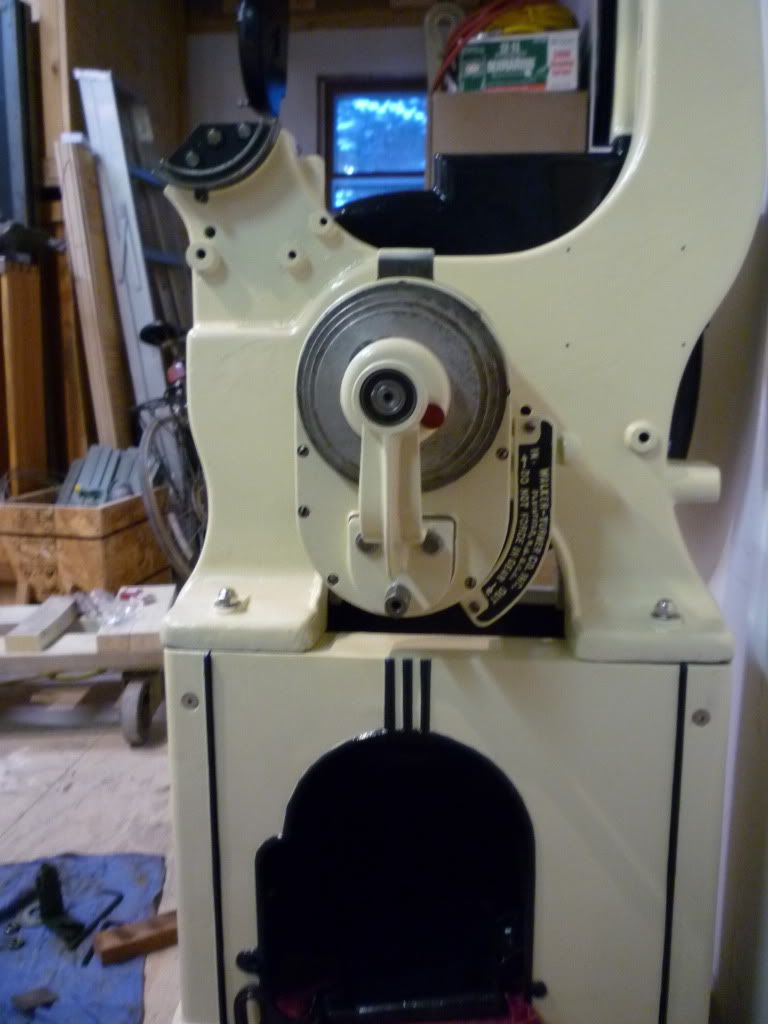
So enough rambling. Here are the pics.

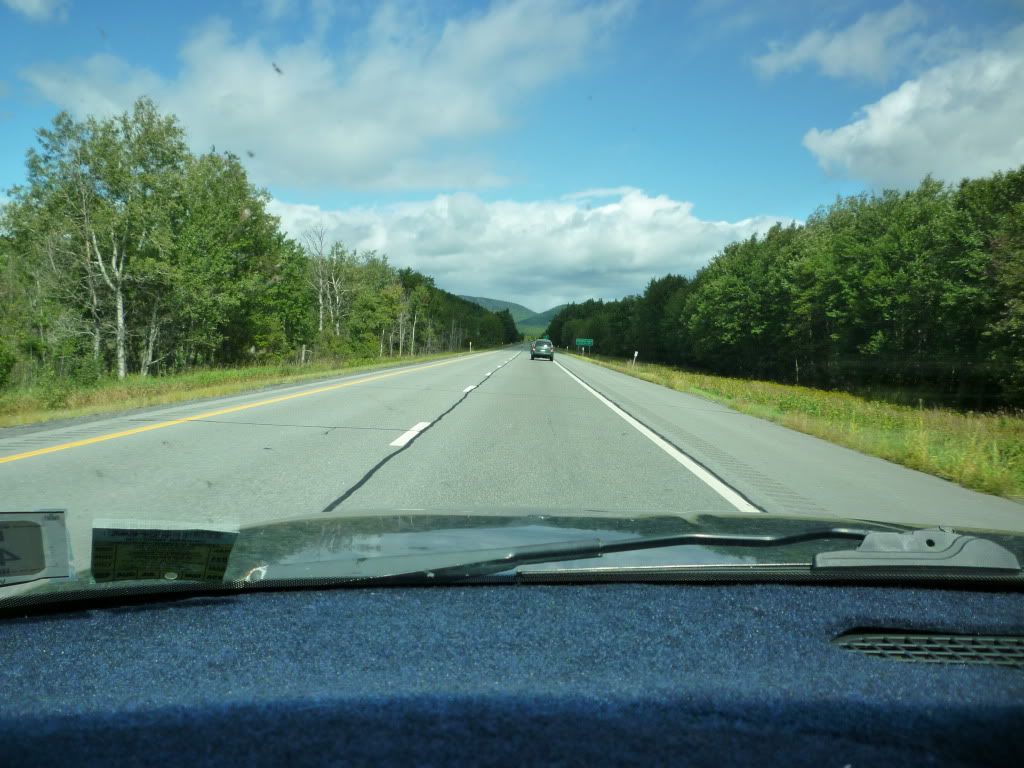
Nice day for a drive north

Image

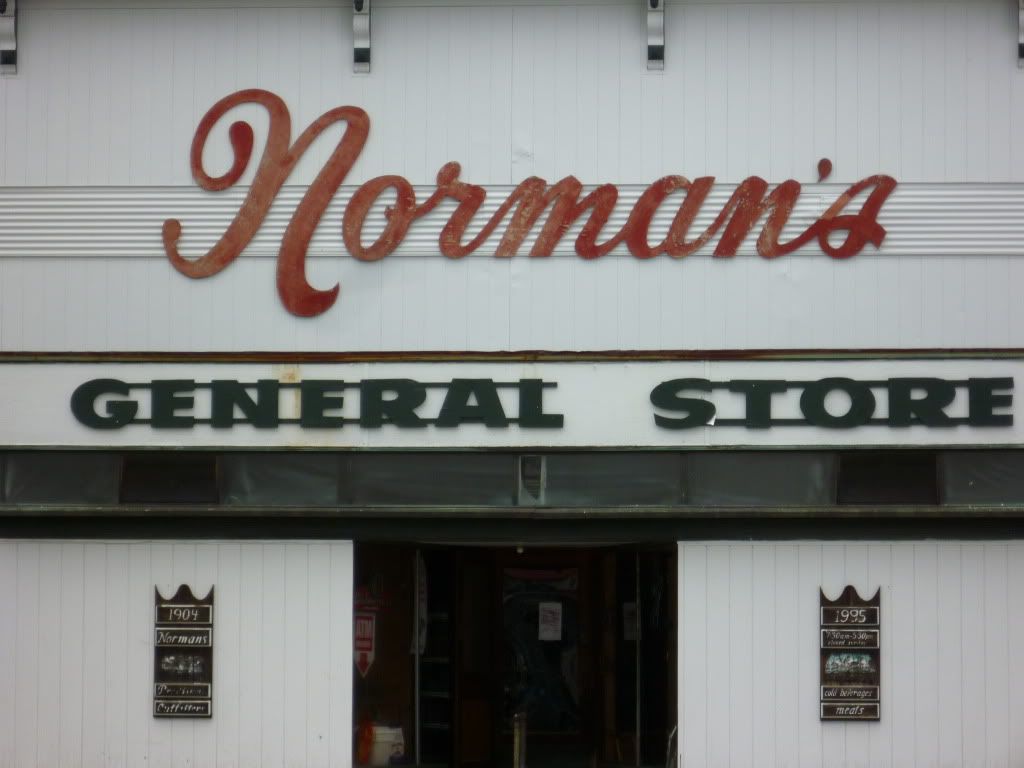
Past this shop on the way to Dave's house. I knew I was headed in the right direction.

Image

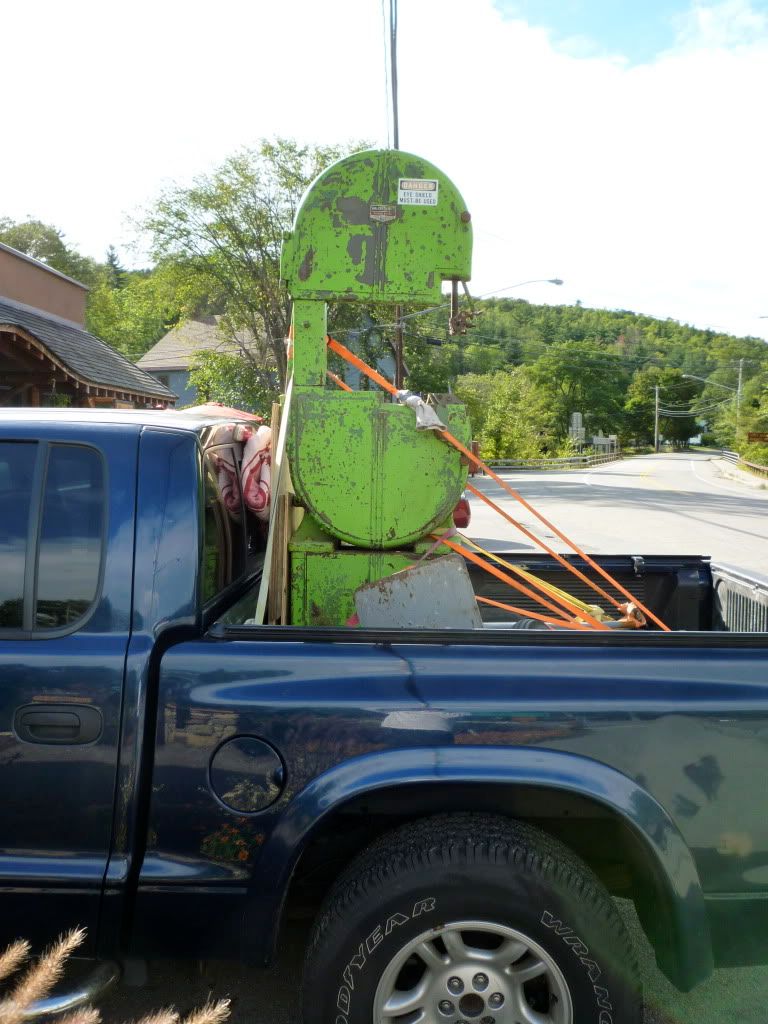
loaded up on the road

Image

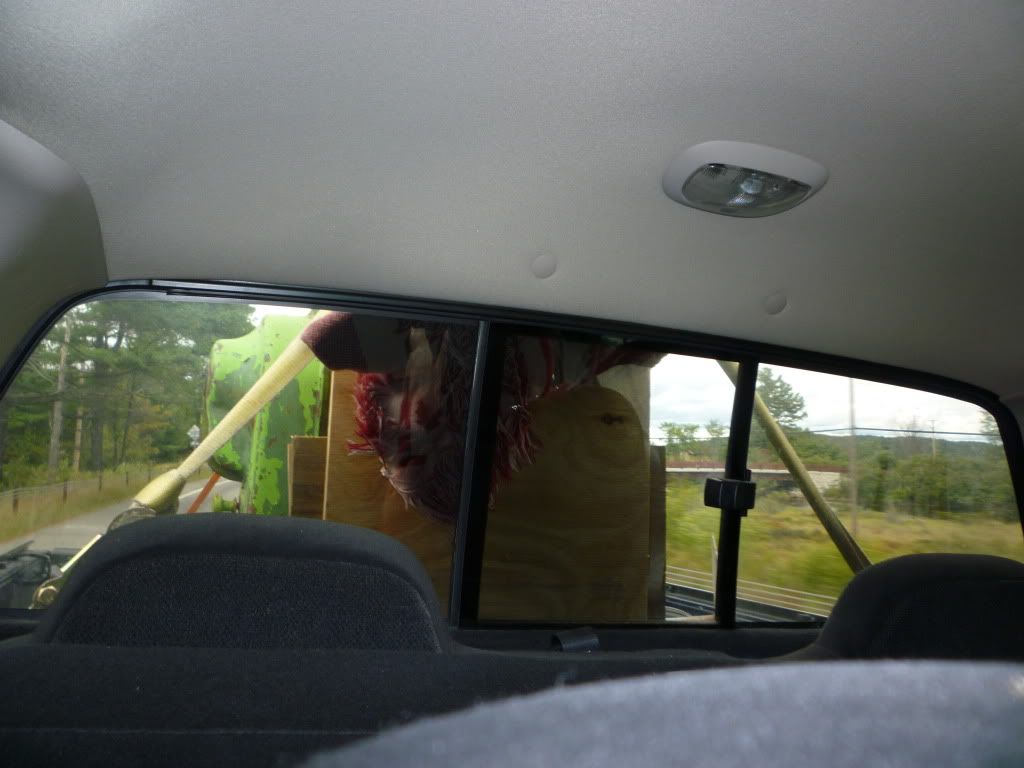
nothing like a new toy thats going to take you weeks to actually get to use to make you happy!

Image

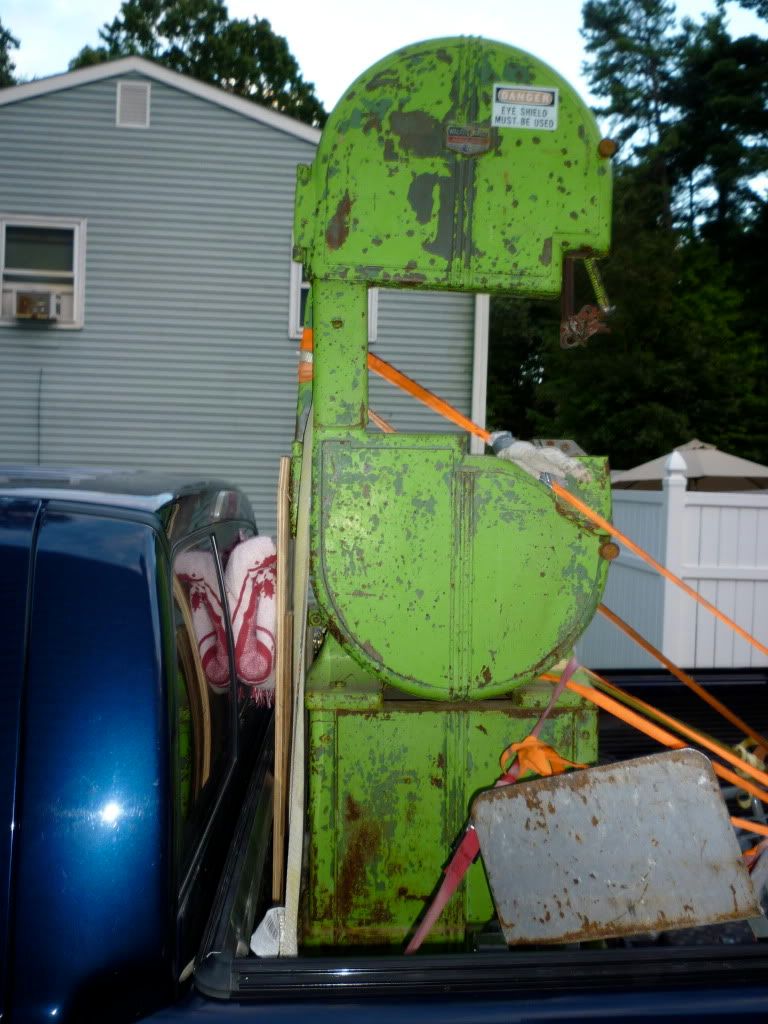
stopped for lunch in Keene. Good food but the best part was watching people walk by it trying to figure out what it is.
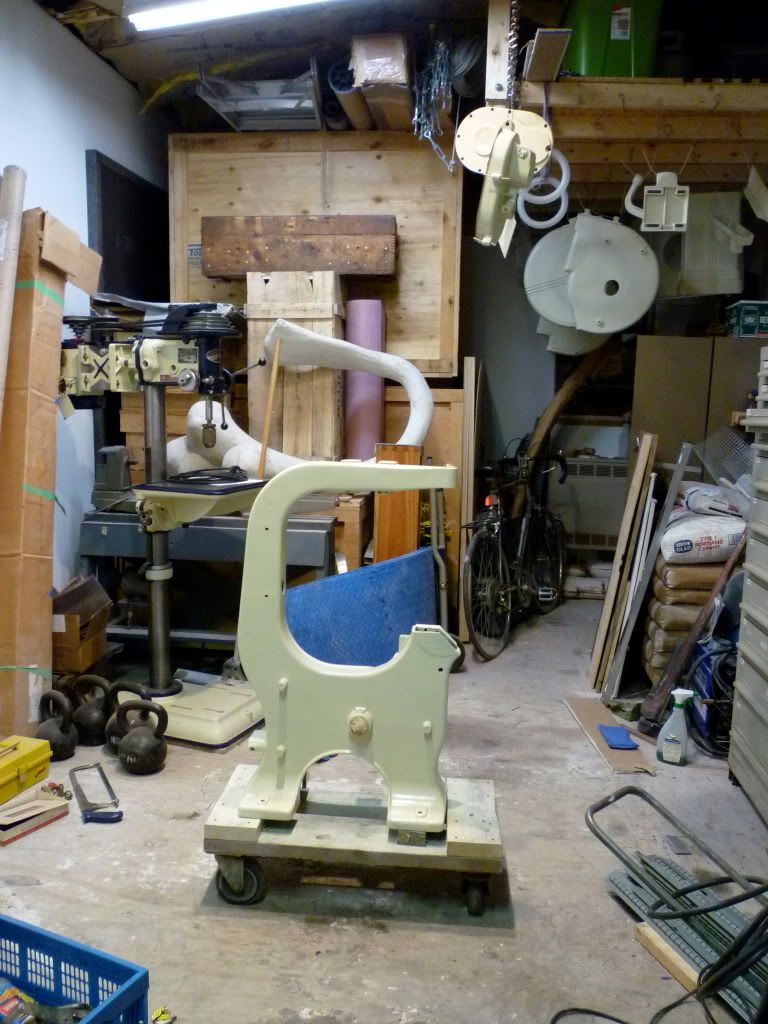
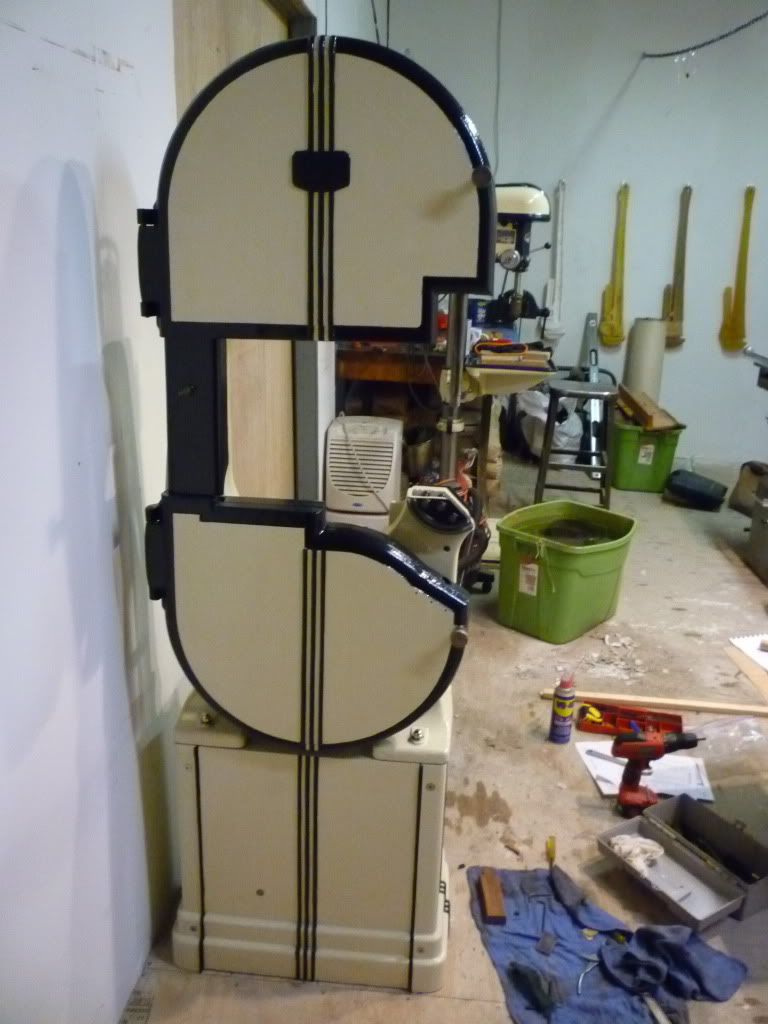
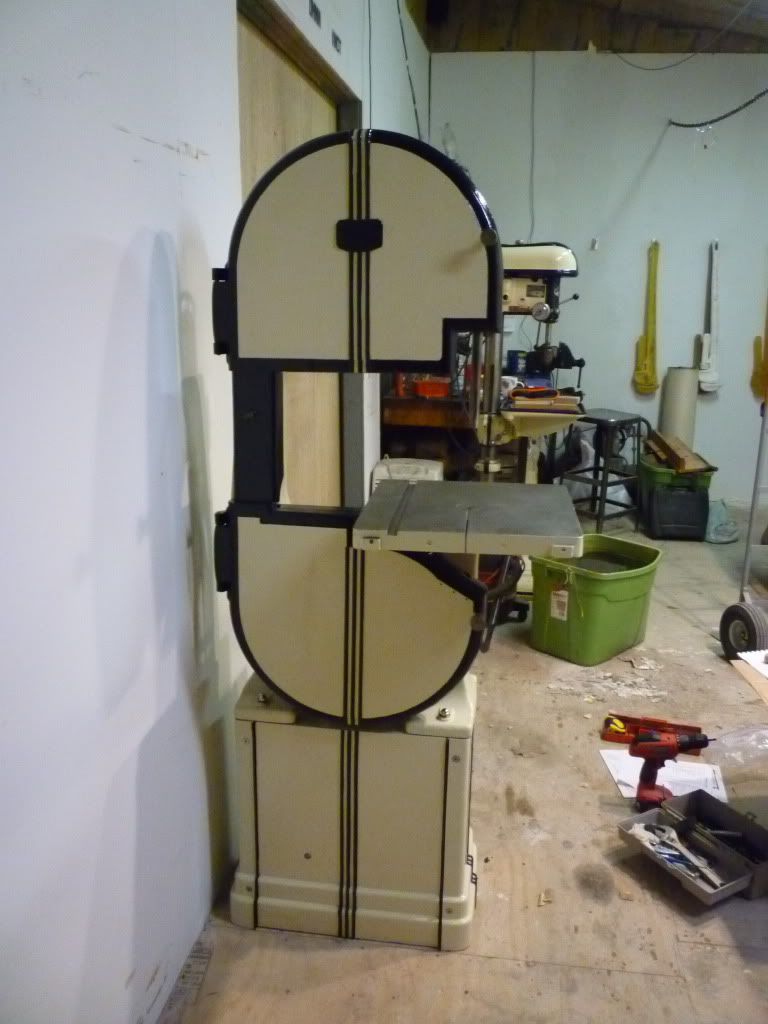
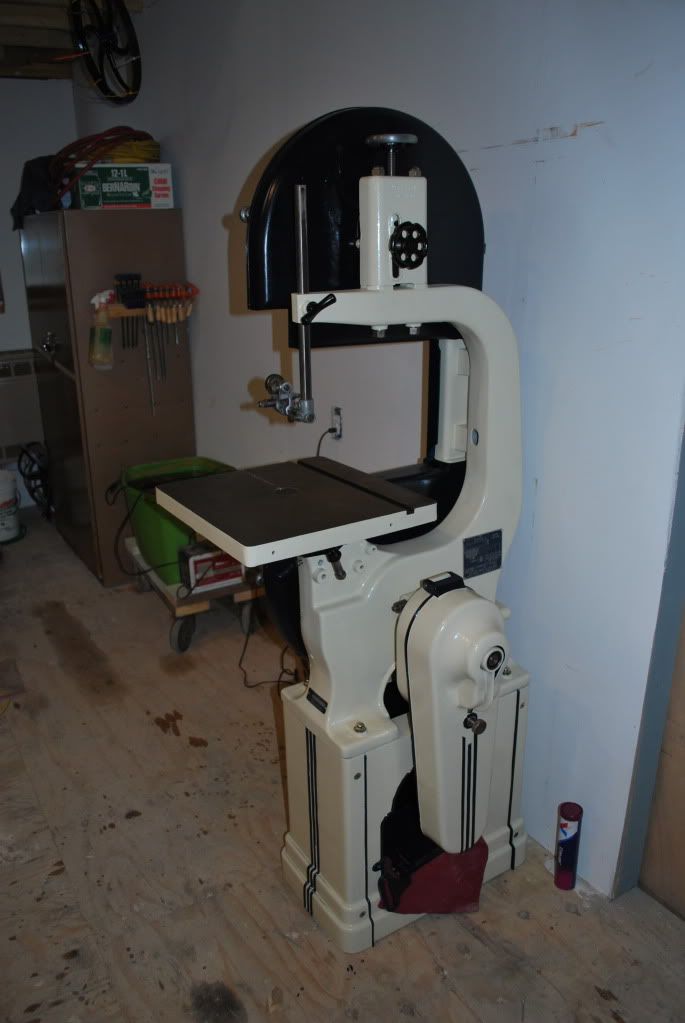
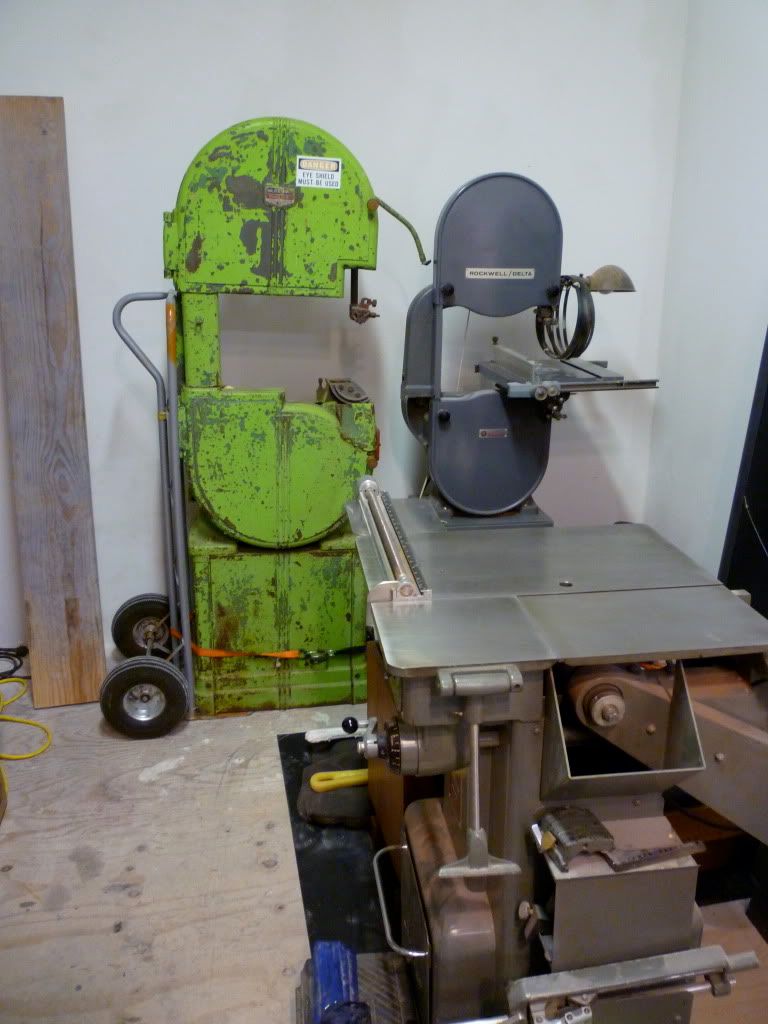
Image

home...

Image

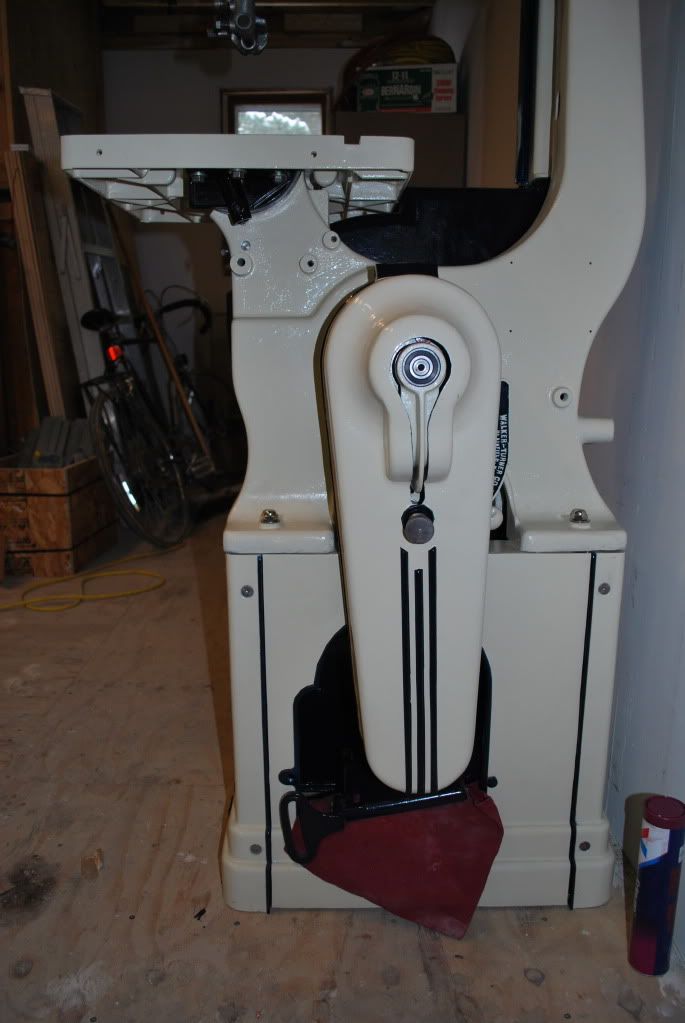
in the shop next to the delta 14" makes it look like a baby.

Image

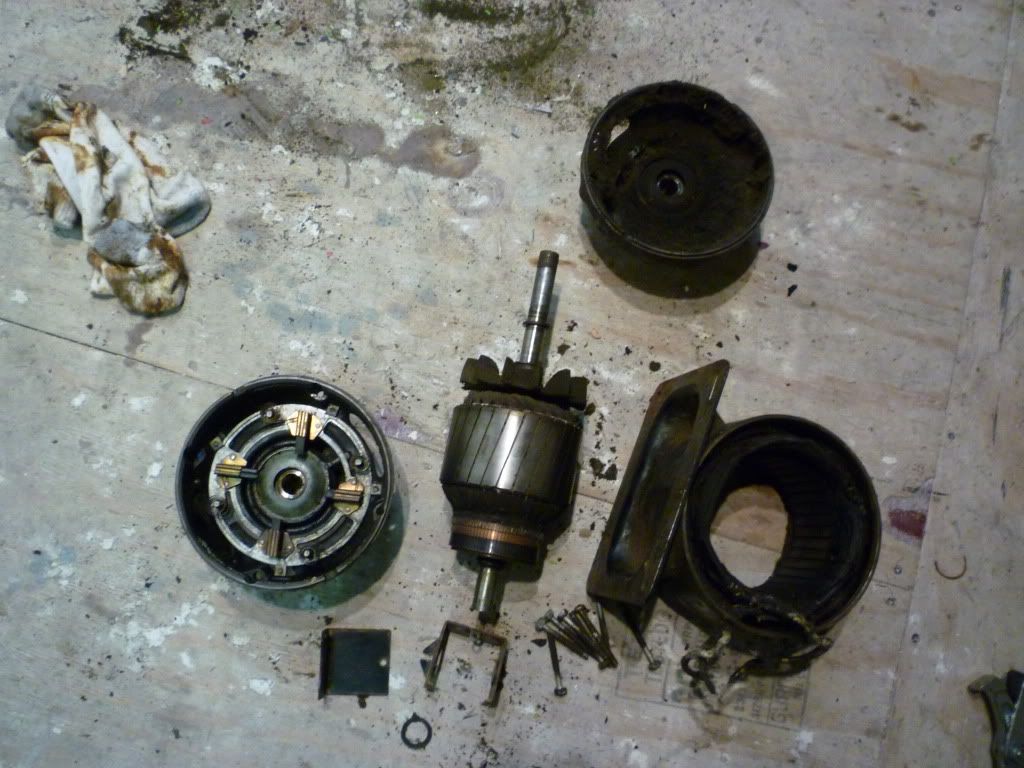
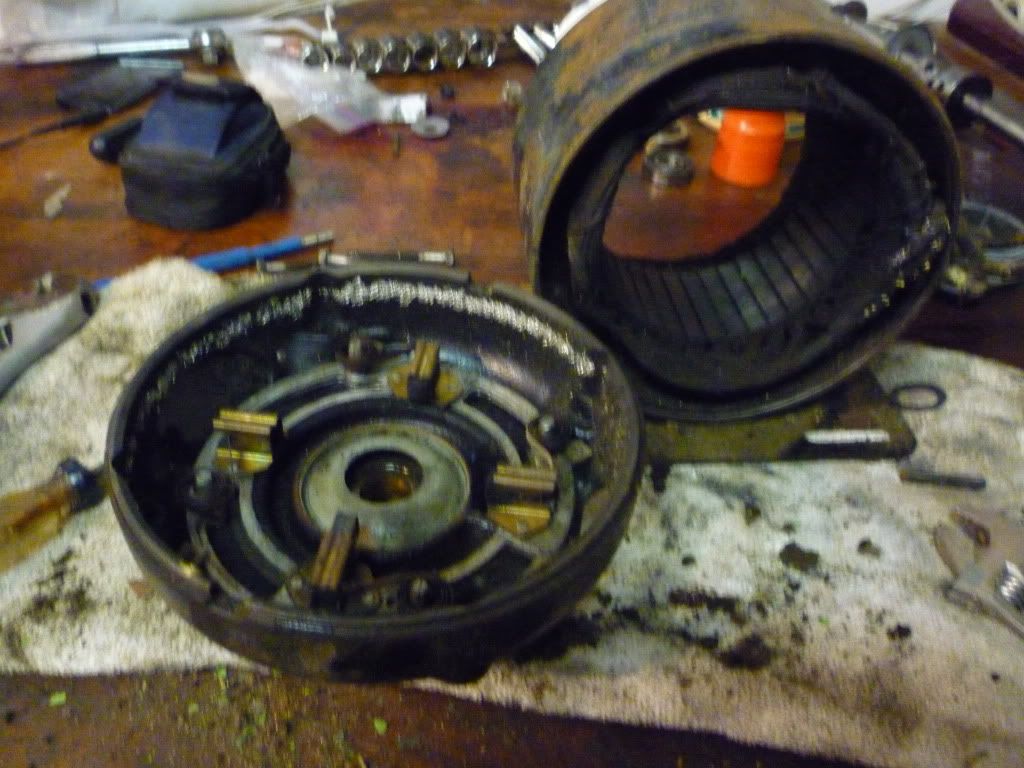
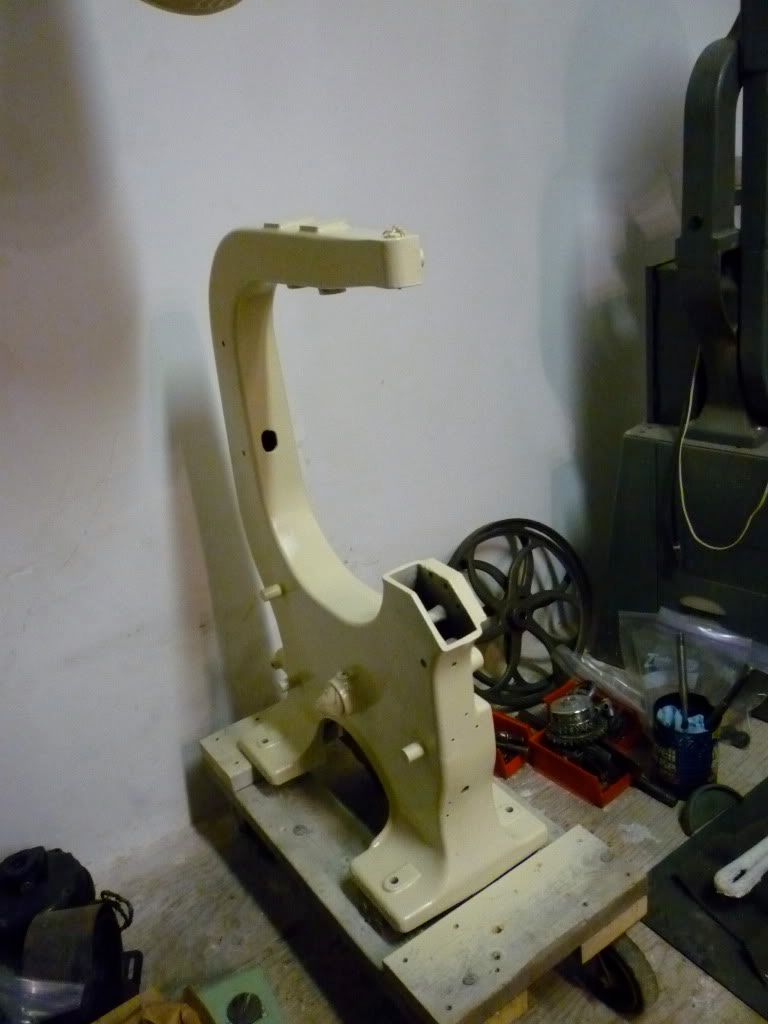
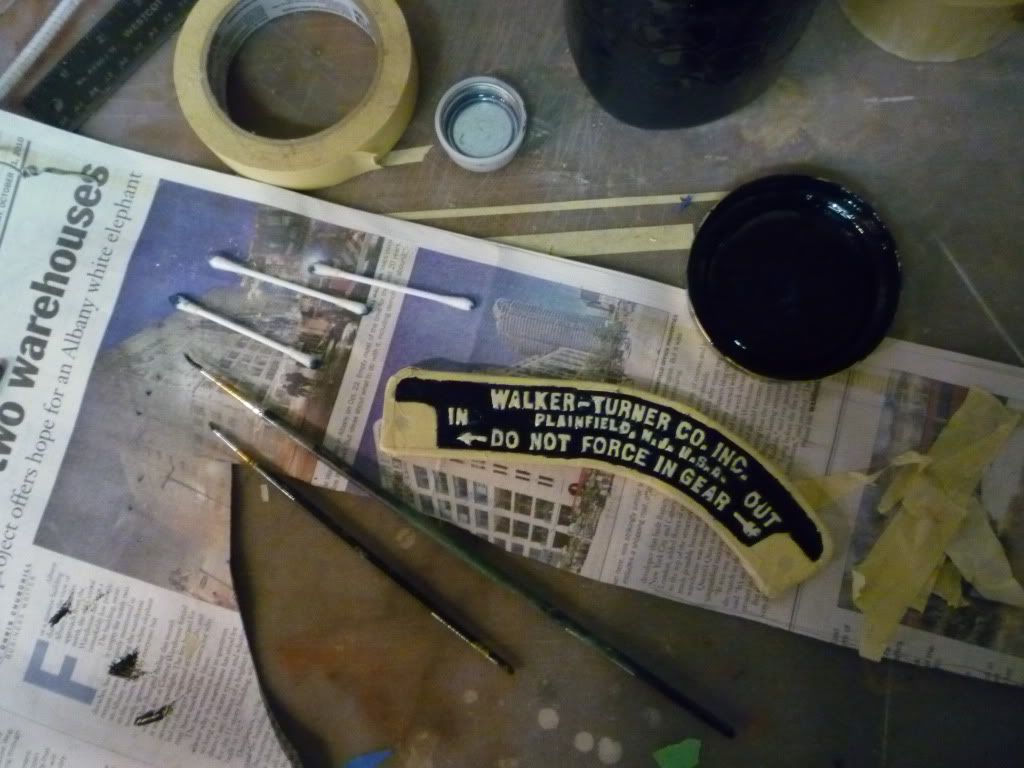
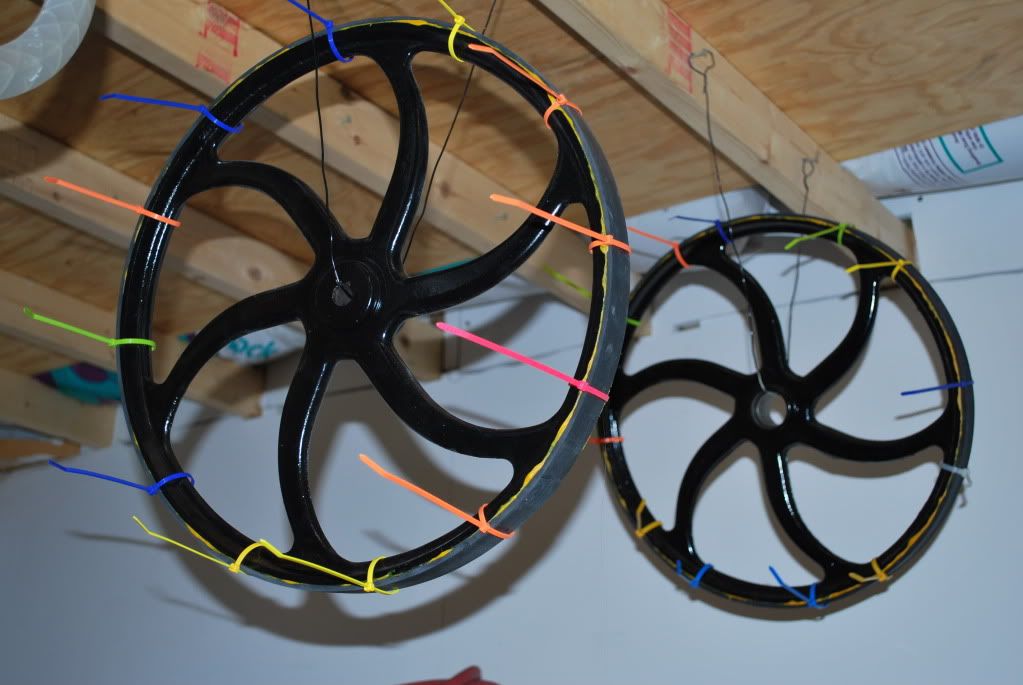
painting the trim today on the drill press, sourced a motor and hopefully will have it all back together and wired this week....

then I have a sander to work on...
crzypete
Posts: 1691
Joined: Thu Dec 16, 2004 10:45 am
Location: New York State
Contact:

Post by crzypete »

nice saw and great story. I'm looking forward to the rebuild.

Pete
diamond saw dave
Posts: 45
Joined: Tue Aug 04, 2009 4:01 pm
Location: Saratoga Springs NY
Contact:

Post by diamond saw dave »

So I couldn't help myself. Being only day away from finishing the drill press. (waiting for the paint to cure) on the motor. I have the cover to finish and paint and the wiring and its done.

So I dug into the walker turner. shortly after I found some issues that I misses When I did the full inspection. not quite sure what to do at this point. Advice is welcome!. Do I sent the part off to cat tail or do i braze in house...

Thoughts?

I know the photo sucks ass. But there should be two other points to connect to that are entirely missing. I have them but it some serious work..

Image
nektai
Posts: 1019
Joined: Fri Dec 17, 2004 9:34 am
Location: Long Island, NY
Contact:

Post by nektai »

Dave,

Great saw and a great story. I have had lunch at that restaurant and I can tell by your parking spot that you probably had a perfect view of your new toy while you had lunch!
diamond saw dave
Posts: 45
Joined: Tue Aug 04, 2009 4:01 pm
Location: Saratoga Springs NY
Contact:

Post by diamond saw dave »

Thanks Nico. It was a nice trip and a nice lunch. I need to get up that way more often.

So after throwing in the towel last night. A long day in the studio today. I managed to get it totally torn down. Now looking at all the parts. She was ridden hard and put away wet so to speak. It's got about 8 different types of green paint. Some rust, and some rusted together parts that I'm working the penetrating oil into now. It's going to take a lot of love to get here back into fighting shape again.

should be fun.... pics soon. Right now I just have everything kinda everywhere. Got the base apart. checked out the plate on the motor. Washed my hands. Turned off the lights and closed the door. Tomorrow is another day.
diamond saw dave
Posts: 45
Joined: Tue Aug 04, 2009 4:01 pm
Location: Saratoga Springs NY
Contact:

Post by diamond saw dave »

While trying to finish frankenpress. I have foolishly started to work on the WT. After a bit of despair yesterday I have found (with a hot cup of coffee) myself in better spirits. The saw is in pretty good condition all things considered. I have decided to braze the broken parts back on. It's been a while since I have brazed CI but nothing a little refresher can't remind me of. There are two schools of thought on brazing. Hot braze and cold braze. I'll get into that more soon.

So here are some pics so far...

Image

Image

So For the most part it is all torn down. A few parts are still in "rusty" land to be dealt with soonish. Now it literally took me 3 hours to figure out how to get the lower wheel assembly out of the saw yesterday. one oddly placed set screw, a lot of muck and some weird gear assembly kept me on my toes and oddly annoyed at the same time.

So at this point of time I'm going to go and say this. I am a machinist at heart but a stone carver by nature. What does that mean. Slow and steady only lasts so long before I break out the 10 lbs. sledge. Fortunately my appreciation for quality things that are a bit rare keep the sledge at bay.

Image

Image

There are still things I'm trying to figure out. like how to get this apart. I took out the set screws in the gear. but no luck with some hand powered pulling action...

Image

Also after doing some drawing. I got back into the saw. unfinished things haunt me.

So I opened up the motor. Huge mistake. I felt like I was looking into Pan's Labyrinth...

Image

Image

does anybody have any idea what these do?

Image

I went back to drawing. Then before calling it a good day. I finally pulled the tags.

Image

Image
diamond saw dave
Posts: 45
Joined: Tue Aug 04, 2009 4:01 pm
Location: Saratoga Springs NY
Contact:

Post by diamond saw dave »

So along with the drill press. I have been working on the walker turner also. across the board there has been lots to do. As I pointed out I found some broken castings and so after a lot of wire wheel work and some sand blasting I got things to a point where I could spray some paint and start working on the brazing of the broken parts. So here are pics from not to long ago. I am a bit further along now but I just haven't taken pictures yet.

Image

So this crack in the back casting I have found out runs all the way through. the piece is to thin to braze cold and will have to do it hot. I can get into that later but I haven't gotten to working on it yet.

Image

Image

So here is the brazed up upper assembly part. The piece was thick enough to do cold as a piece. So no preheating it. I like to use an oxy/acetylene set up for doing cast iron brazing. after the work it was buried in a bucket of hot sand for a couple of days so as to let it cool down slowly.

Everything with its cream coat. Already taped and sprayed the blue black. Just another coat on a few parts and a accent color for other things that I haven't decided on yet.

Image

Image

Image

My stupidity knows no bounds. Lots of small paint fill in for the backer color.

Image
diamond saw dave
Posts: 45
Joined: Tue Aug 04, 2009 4:01 pm
Location: Saratoga Springs NY
Contact:

Post by diamond saw dave »

It's taken me a bit of time to get back to posting on this guy. I got the last of the cracked/broken parts brazed up and then cleaned up. Painted and now am in the final stages of reassembly. There are some things on the to do list but. I think they will go quickly now that I have figured out some shop issues and have some income to play with that will speed up the end game.

So here are the last of the brazed parts. The more I dug into the back cover of the wheel guard the more I realized it was going to need a lot of love. I started with drilling a 1/4" hole at the end and just slightly past the end of the cracks that did not run all the way through then began the what seemed like never ending process of grinding my U's between the cracked parts and then brazing. The piece was so thin that my options were limited in ways. So I built a small heat table to pre heat the piece with. (ie just to be clear this consisted of some clamps a tiger torch and a set of soft kiln bricks to position the piece.

Then after all the braze was done the parts were buried in preheated sand for a week to cool. Pretty happy with how they turned out. There would be more pics but I had to work fast and it was a one man job so you just get end photos sadly.

Image

Image

After that things got painted. Now I'm in re assembly now.

Upper wheel mechanism:
Image
Image
Image

Gear box: this guy took a few times to figure out how to put it back together. I had all the right parts just not placed at the right times. So after about 3 hours of taking it apart and putting it back together and making sure nothing touched anything it wasn't supposed to was greased up, sealed up, and covered up.

Image

I know its a dark photo now that i uploaded it but it is a really important set screw not to be forgotten!
Image
Image

Image
Image

Getting into the home stretch...

Image
Image

more photos tonight I hope. last things to be done tags, guides go on today. (kinda considering converting to carter's) opinions? crowning the tires are on todays list. And lastly shopping for a 1 hp motor. the half that I have now will work for the time being but I think I want to upgrade.
diamond saw dave
Posts: 45
Joined: Tue Aug 04, 2009 4:01 pm
Location: Saratoga Springs NY
Contact:

Post by diamond saw dave »

Today ended up being spent doing other more pressing things. Although this is where I got...

So I moved a bit sideways today. The wheels didn't get crowned but that is for the sander post. I decided with my limited time frame today that I would just do some smaller projects and ones mostly sander related as I will probably use it to crown the tires...
Image
Image
Image
Image
Image
Image
johnnyk
Posts: 1
Joined: Wed Jul 25, 2012 4:47 pm
Location: Lawrence Ks
Contact:

16" Walker-turner bandsaw

Post by johnnyk »

I was just begining to tear down my 16" WT when I saw your blog. It was an inspiration. I am not much of a mechanic, but now I am determined to make mine shine like yours - come hell or high water! I have some nice pics of it, but haven't figured how to send them to you. I just registered on this site so I could talk to you. My machine was handed down to me by my father-in-law who only had it a short time and had no use for it. It's in solid condition. Wheels turn smoothly. Do you think that means I can leave the bearings alone? If I get it up and running, I would do a lot of resawing of my beautiful native walnut. I harvested some trees from this area of Kansas 30 years ago and now have time to work with it. I love that cream color! Is black traditional to Art Deco? Would brown be bad? It's not like I have anything in my shop to match. Do you have a recommendation for the motor? My model looks like yours except it does not have a gearbox. I have seen 2 or 3 others online and yours is the only gearbox. That's pretty sweet![/img]
Toolslinger
Posts: 23
Joined: Tue Oct 23, 2007 3:54 pm

Post by Toolslinger »

They originally came in some flavor of machinery gray most likely. As to what you should use, well, its your saw, and you want to enjoy looking at it as well as using it, so pick the color scheme that you think you'll enjoy. There isn't really a right and wrong, they're not exactly collectors items like rare cars...

Can't help too much on the motor as I don't resaw too much (yet). I run a 1.5 horse on my 18" bandsaw, and have never had an issue with the little amount of resaw I have done. I would think you'd want to be in that range though.

-Tim
Tim - Trying to want more and store less...
Post Reply