delta 16" drill press (Frankenpress)

All strange discussion and debates

Moderator: crzypete

diamond saw dave
Posts: 45
Joined: Tue Aug 04, 2009 4:01 pm
Location: Saratoga Springs NY
Contact:

delta 16" drill press (Frankenpress)

Post by diamond saw dave »

So recently I found this delta drill press on the CI not a great price but I managed to talk the man down. Picked it up today. Its quite interesting. Apparently it was in the R&D dept. at General Electric. Seams they had a bit of fun with it converting it to variable speed.

Not quite sure what my plans for it are. I do like the oddballness of its nature and am highly tempted to keep it as is. Post clean up and re paint. Possibly candy apple red? or something else stupid as I don't plan on selling it any time soon.... Its probably to big for my shop and it is 3 phase so Ill need a converter but as I was saying to crazy Pete I need a project while I'm working on the AD campaign of my current work and I think I can learn a lot from this project. Also for once I feel like I can post a "real" machine to the forum as opposed to my basically mint plug and play hammond and delta 14" BS.

thoughts/concerns/ are appreciated and considered at this point.

Dave

Image
Image
Image
Image
Image
Image
Image
Image
guzziguy
Posts: 796
Joined: Thu Dec 16, 2004 7:17 pm
Location: Western NC
Contact:

Post by guzziguy »

Nice! I like the color. I hope you don't paint it.
crzypete
Posts: 1691
Joined: Thu Dec 16, 2004 10:45 am
Location: New York State
Contact:

Post by crzypete »

Dave, It's a 17" drill press and you will have to detail to interesting variable speed that was added to it.

Looking forward to watching the progress.

Pete
diamond saw dave
Posts: 45
Joined: Tue Aug 04, 2009 4:01 pm
Location: Saratoga Springs NY
Contact:

Post by diamond saw dave »

Thanks Pete, don't know why I thought it was a 16". Although posting the photos after last night rather hilarious and mildly epic move from the truck to the studio should have been filmed and posted on youtube.

All I have to say is I'm stronger than I look and when missing your hand truck a wheel barrow will suffice with a little planning and cribbing.

now here are the pics of the variable speed set up. Just went out to take a quick couple of pics before I blanketed the DP. Last coat of fresh white paint went on the walls now that they have been resurfaced/mudded/taped/sanded. Looking forward to new drawings soon...

Image
Image
Image
Image
Toolslinger
Posts: 23
Joined: Tue Oct 23, 2007 3:54 pm

Post by Toolslinger »

That's actually pretty slick... If it stays where you set it, I wouldn't change a thing...

Do the variable pulleys move vertically so you can change position on the step pulley?
Tim - Trying to want more and store less...
diamond saw dave
Posts: 45
Joined: Tue Aug 04, 2009 4:01 pm
Location: Saratoga Springs NY
Contact:

Post by diamond saw dave »

Its a pretty interesting set up. The central pulley system does seem to be adjustable. I plan to keep it and have started the deconstruction of the whole thing earlier today. I have gotten a bit stuck and searched the site looking for a previous rebuild especially because I know crzypete owns about 16 of the damned things. (Ok 7 but who's counting).

So where i stand now is trying to remove the front pulley from the headstock. I have released the set screw and the top nut and washer revealing what appears to be a sealed bearing. Now Before I go smashing things with hammers to "loosen" them I thought I would check and see if I am missing anything that I overlooked.

Image
Image
Image
Image
Image
Image
Image
crzypete
Posts: 1691
Joined: Thu Dec 16, 2004 10:45 am
Location: New York State
Contact:

Post by crzypete »

Dave, That pulley is very delicate to get off and very costly to replace. The technique I have used is careful knocking on the arbor it rides on, but keep your eye on the back of the big pulley- it tends to shift down and hit the back of the casting which will break it. fortunately it does not take much force to release it.

Also, make sure the setscrew is completely out and that no one added a second one- you can stack them to help them stay in place.

Pete
diamond saw dave
Posts: 45
Joined: Tue Aug 04, 2009 4:01 pm
Location: Saratoga Springs NY
Contact:

Post by diamond saw dave »

Thanks Pete,

I slept on the problem last night and ended up reattaching the head stock to the base so as to not be trying to roll around on me. I used a gear puller to drive the quill (quill right?) down far enough so as to remove the bearing and retrieve the pulley from it. The nice thing was that I could go slow enough to really be careful as to not damage the pulley, as I know they are expensive, and the gear puller used a nice even pressure.

Also the set screws were doubled but I caught it early on before the puller was even considered. So at this point the lacquer bath is in full effect and I'm trying to get the rest of the crap in the studio squared away before tomorrows deinstall at HOCS.

Image
Image
Image
Image
crzypete
Posts: 1691
Joined: Thu Dec 16, 2004 10:45 am
Location: New York State
Contact:

Post by crzypete »

Glad you got it apart safely. It is interesting that the earlier front pulleys did not have a setscrew.

Pay close attetion to the washers that stack above and/or below the pulley. They seem to vary press to press.

Pete
diamond saw dave
Posts: 45
Joined: Tue Aug 04, 2009 4:01 pm
Location: Saratoga Springs NY
Contact:

Post by diamond saw dave »

So yesterday was a crazy busy day with the deinstall of my show and so I got no time in the studio. Actually they studio is a total disaster with all the work back in it on top of the disassembled drill press and other things. I managed to get it some what squared away today and managed to get the better part of the afternoon to work on the press.

So here are the photos. But I did come across a bit of a snag. I cant seem to get this pin out. I dont want to force it and it isnt a set screw. ideas? It is from the raising mechanism/gearing for the table. inside of the column collar.

With everything in the soup and cooking I had a lot of time to clean hardware and tags and other misc. things that I will need to get it all back together. Also I think I have decided on a paint scheme. Now I just need to decide on a paint company. Any suggestions? I'll spray it myself but was more thinking what kind of paint. Automotive?

Also ordered bearings today so hopefully by the end of next week it will be back together and making dust, or chips. Either way running...

Image
Image
Image
Image
crzypete
Posts: 1691
Joined: Thu Dec 16, 2004 10:45 am
Location: New York State
Contact:

Post by crzypete »

Dave, Its a tapered pin- taps out only one direction.

Pete
diamond saw dave
Posts: 45
Joined: Tue Aug 04, 2009 4:01 pm
Location: Saratoga Springs NY
Contact:

Post by diamond saw dave »

Thanks Pete, thats what I thought but figured I'd ask anyway... pics to follow later
diamond saw dave
Posts: 45
Joined: Tue Aug 04, 2009 4:01 pm
Location: Saratoga Springs NY
Contact:

Post by diamond saw dave »

ready for paint! decided on a paint scheme any suggestions on paint brands?

Image
diamond saw dave
Posts: 45
Joined: Tue Aug 04, 2009 4:01 pm
Location: Saratoga Springs NY
Contact:

Post by diamond saw dave »

quick update... So the drill press is still sitting in pieces on the floor in the studio. bought paint today very exciting. Looking to spray in the next few days.

As for right now. I finally got a bit of breathing room. Just installed new work that I made this week durning the DP tear down and spent yesterday installing it in a group show. If you have looked at the other threads that I have on the MJ (ahem self plug :wink: ) Tannewitz, Oliver Jointer, Cincinnati lathe. This work is related conceptually. Guess I should explain but I'll let you stew on it for a bit.

Pics: :D

Ill get back to the rebuild in the next post.

Title: Walkers and Fat Friend

Image
Image
Image
Image
Image
Image
Image
diamond saw dave
Posts: 45
Joined: Tue Aug 04, 2009 4:01 pm
Location: Saratoga Springs NY
Contact:

Post by diamond saw dave »

So things have been busy here and I have been doing more paperwork than actually work. So I managed to get out to the studio today to continue work on the press.

I decided that I would have some parts sand blasted and called a friend and traded them a case of beer to have the table and the head stock blasted for me just to complex to really get paint free without some serious elbow grease and some seriously scrapped up knuckles. So I am dropping them off at his studio tomorrow. By the way if you know a local head stone cutter you might be able to cash in on the same deal. They switched to sandblasting letter in headstone some time ago instead of actually cutting them with hammer and chisel.

Also decided on a paint scheme never posted it so here is the pic. went with rust-oleum.

one other thing. Decided today that I would try to track as much of the rebuild as a step by step for people that decide to follow the craziness.

lots of pics to follow.

Image
Image
Image
Image
Image
Image
Image
Image
Image
Image
Image
Image
Image
Image
Image
Image
diamond saw dave
Posts: 45
Joined: Tue Aug 04, 2009 4:01 pm
Location: Saratoga Springs NY
Contact:

Post by diamond saw dave »

So finally after a lot of shop cleaning, buying bandsaws, finding sanders and making a bit of work. (Even though I promised I wouldn't make any new work till all the shows travel). I have managed to finish the paint on the drill press. There are a few last things but the meat and potatoes of it are all done with paint and after everything has cured. I'll assemble probably this weekend at some point of time.

Still need to chop and reweld the belt cover then clean, paint and such things. Also picking up a motor hopefully sometime this week which will need to be broken down and cleaned/bearings possibly, and paint. Everything else though is done.... Just assembly. Here are the pics....

Image

Image

Image

base webbing too!

Image

just in from paint. Also I found that the Navy sprayed rather robin's egg blue so for the second coat. I added black to the initial blue mix. Rather happy with the color I have to say. Thank goodness for all the color theory in college...

Image

Like Christmas as a kid I just couldn't wait. the paints set but def. still soft.

Image

Image

Image
diamond saw dave
Posts: 45
Joined: Tue Aug 04, 2009 4:01 pm
Location: Saratoga Springs NY
Contact:

Post by diamond saw dave »

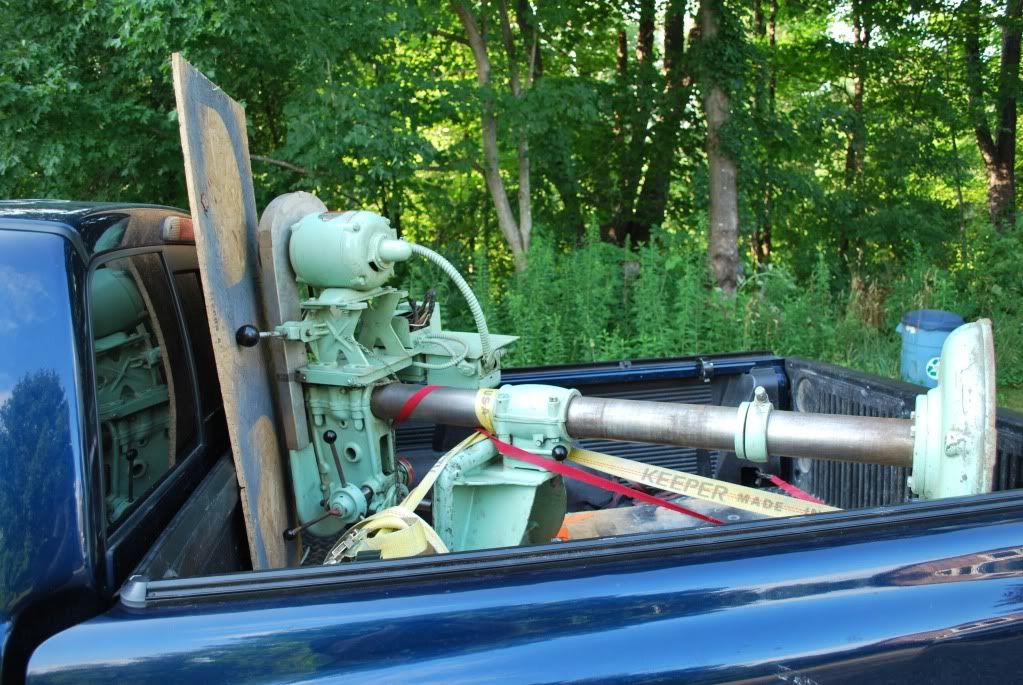
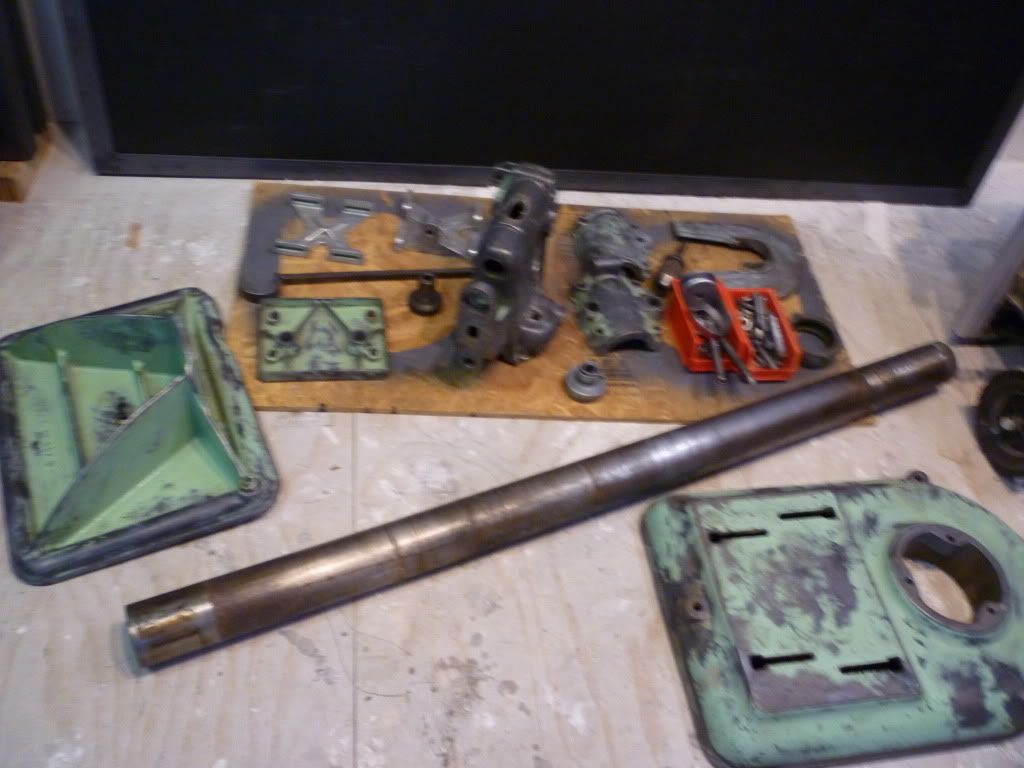
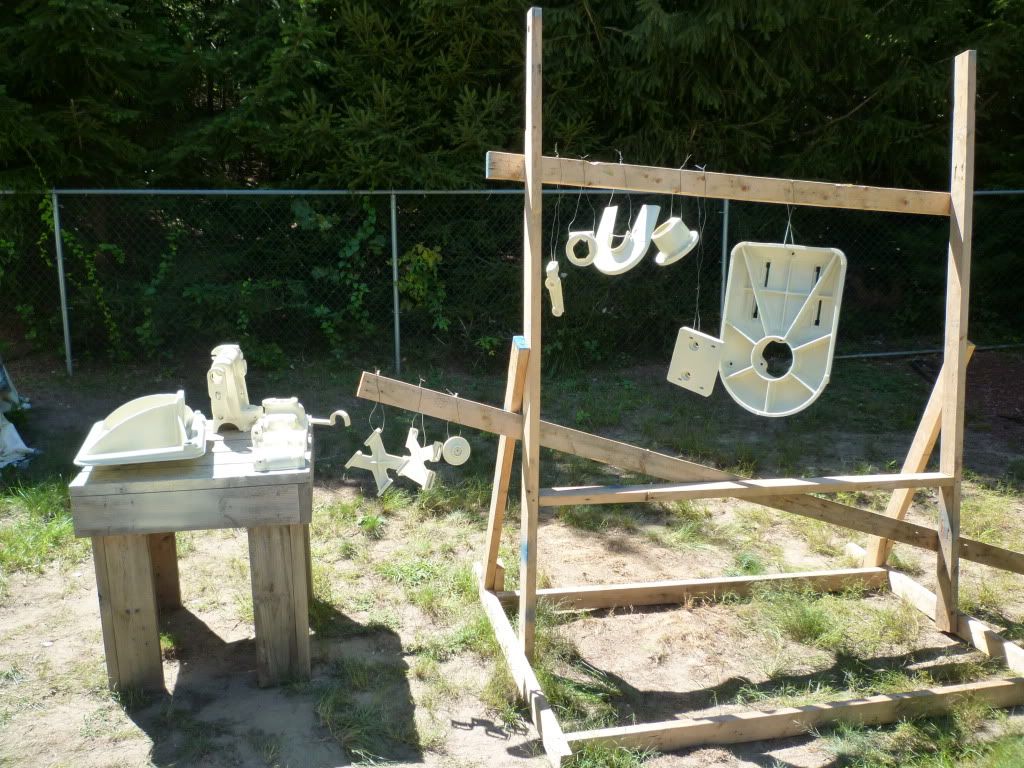
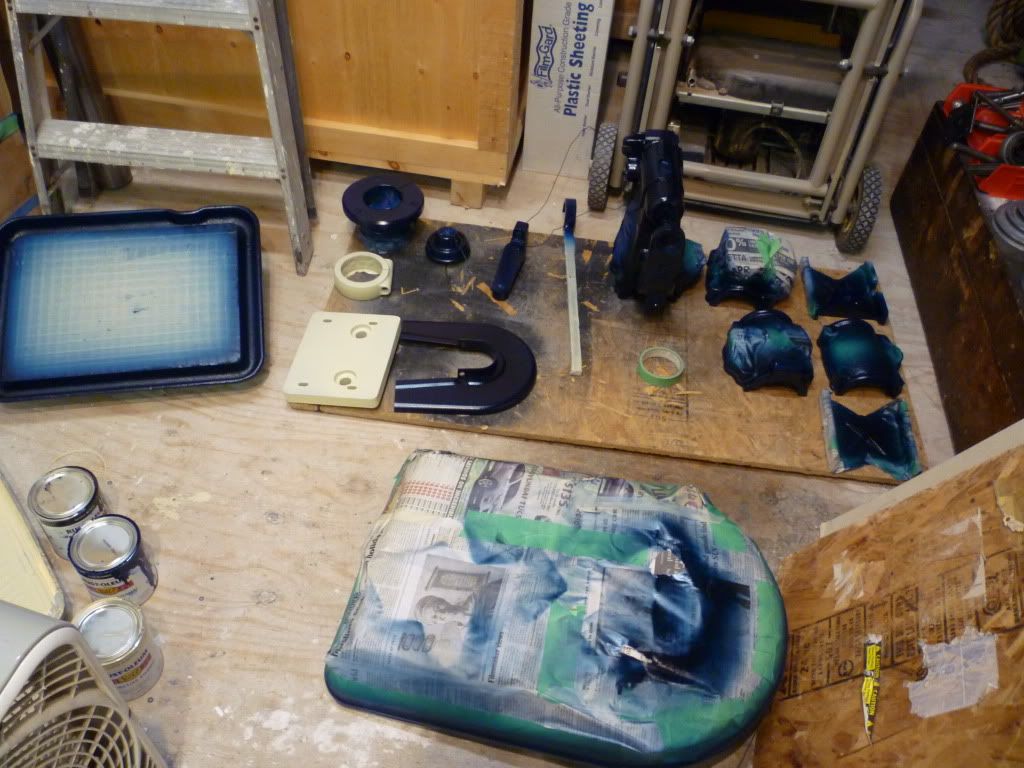
So as I stated in a much earlier post. I wanted to try to use the forum as a possible full reference on how to rebuild at least one of these drill presses. In the future other things. So there are lots of pictures..... Lots.

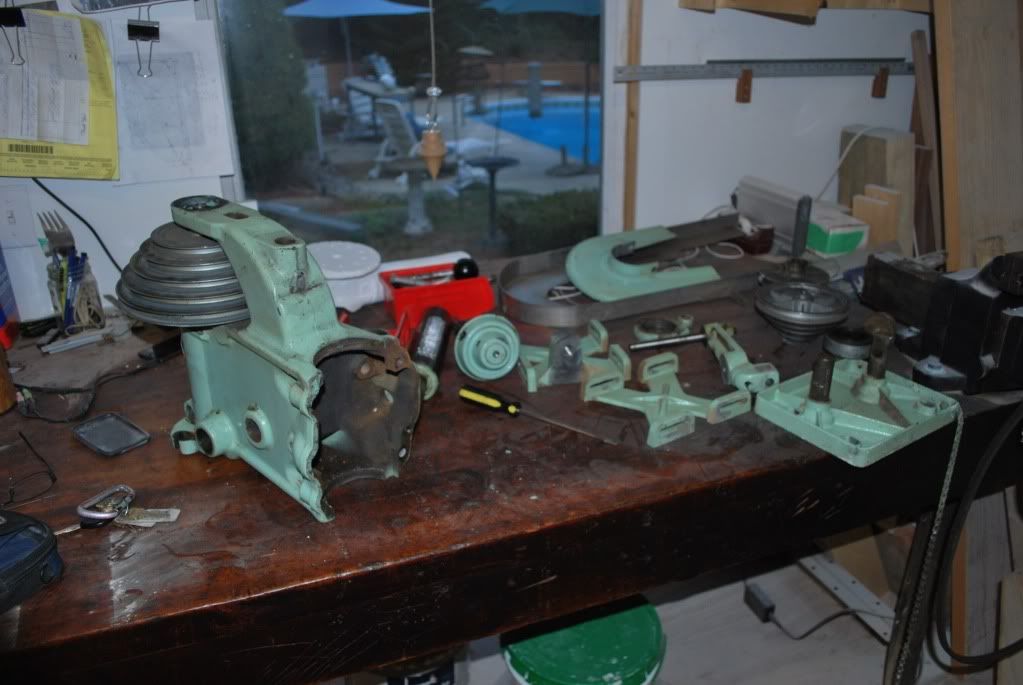
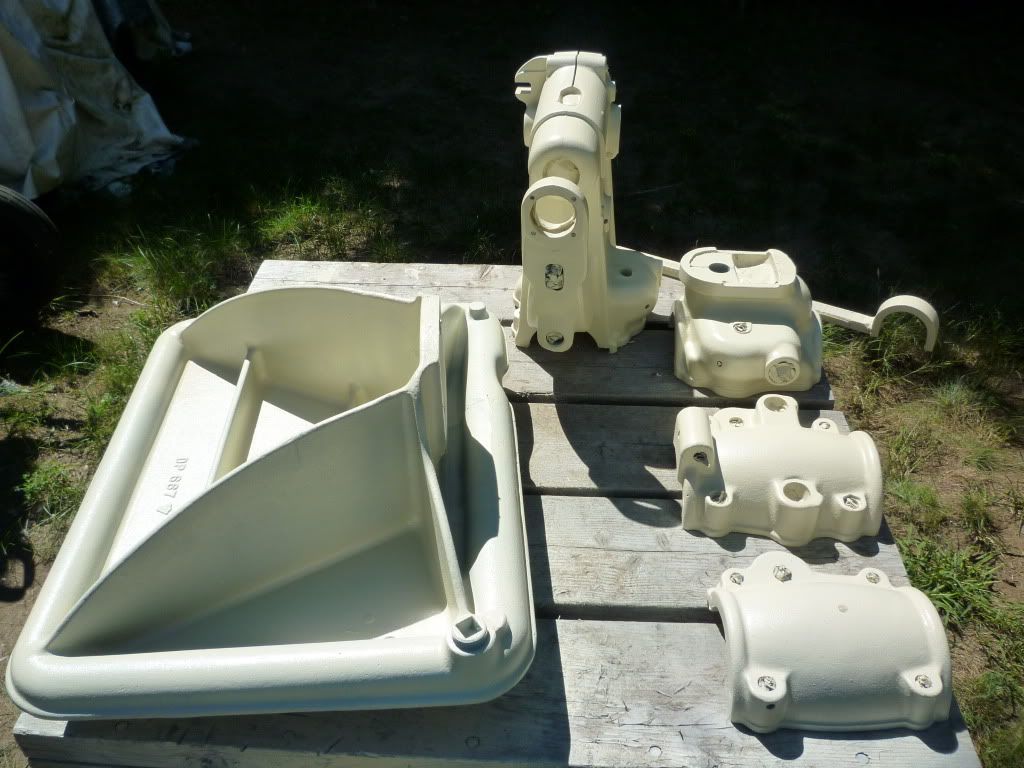
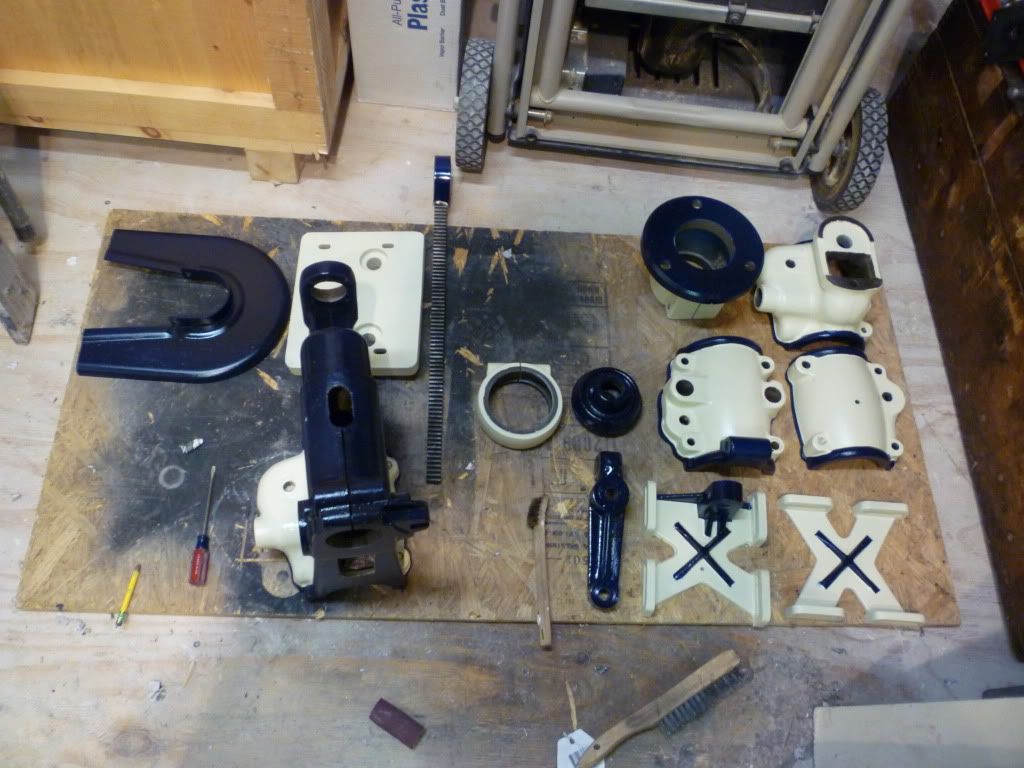
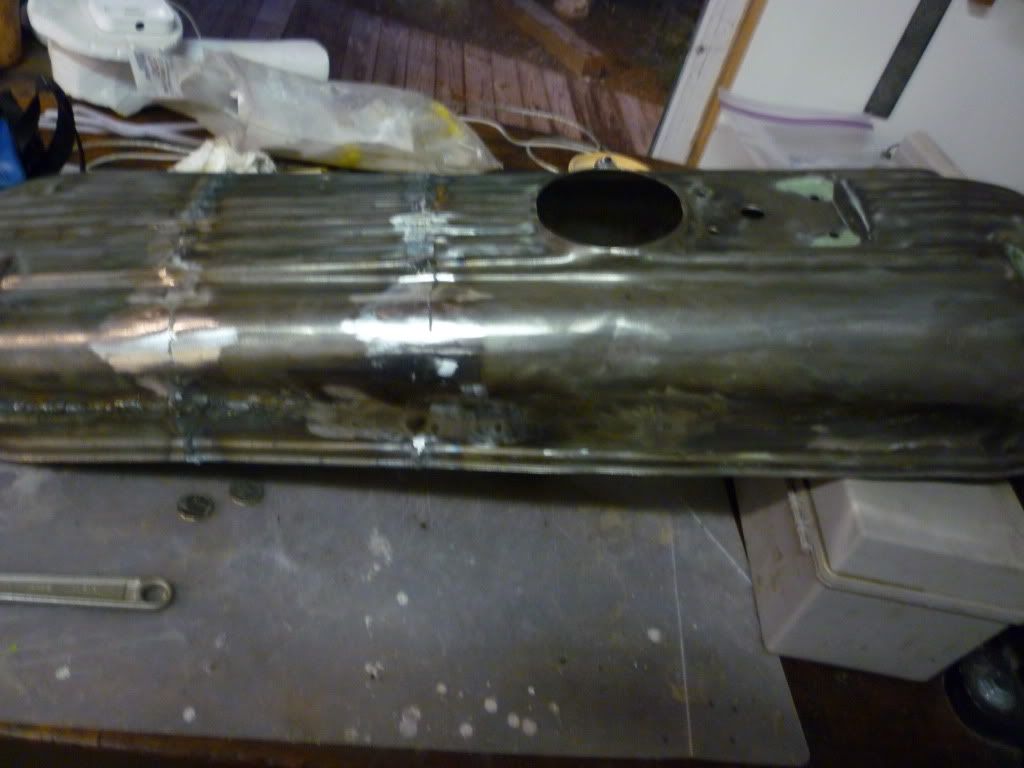
So I started with the head stock
Image

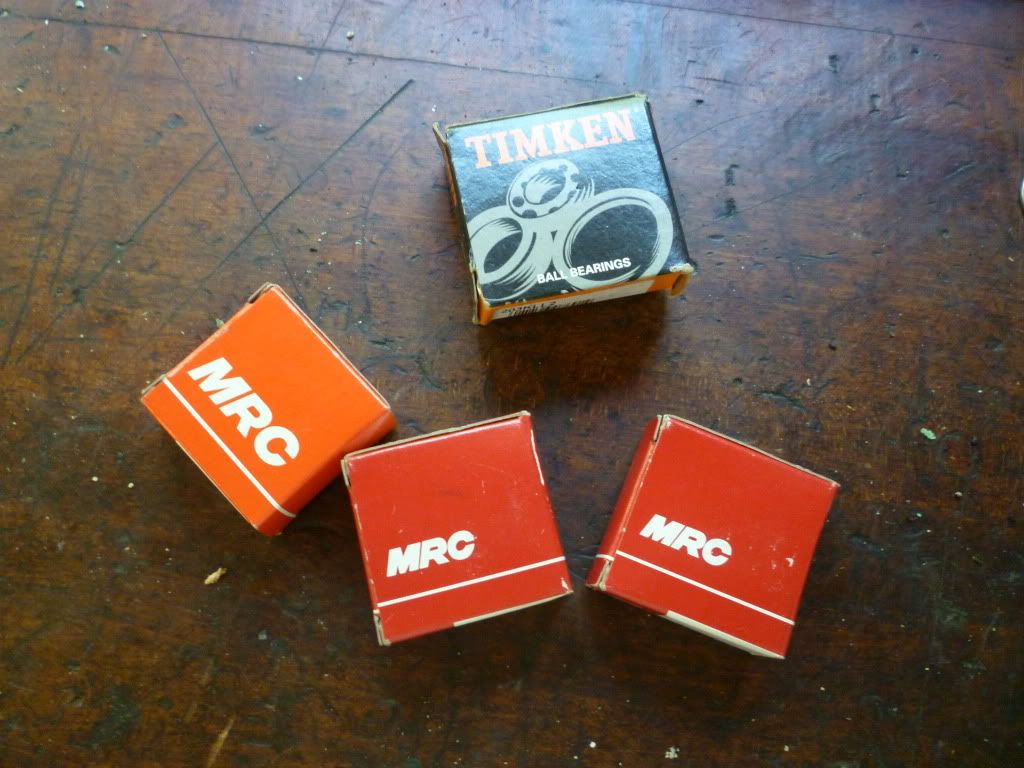
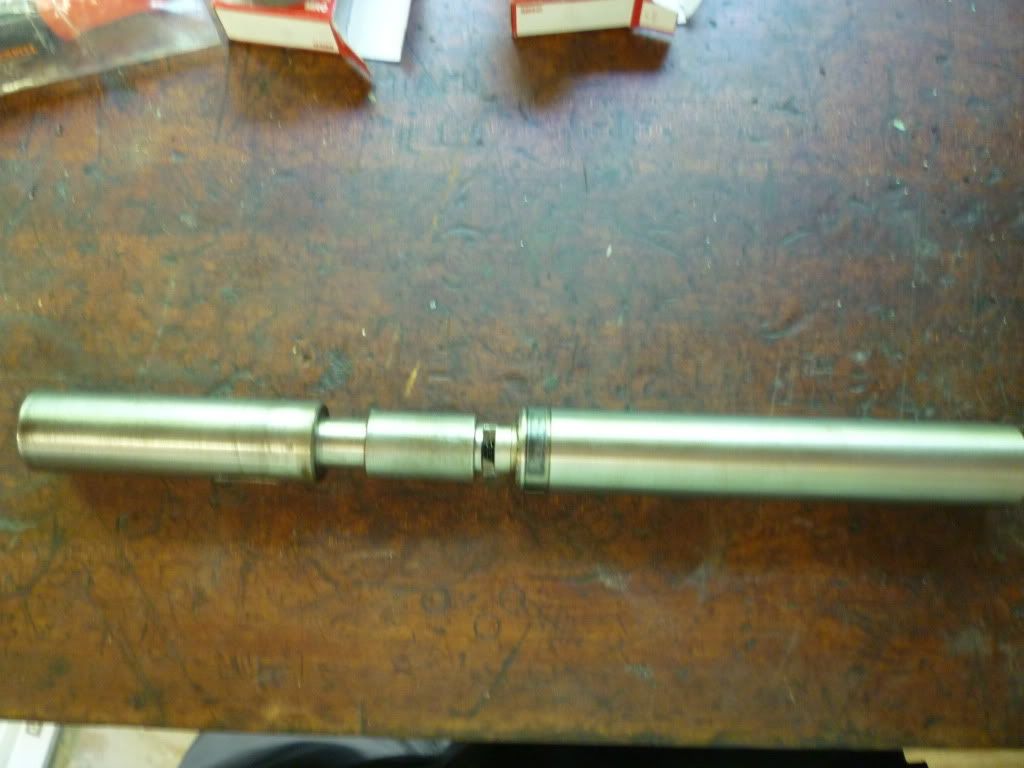
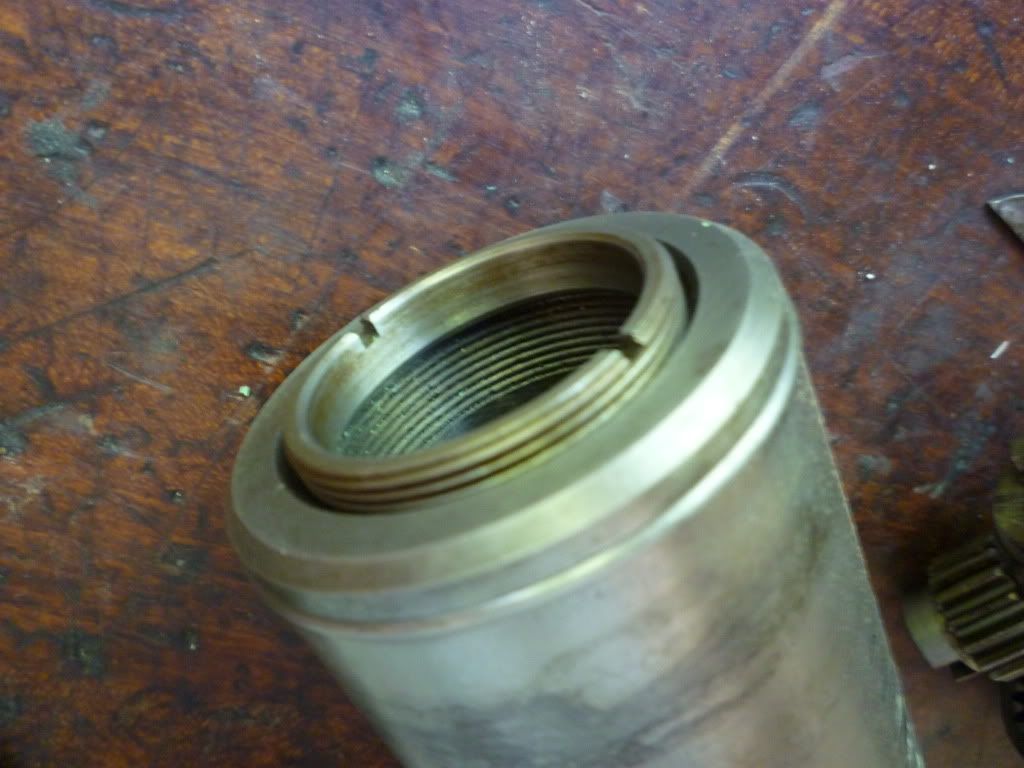
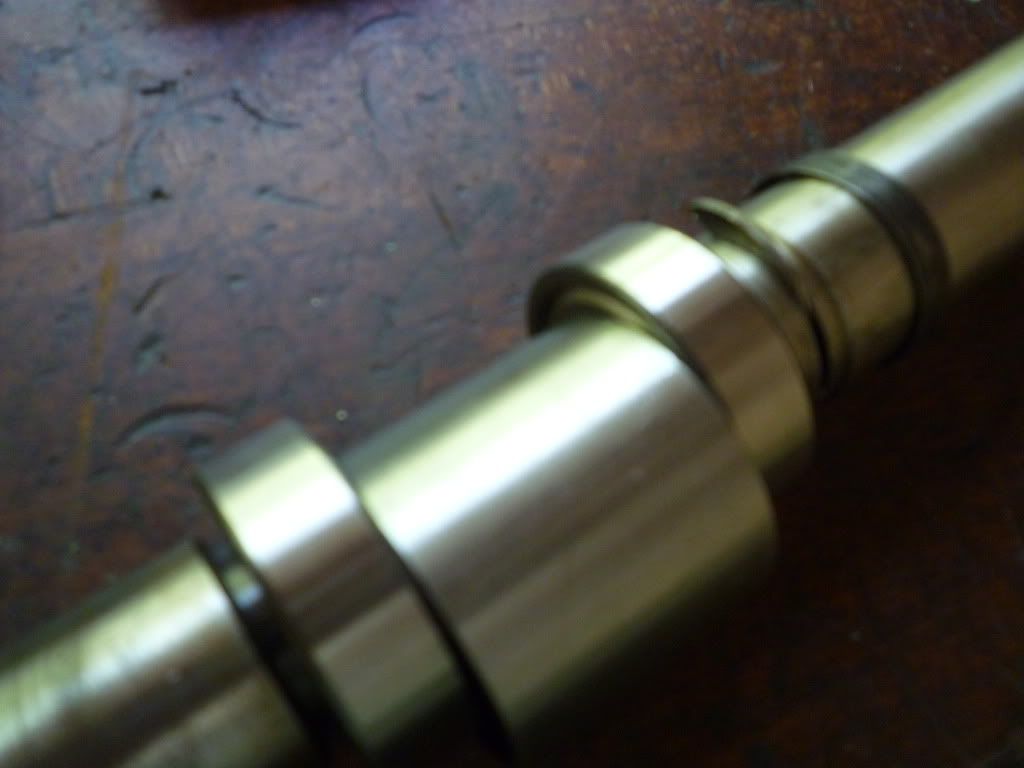
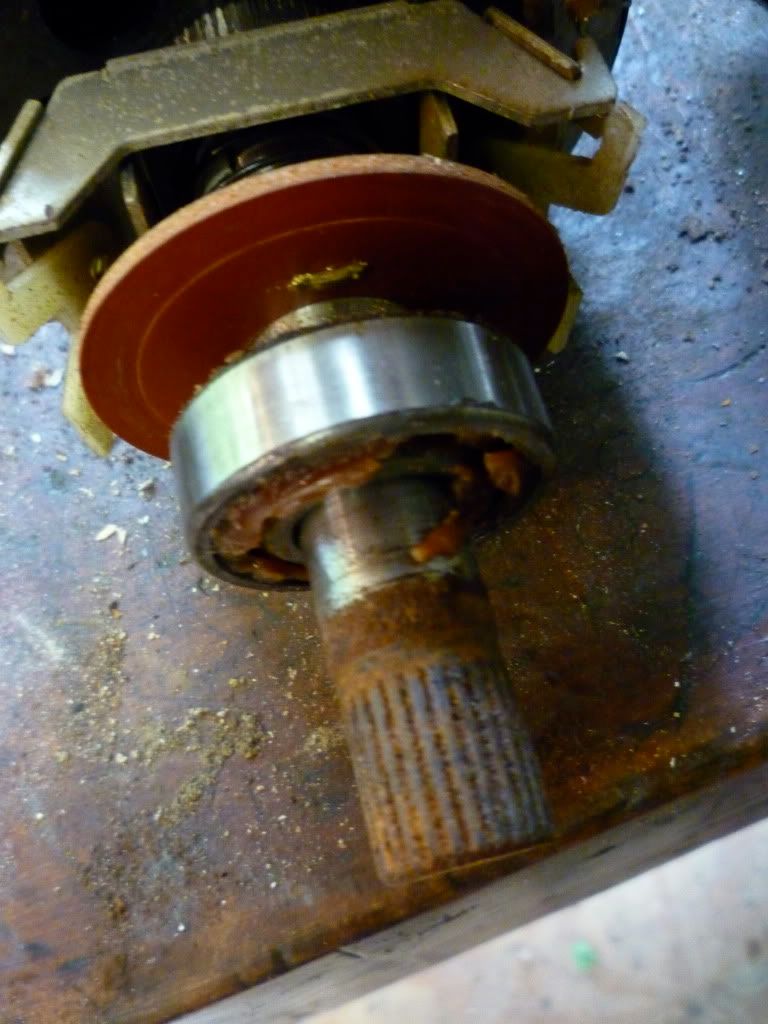
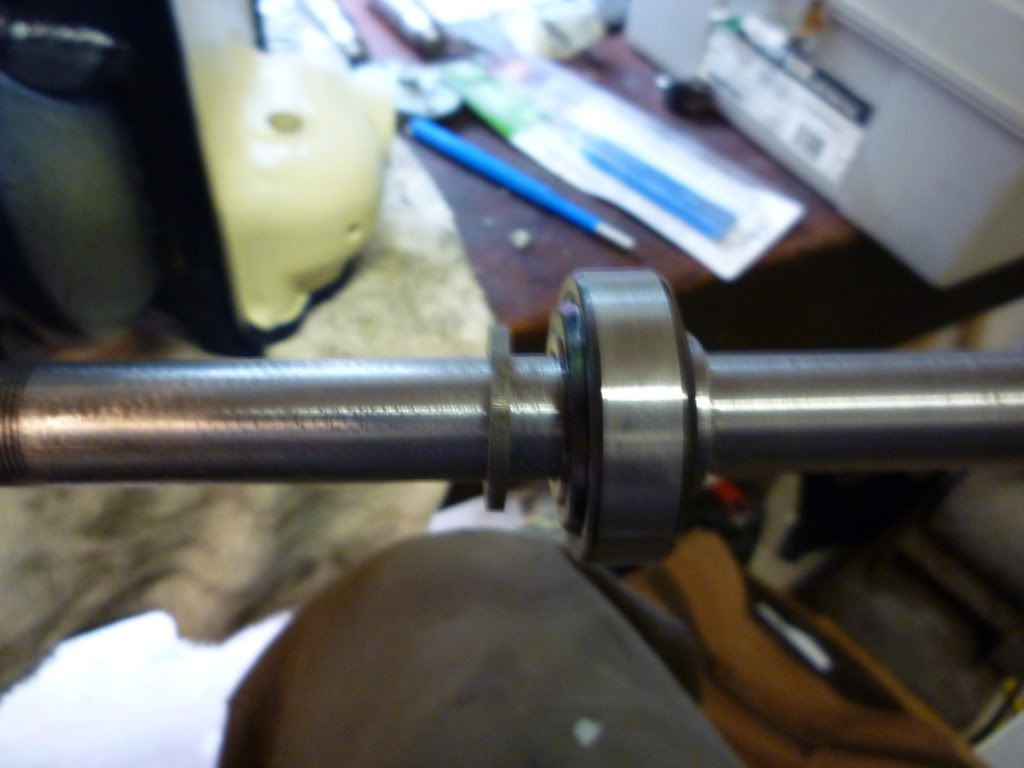
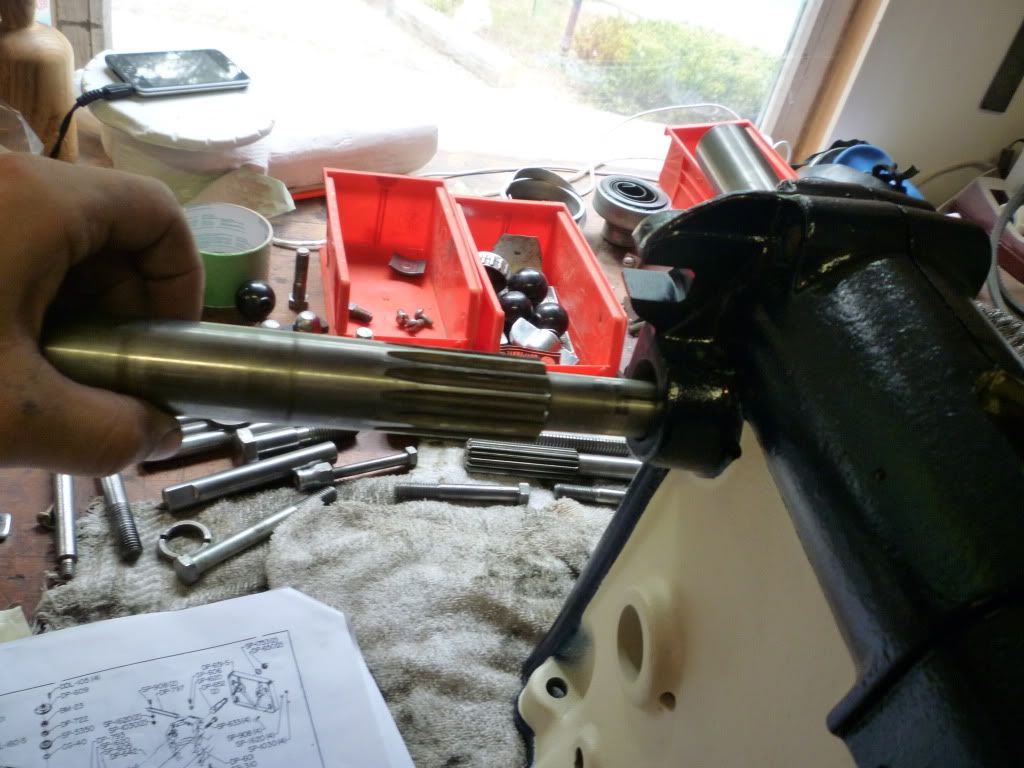
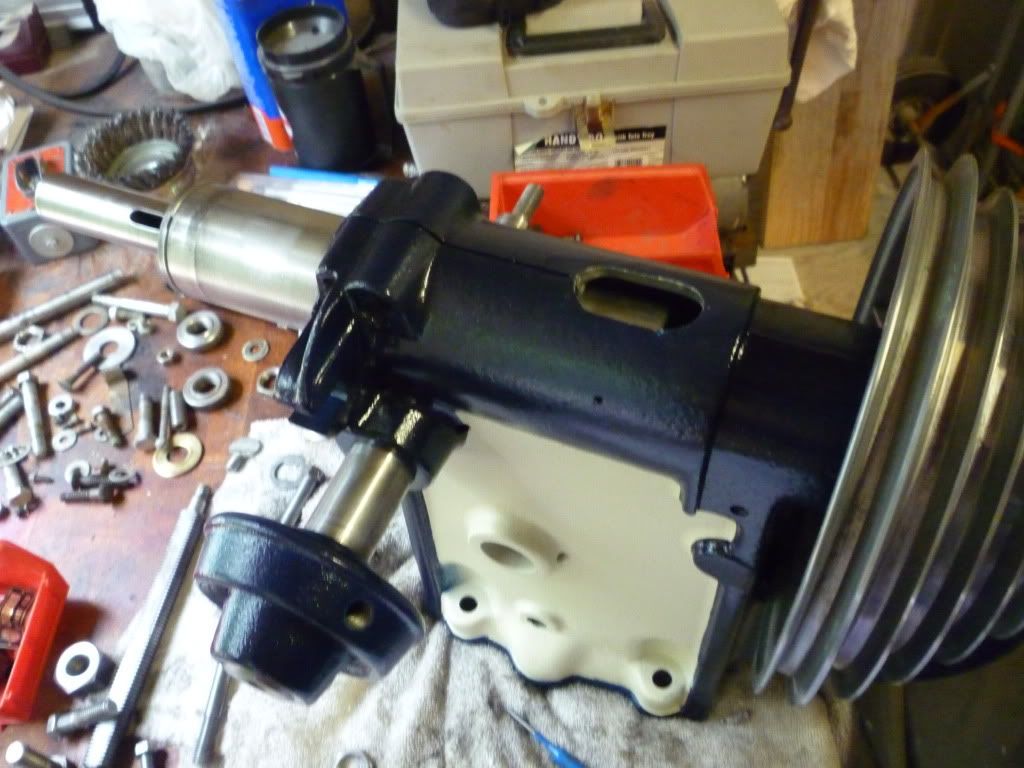
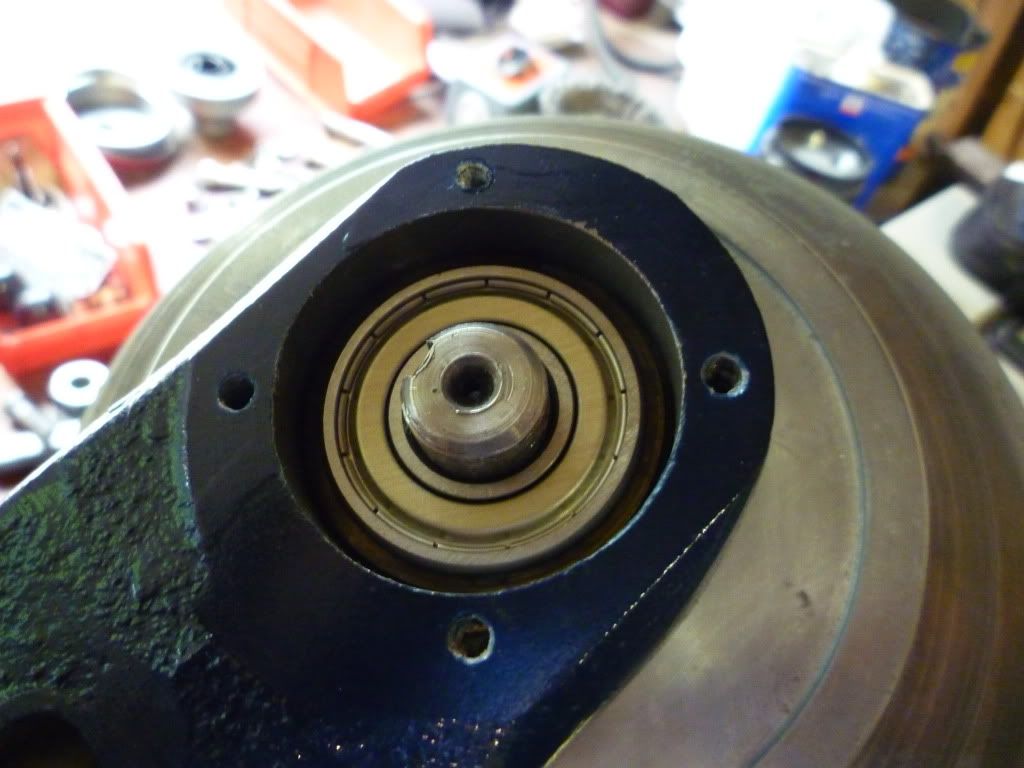
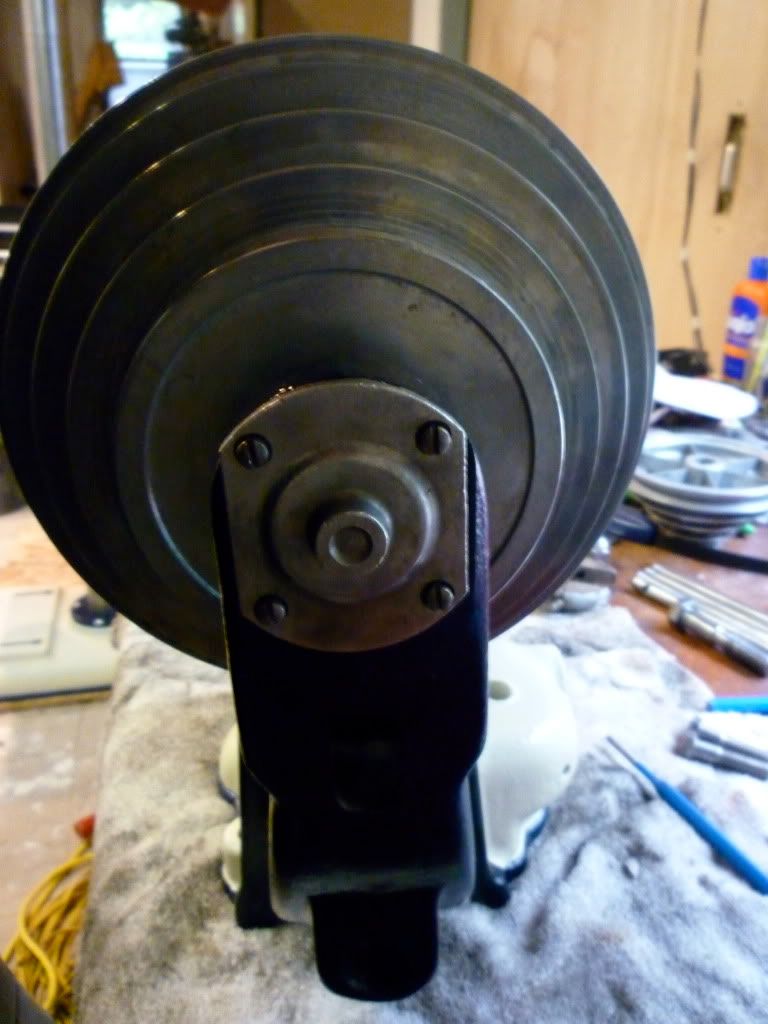
after rebuilding the quill with new bearings (earlier post) I assembled the top part of it. Also with new bearings before putting into the head stock

Image

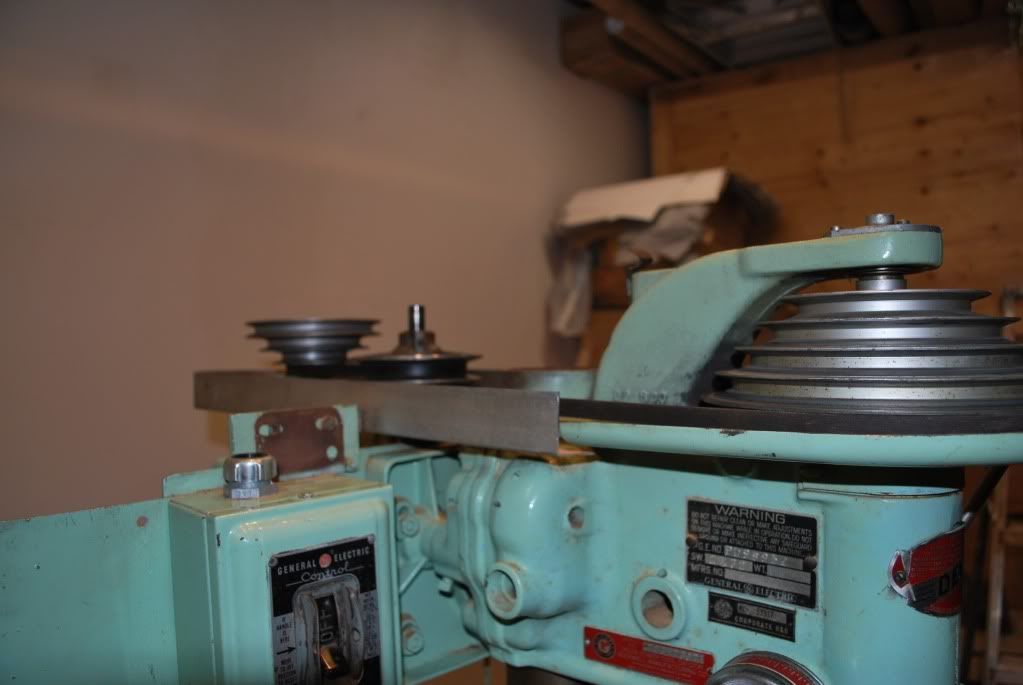
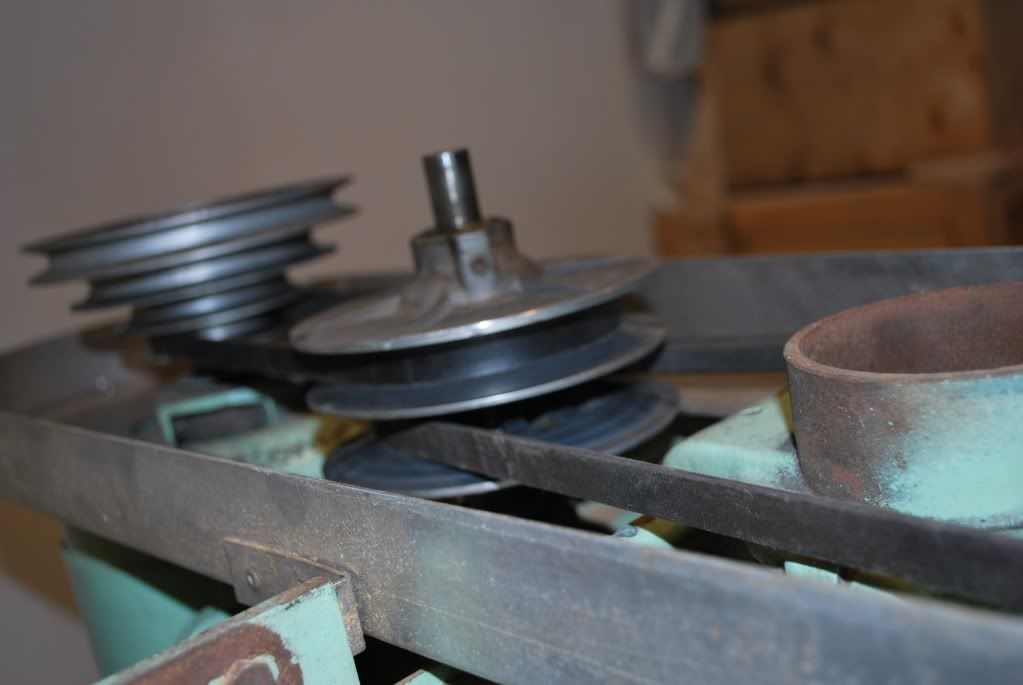
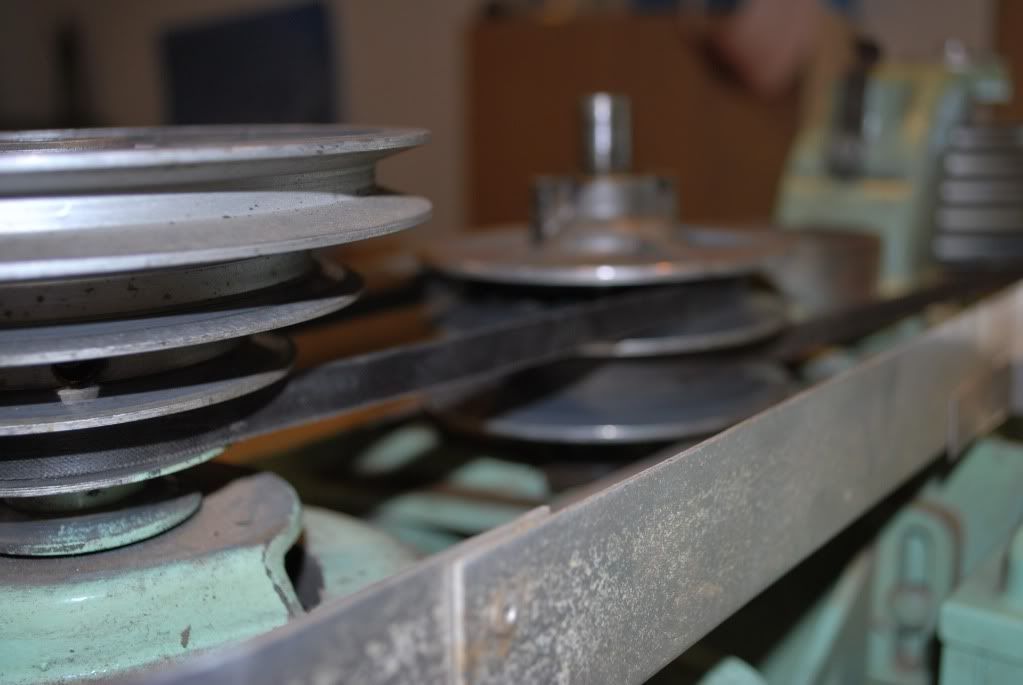
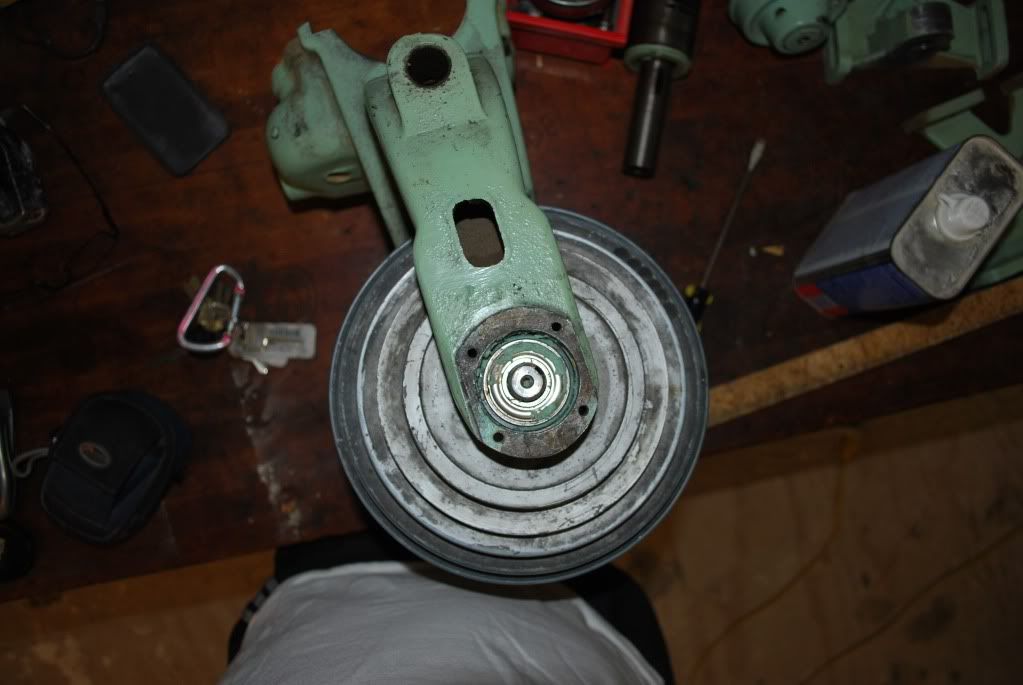
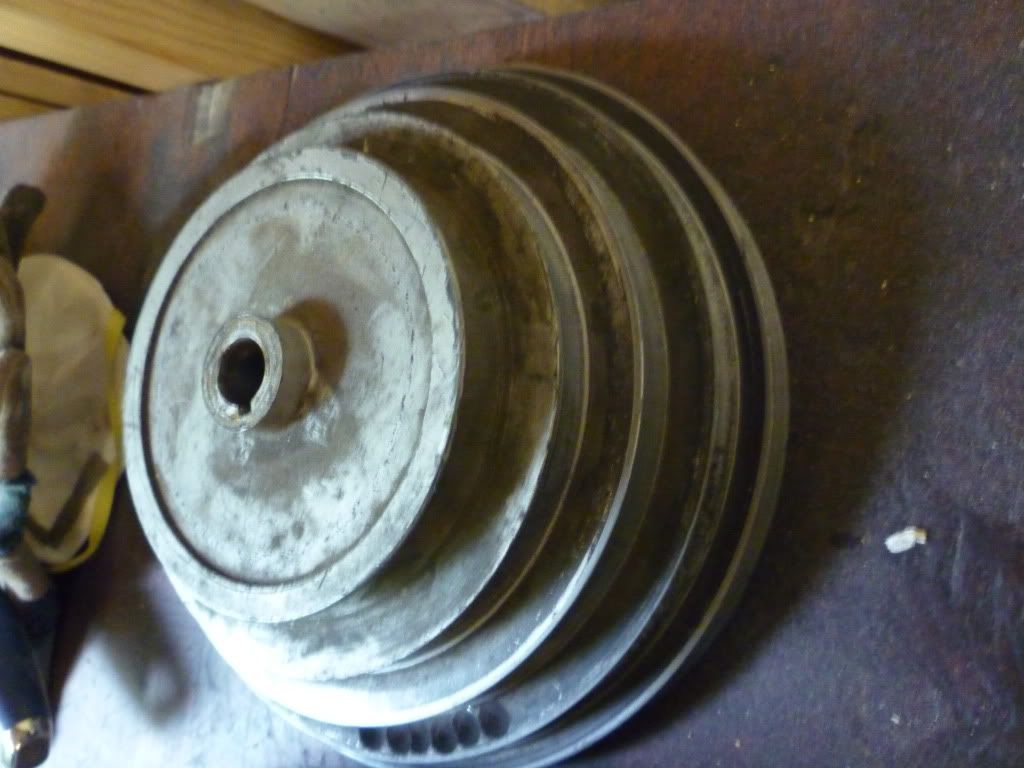
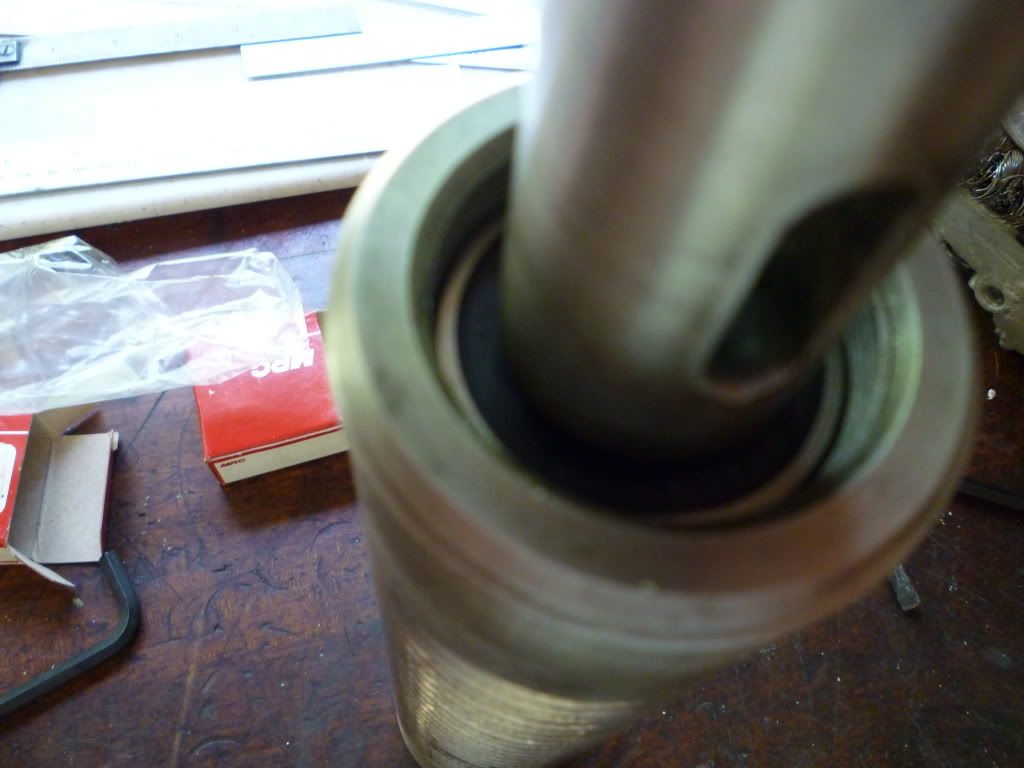
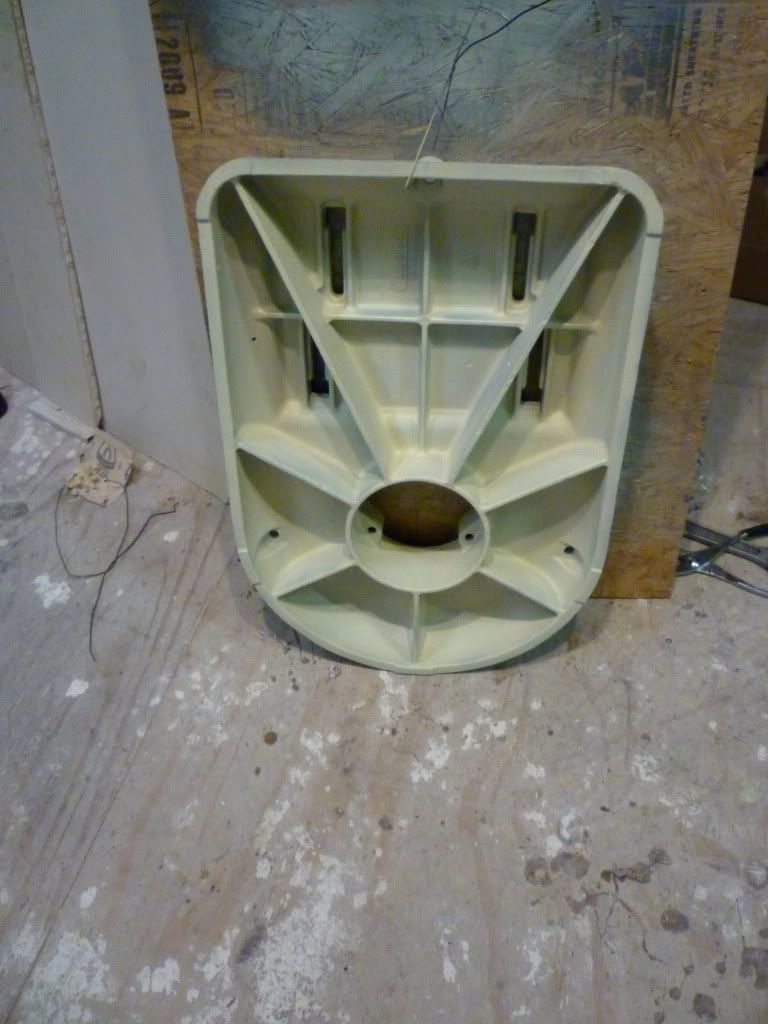
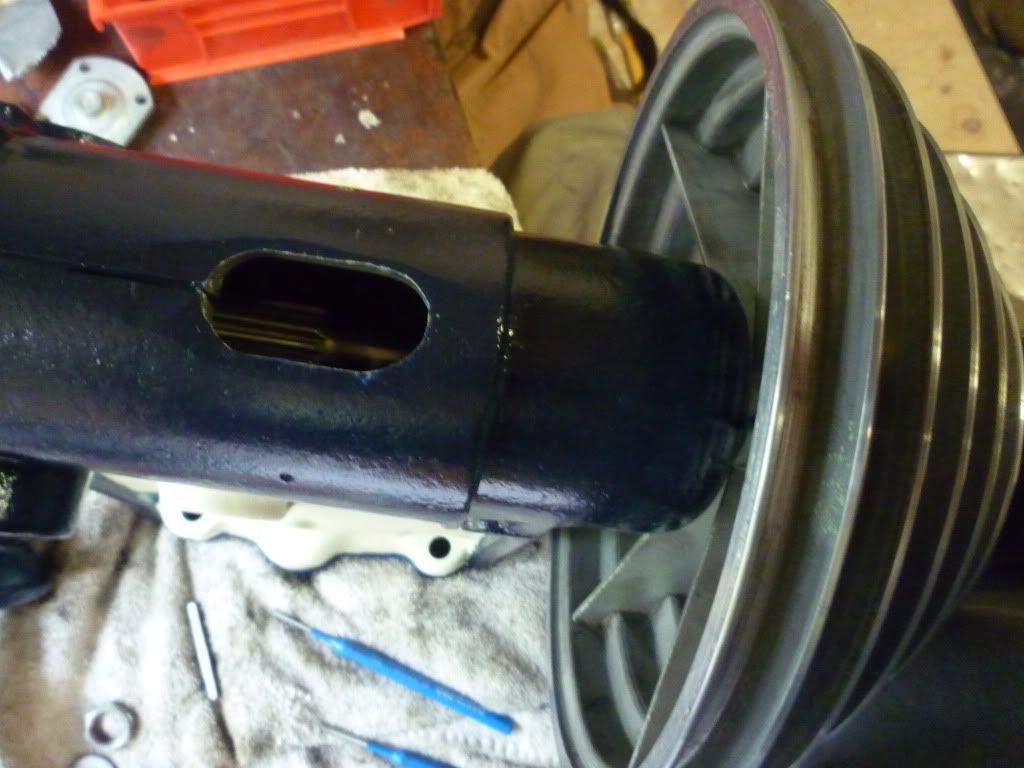
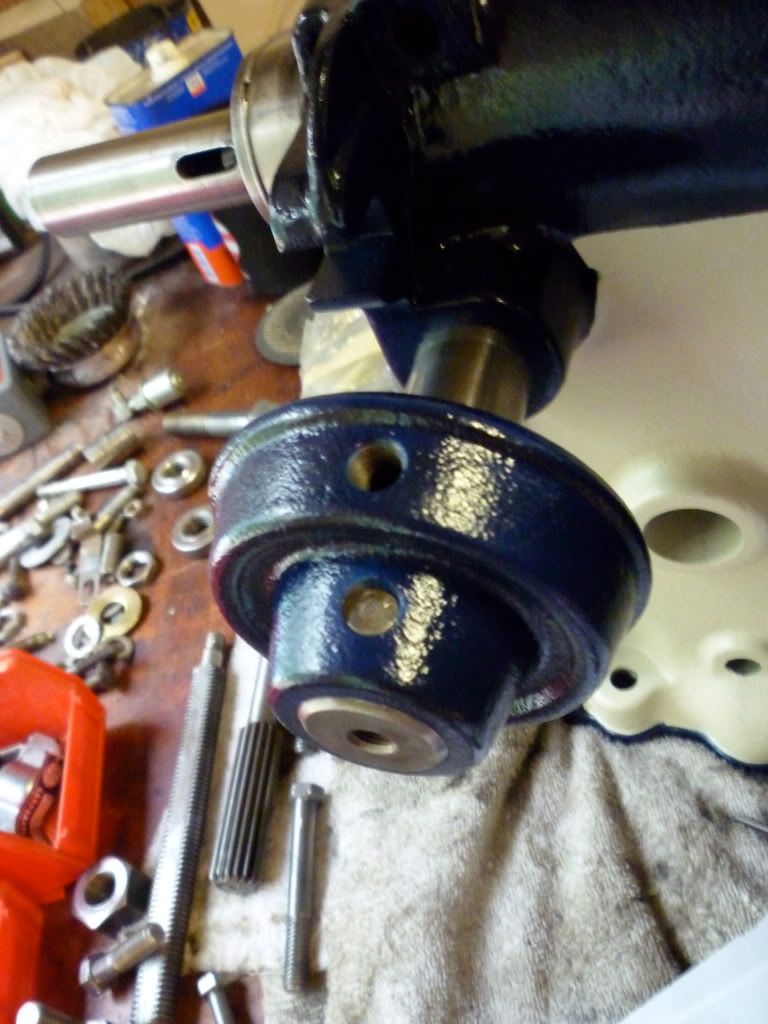
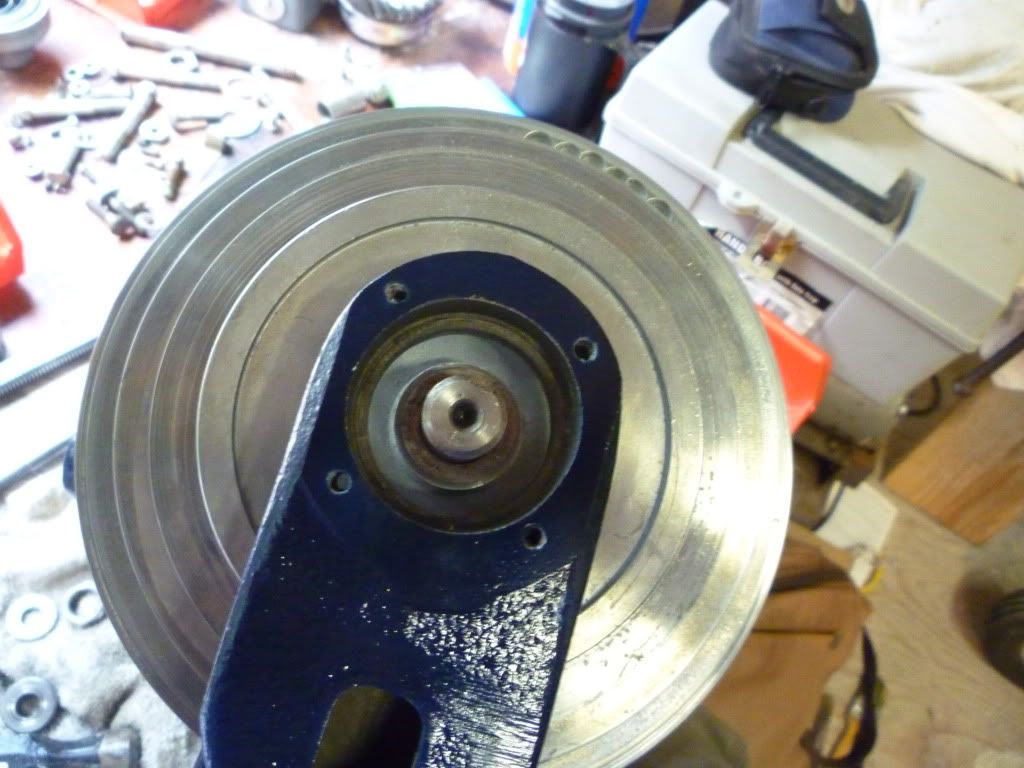
I carefully placed the wheel for the belts into the casting so I could send the quill through it from the bottom.

Image

Image

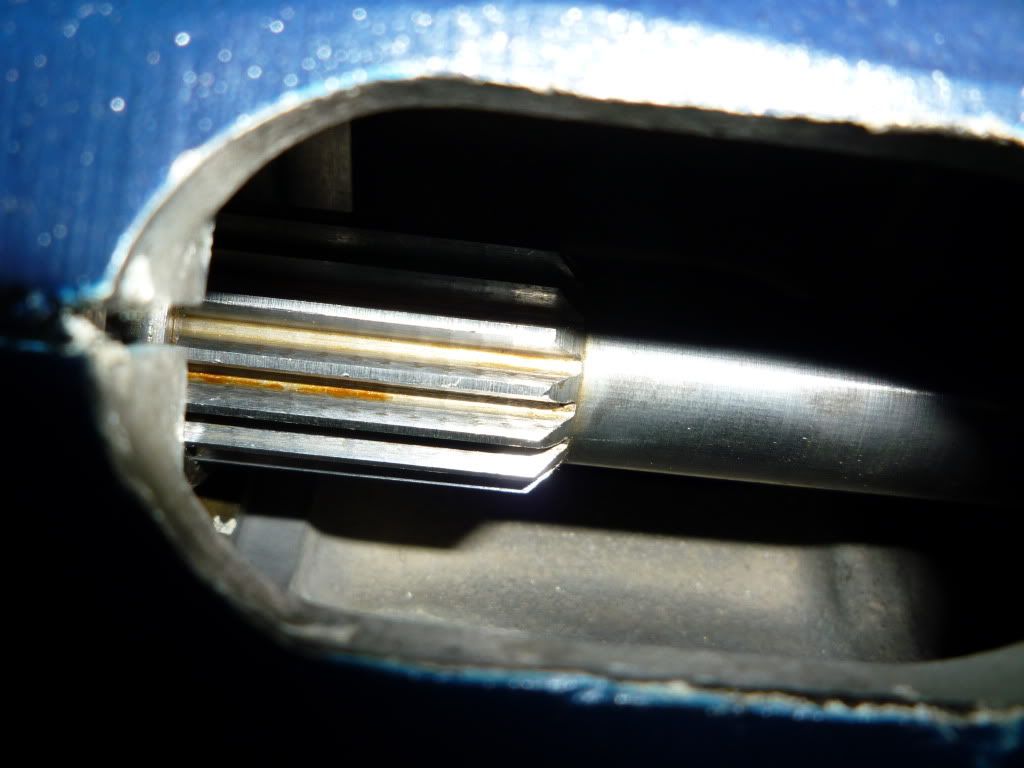
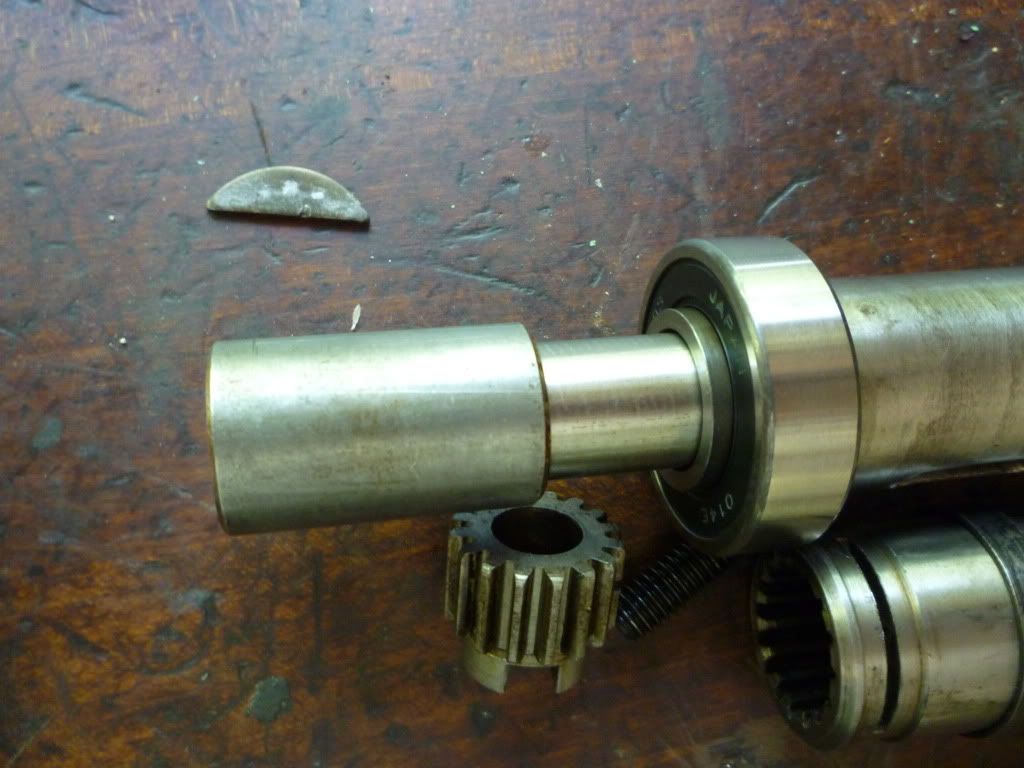
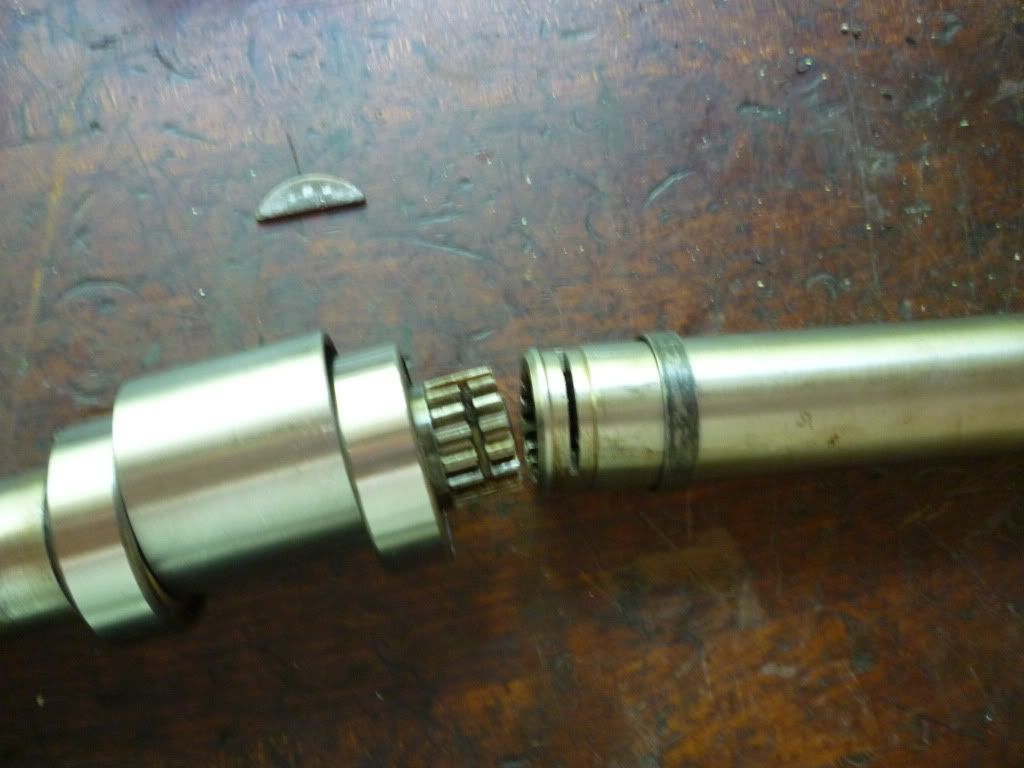
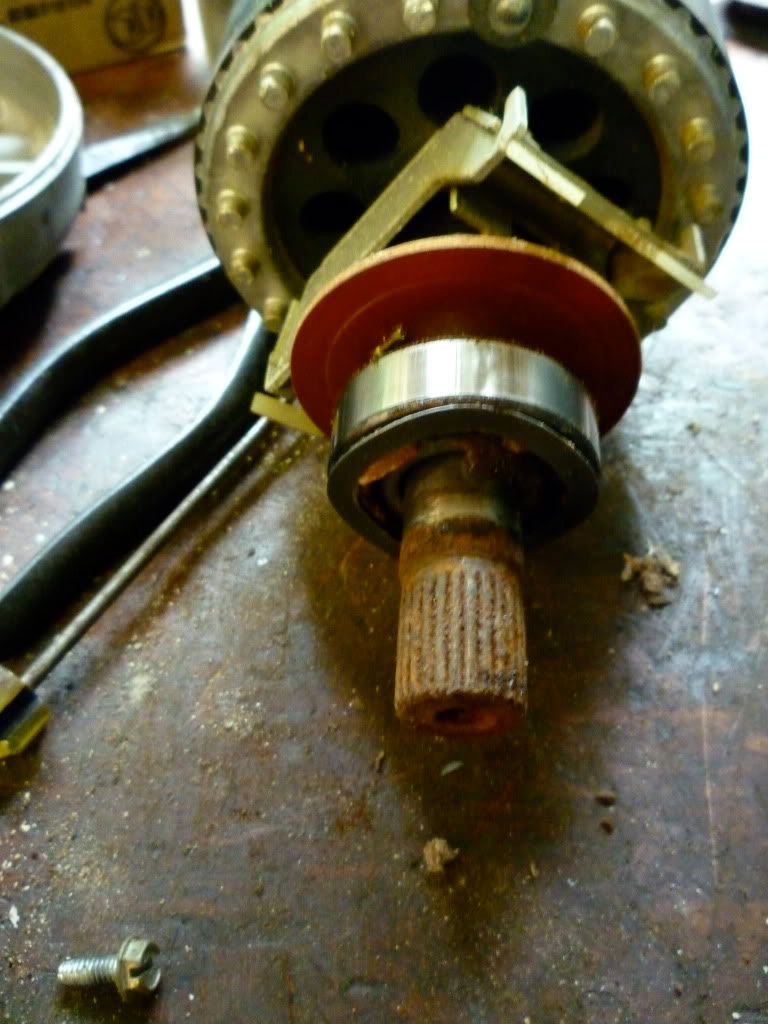
make sure as to line up the key ways!

Image

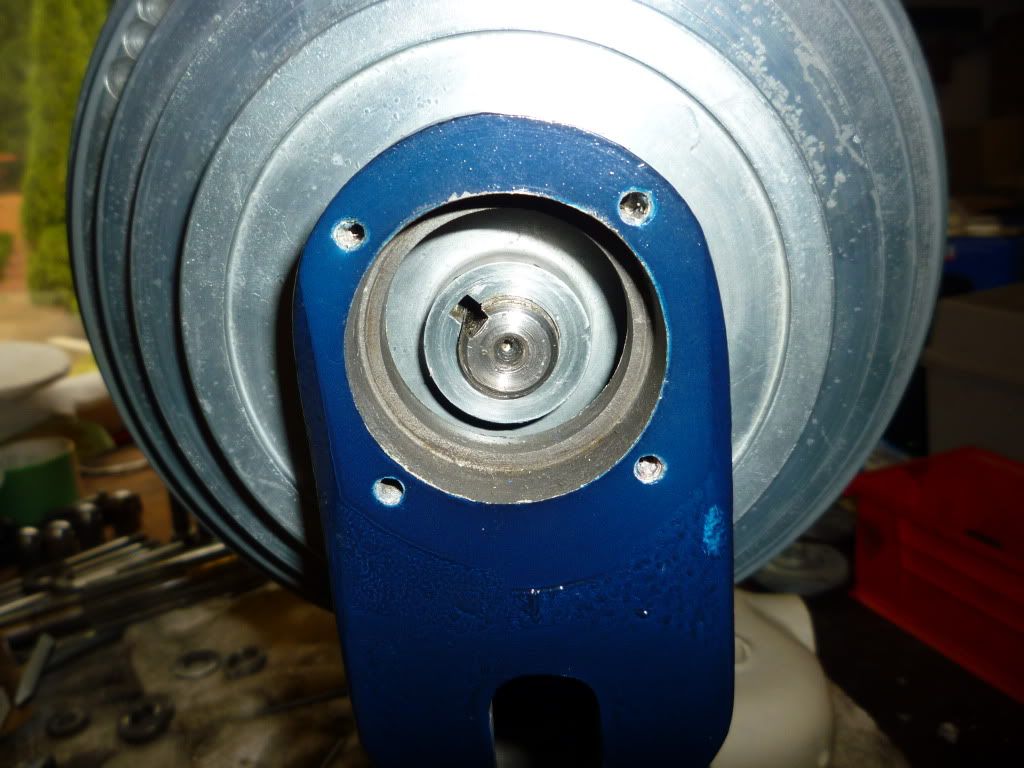
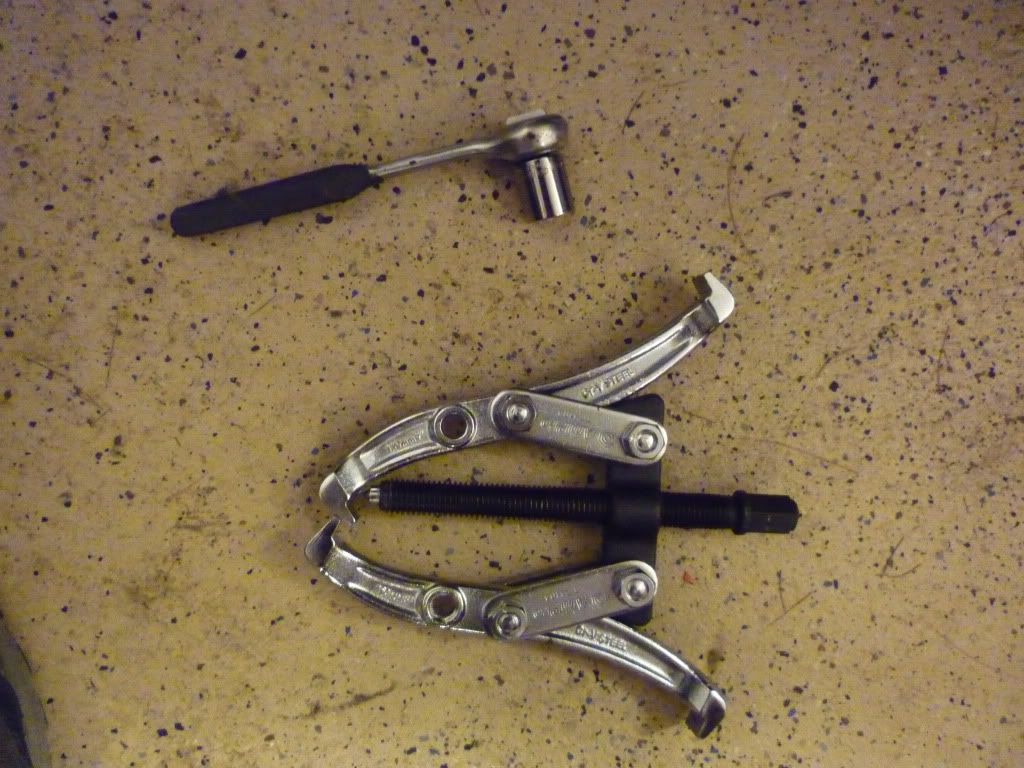
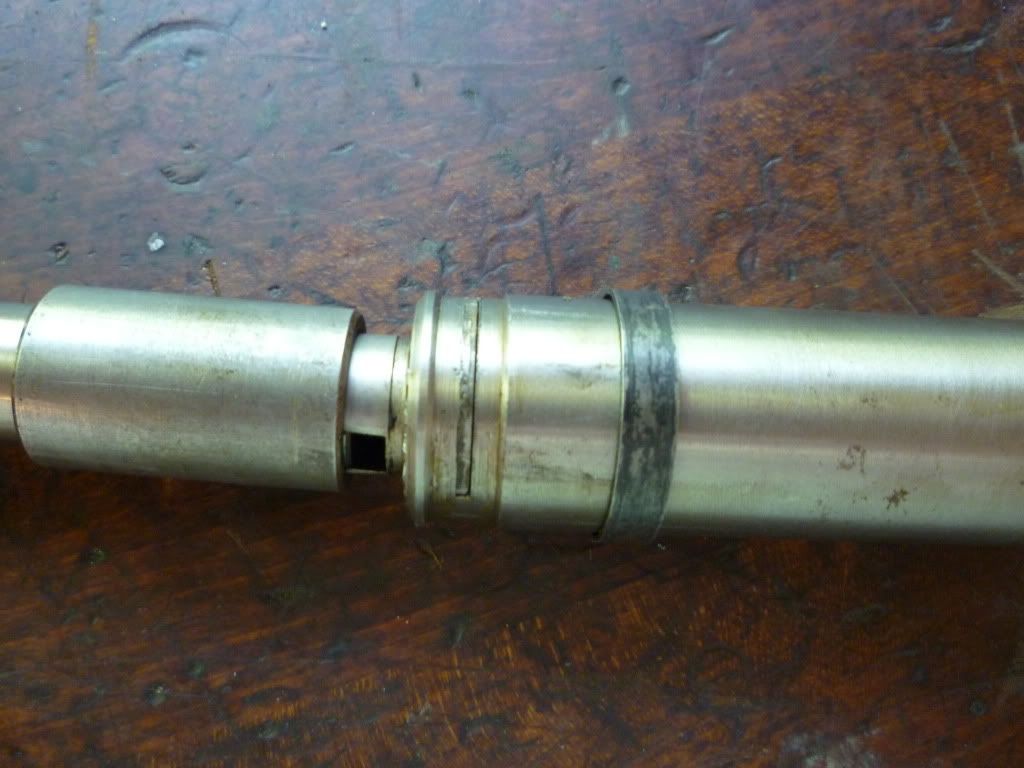
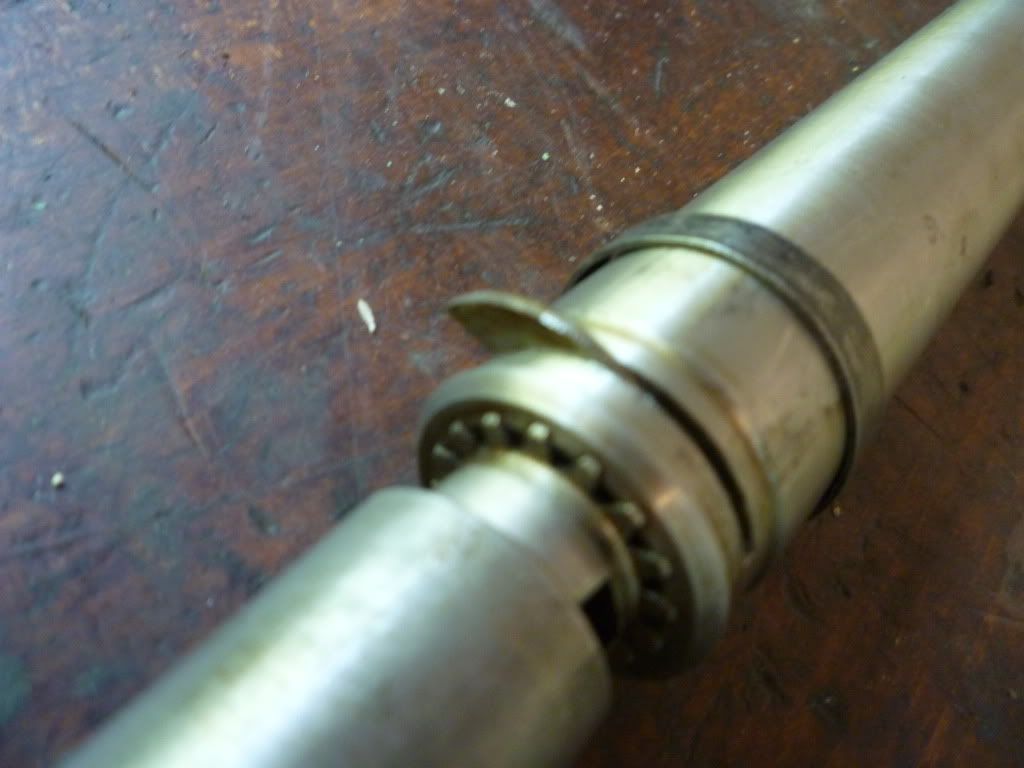
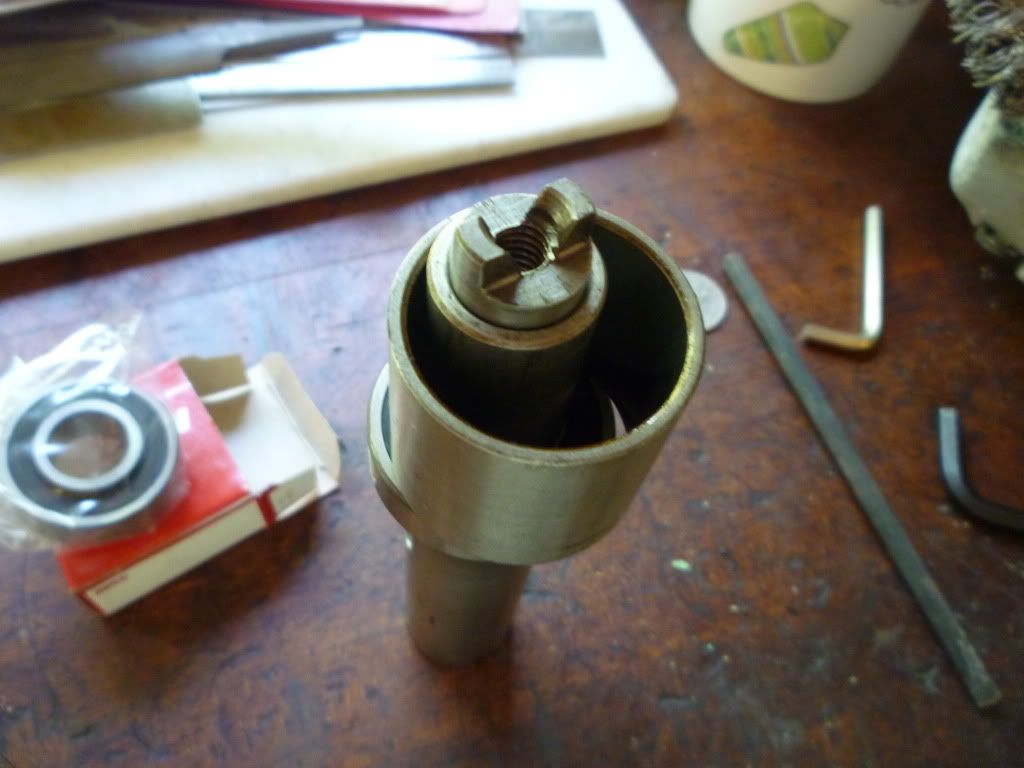
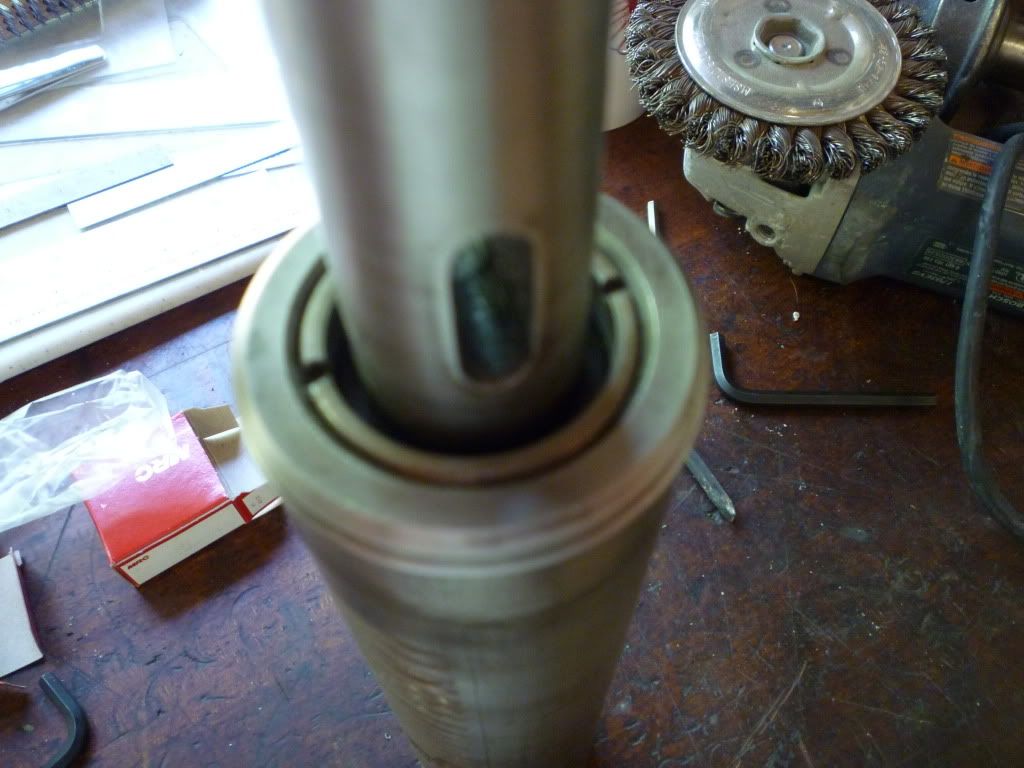
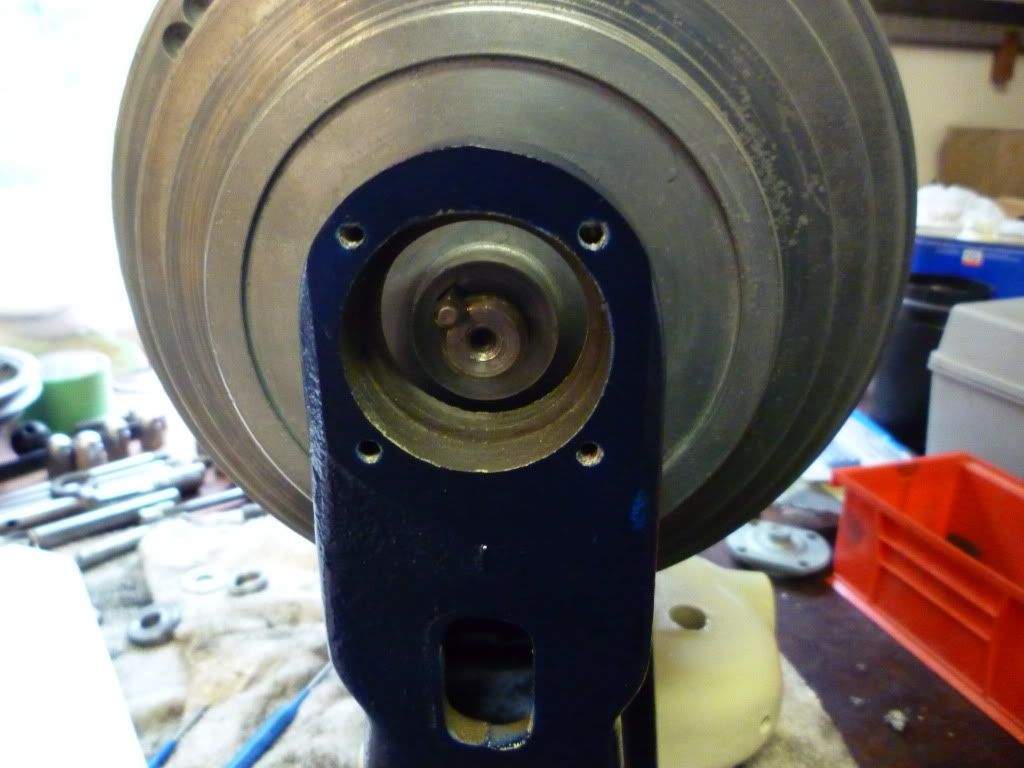
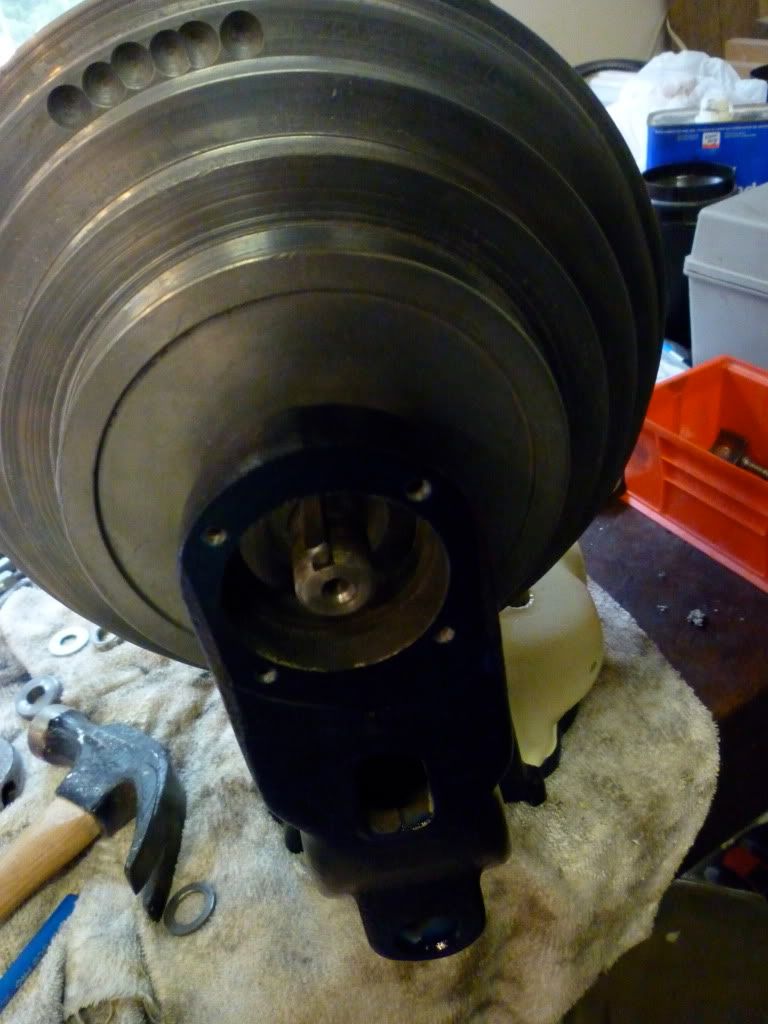
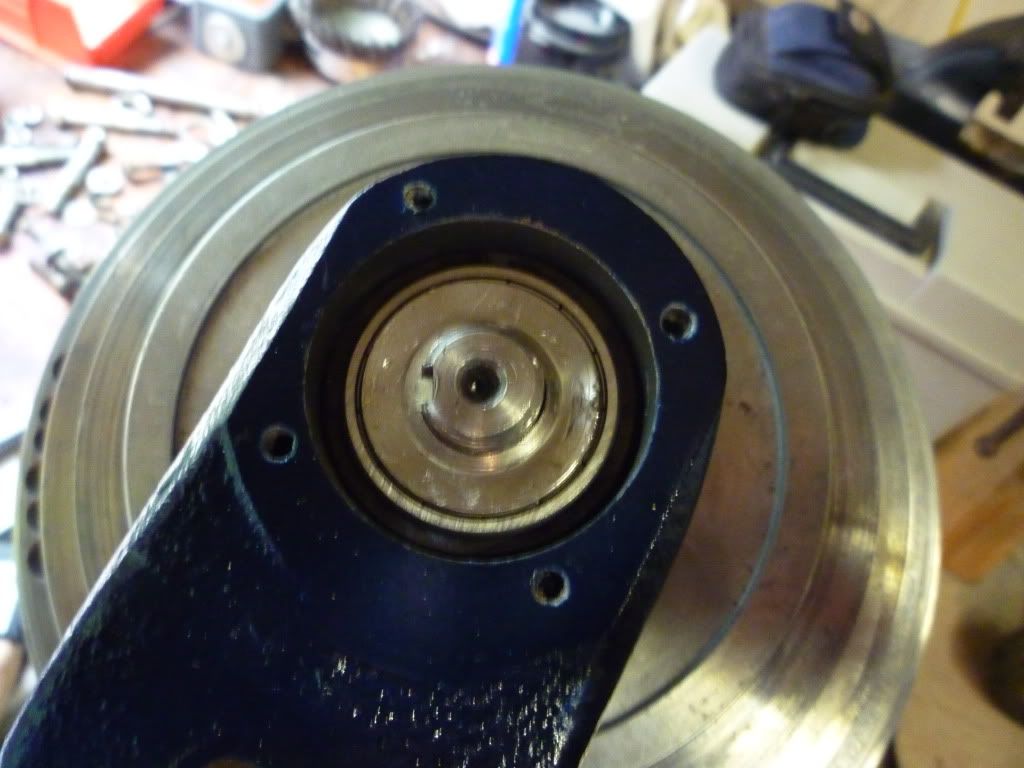
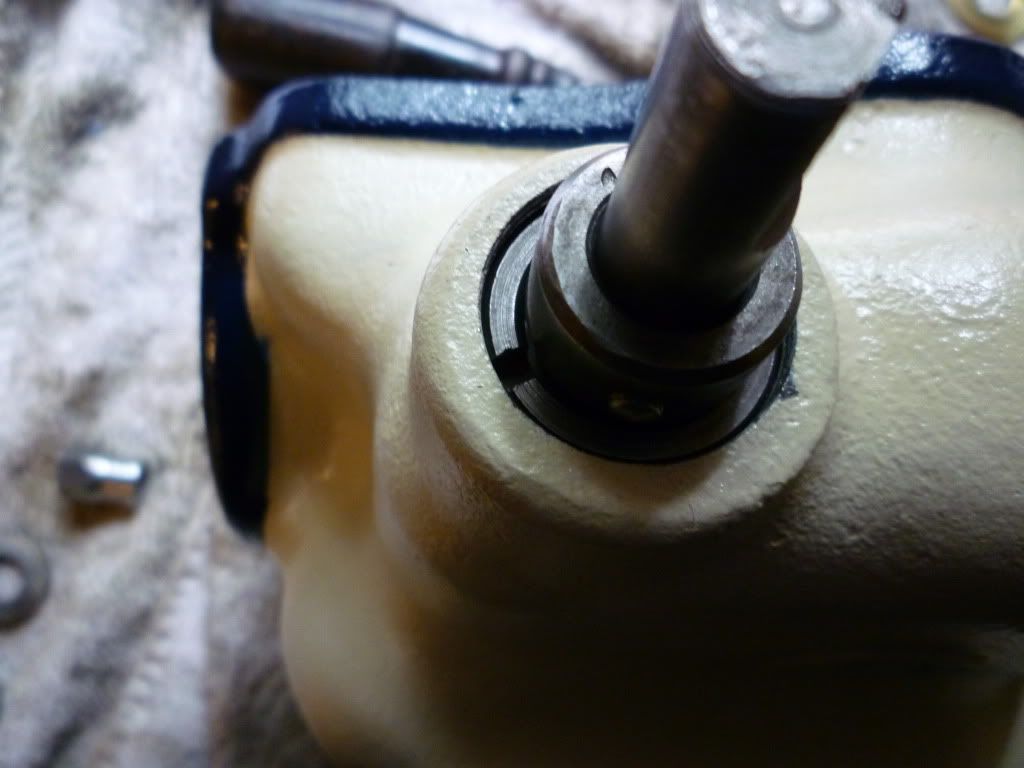
So then I use the pinion with the spider to drive the quill the rest of the way up through the top wheel. very very carefully. before this I drive the pin into the spider while it is setting comfortably inside the head stock.

Image

Image
Image
Image
Image

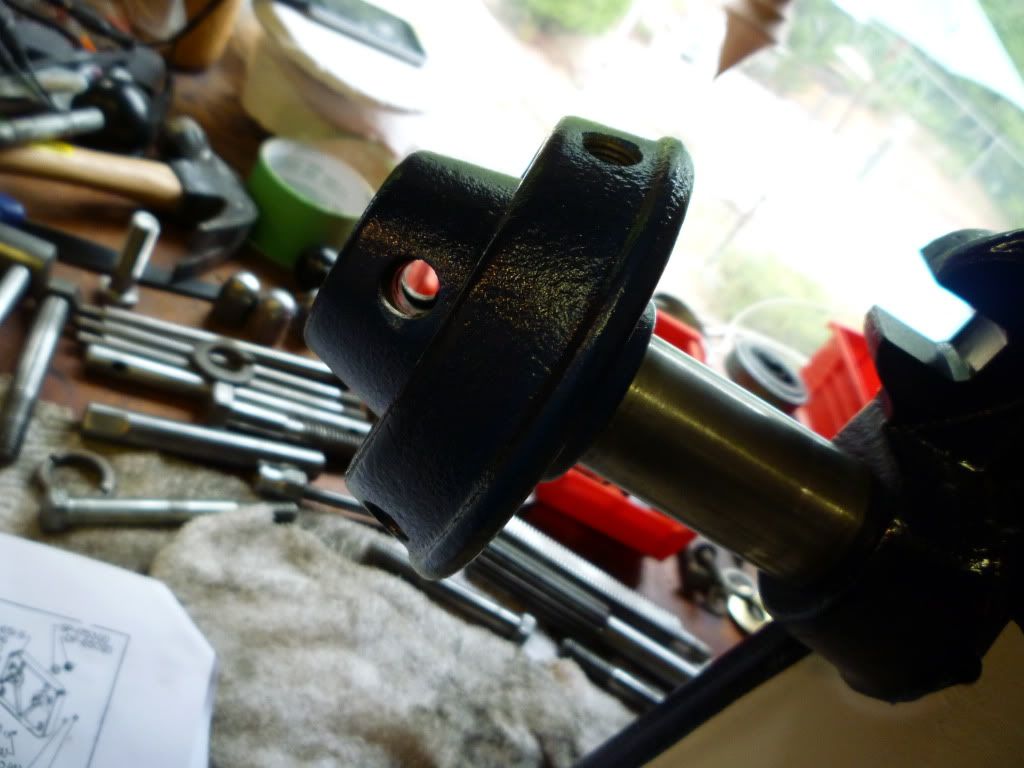
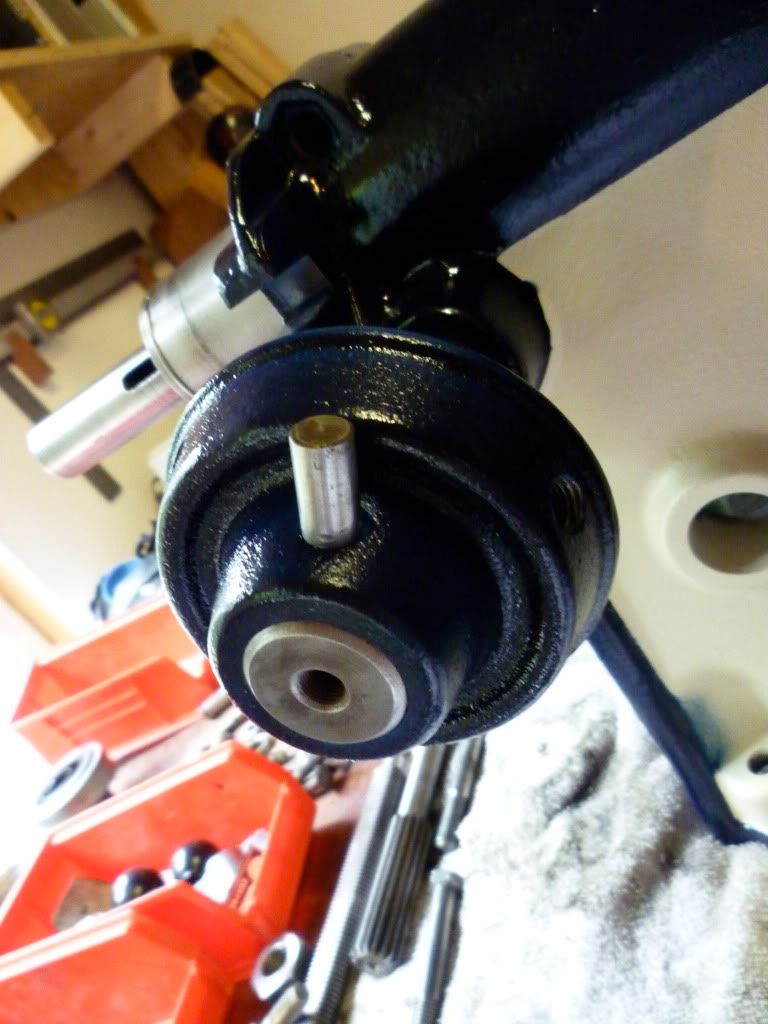
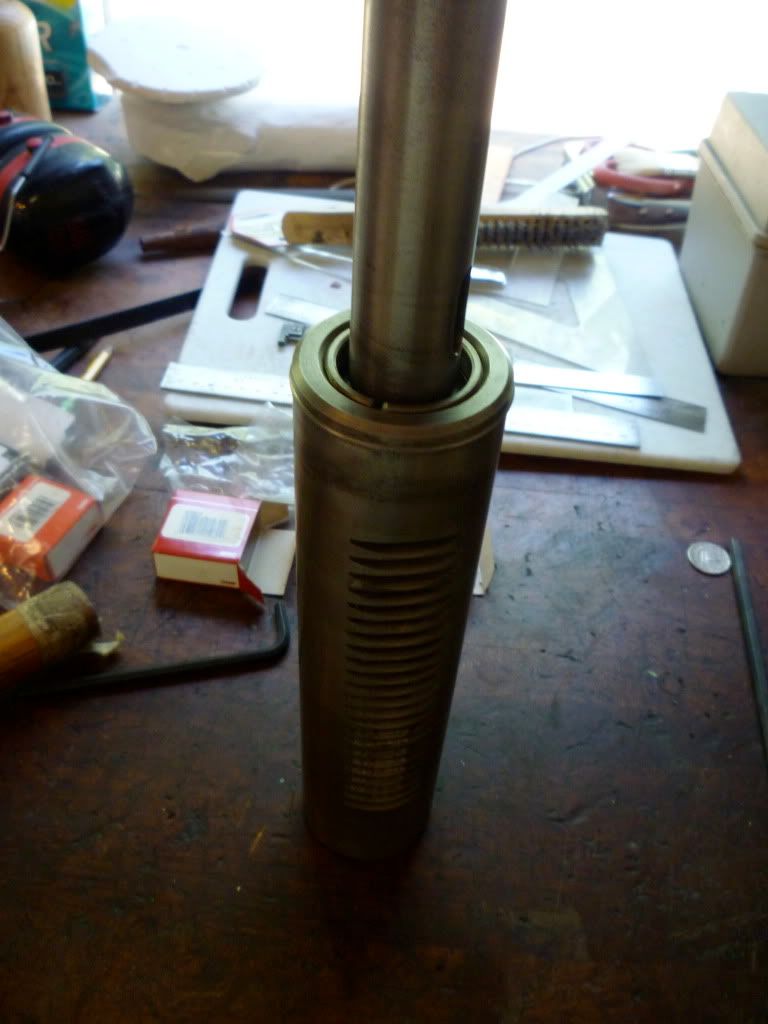
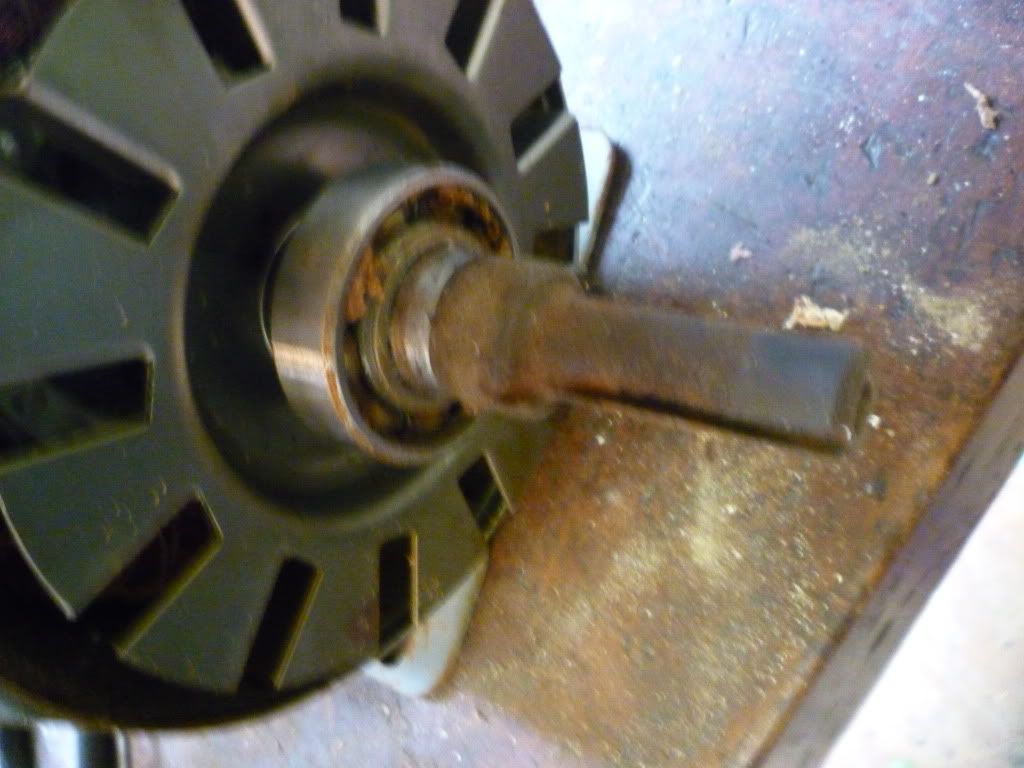
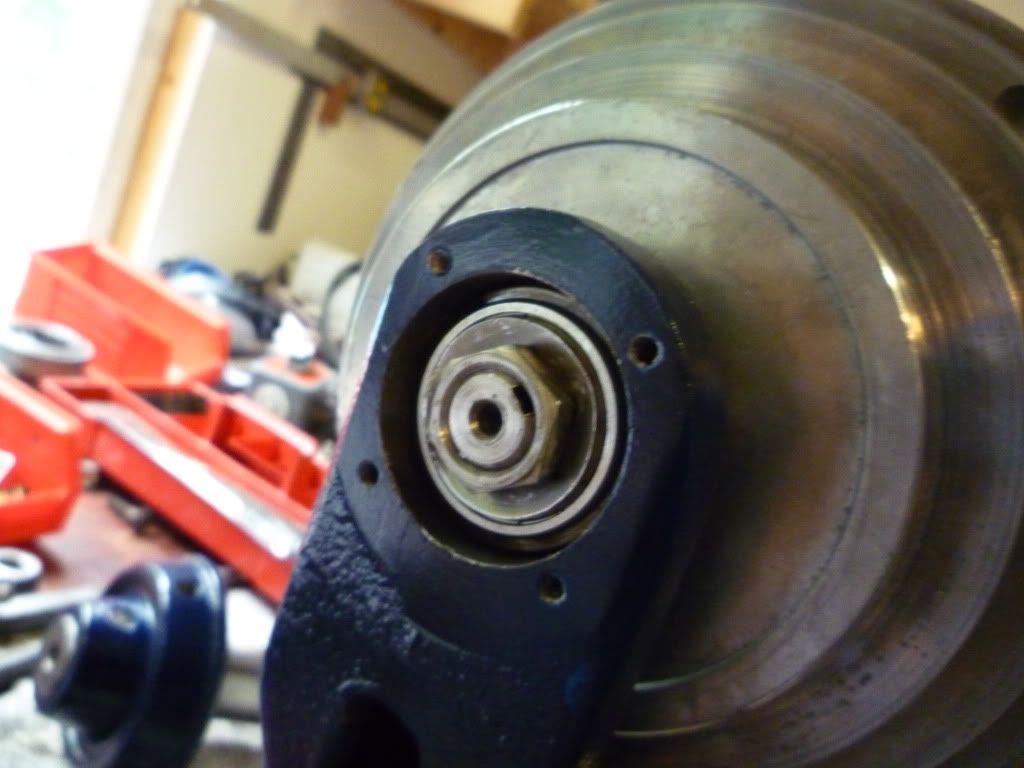
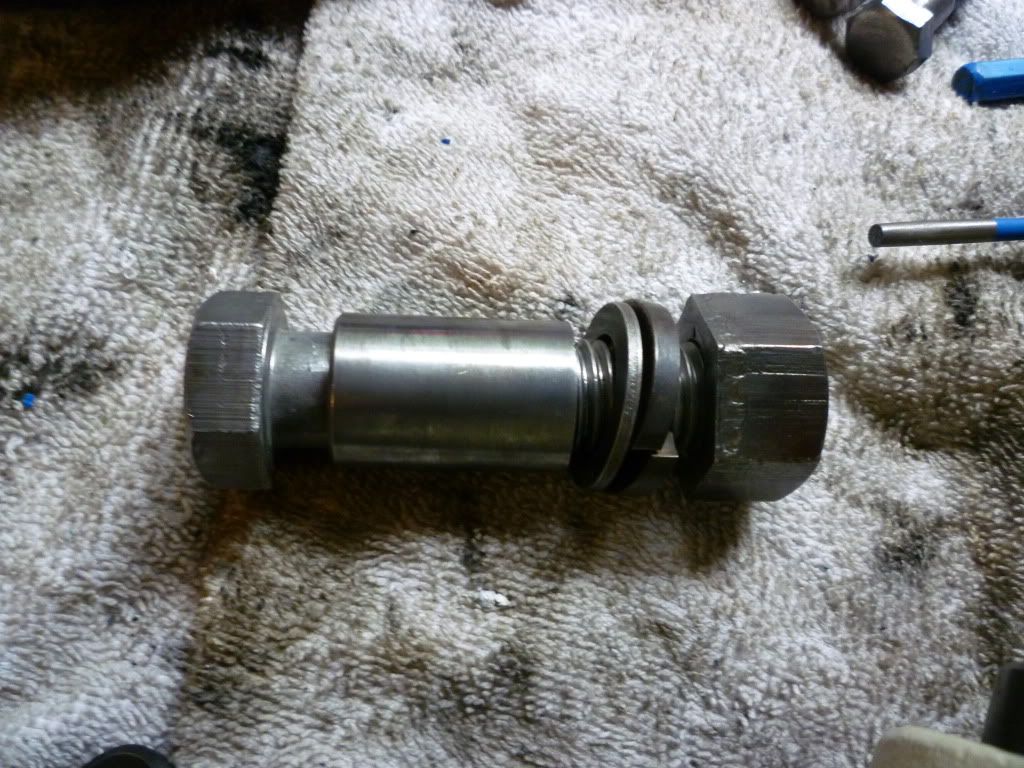
make sure as to remember the assembly for the washer/bearing/cap washer/nut.

Image
Image
Image
Image
Image
Image

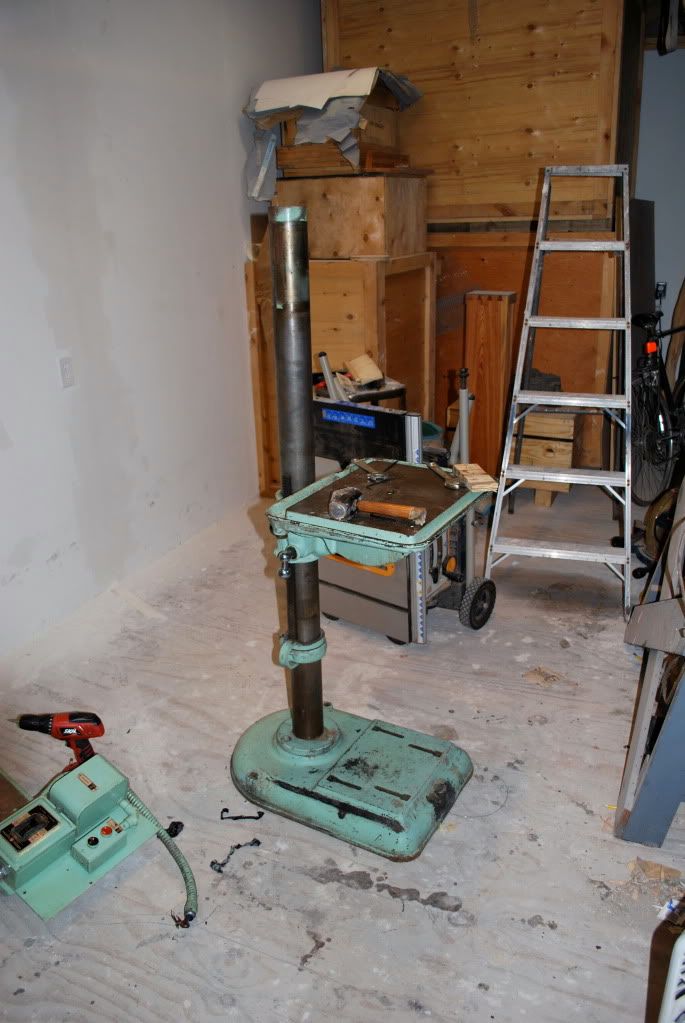
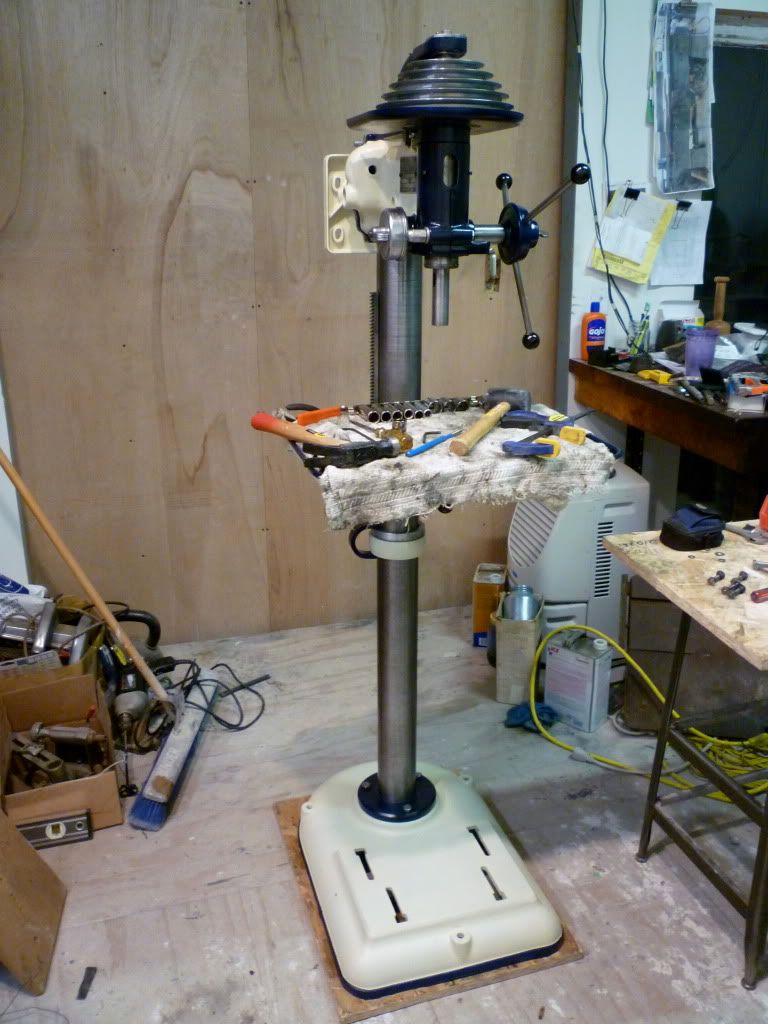
No at this point I started assembling the stand and table so as to do the rest of the head stock assembly in the press itself.

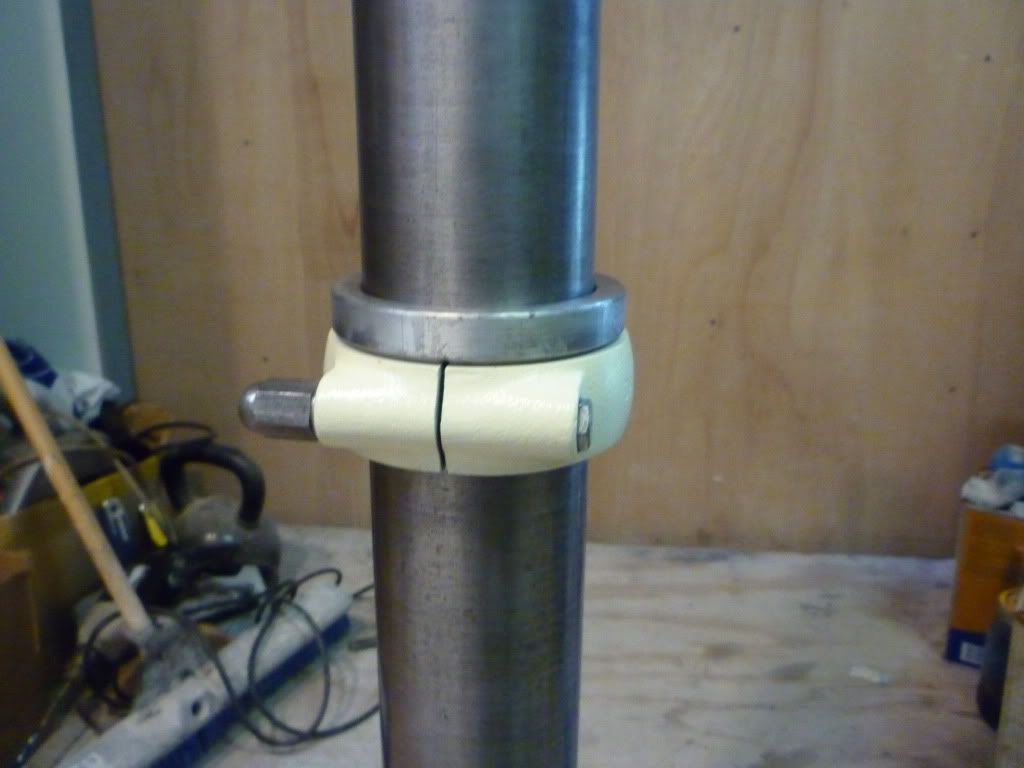
so lock in your collar around the column

Image

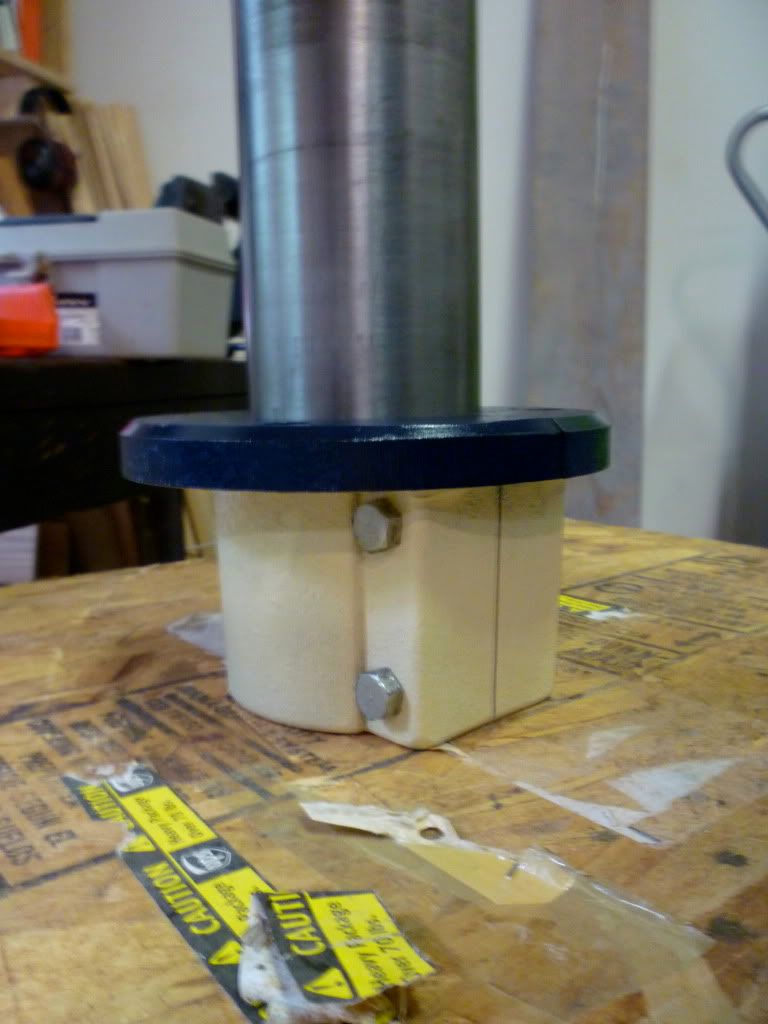
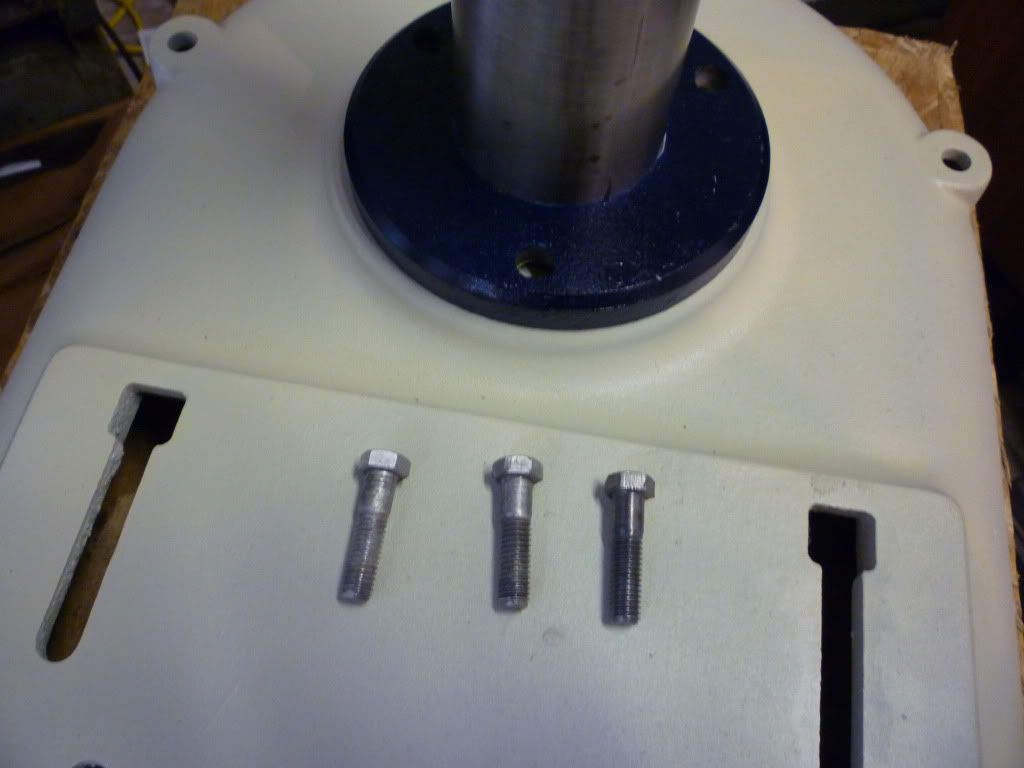
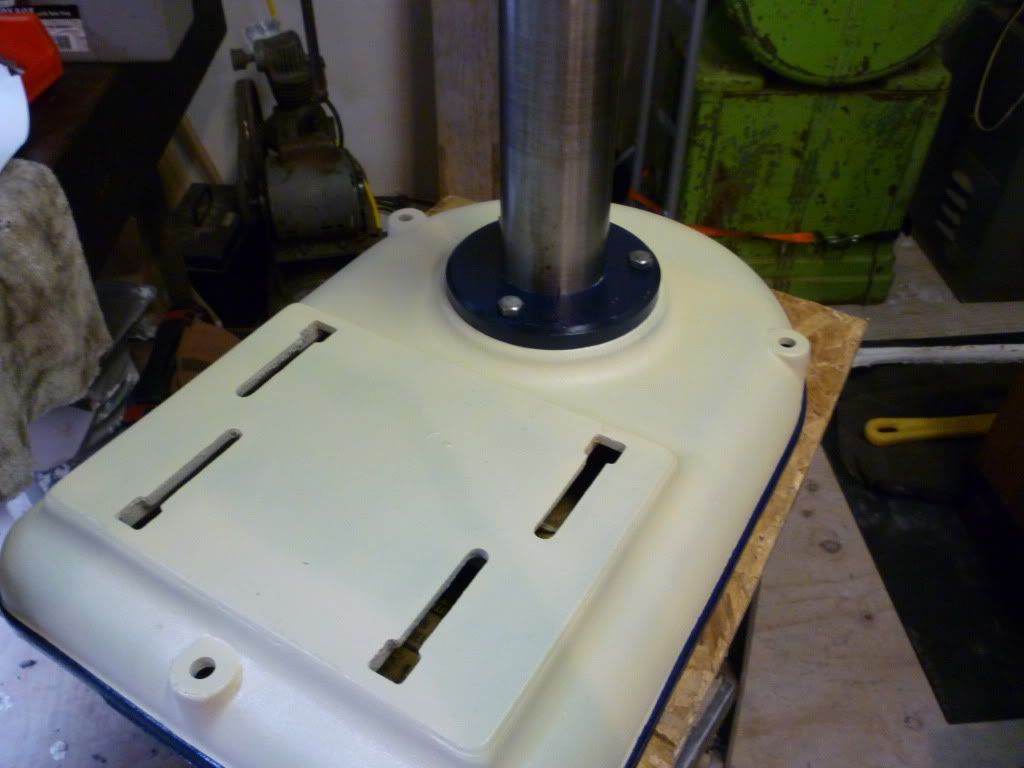
attach to base. with three bolts.

Image

Image

the clamping ring for under the table assembly

Image

then large bearing placed above it.

Image

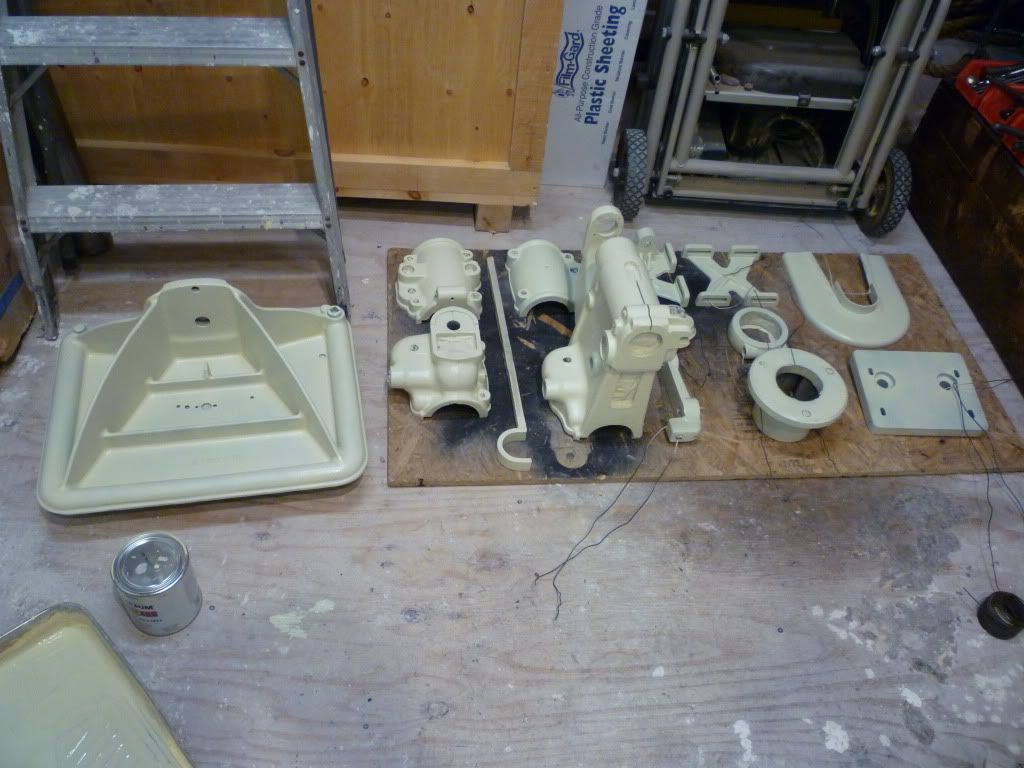
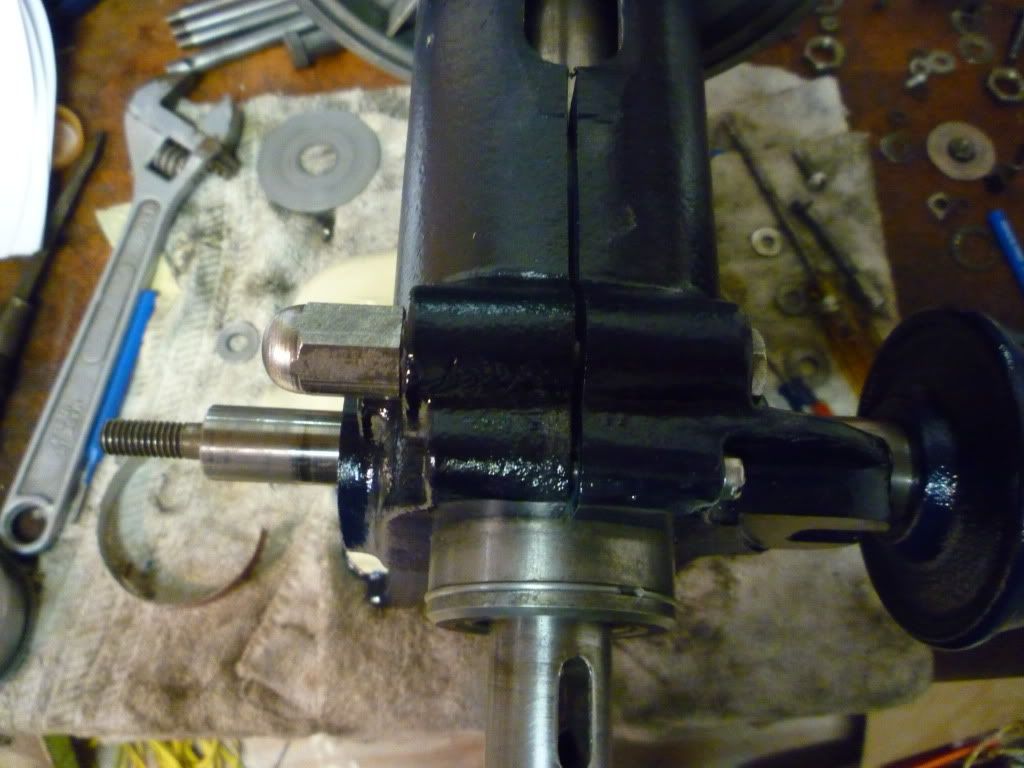
Then I got into the table assembly

Image

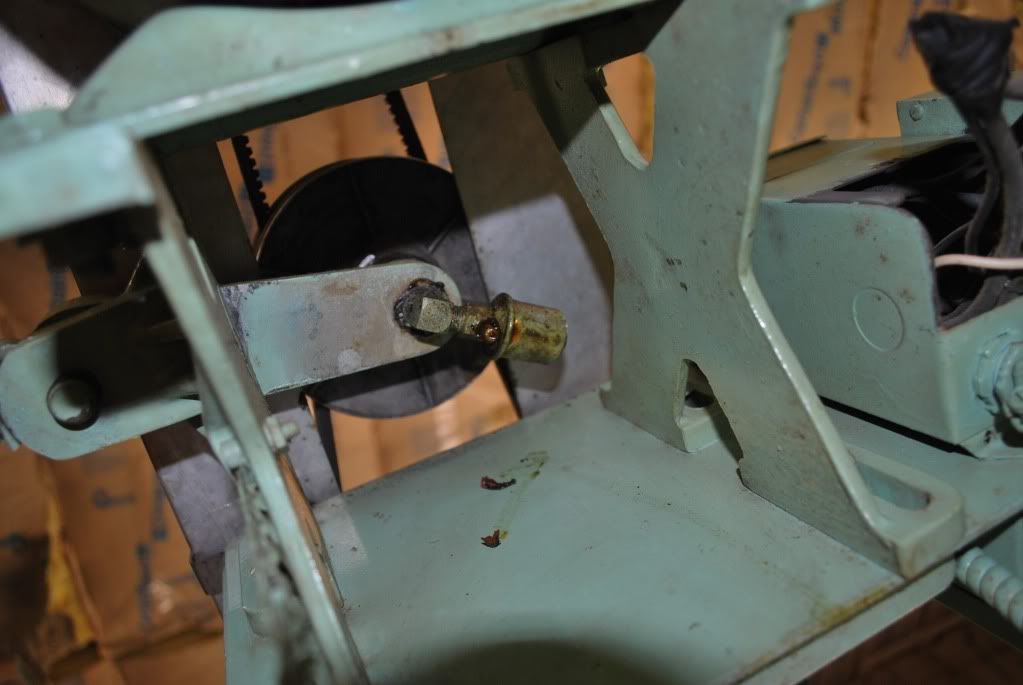
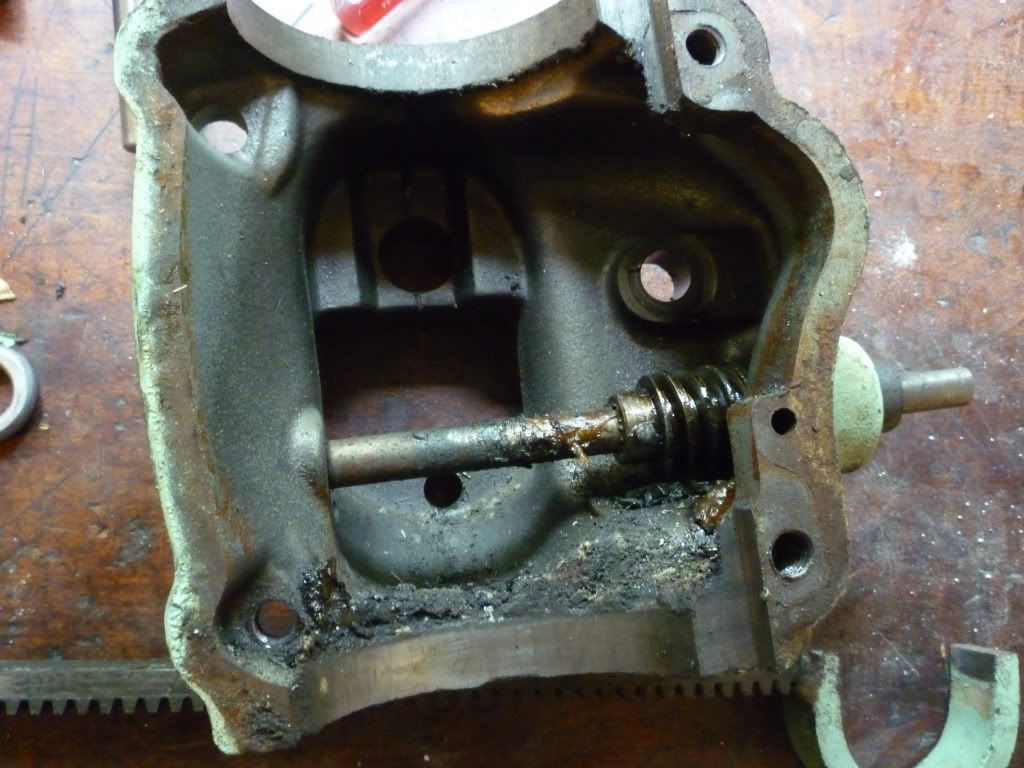
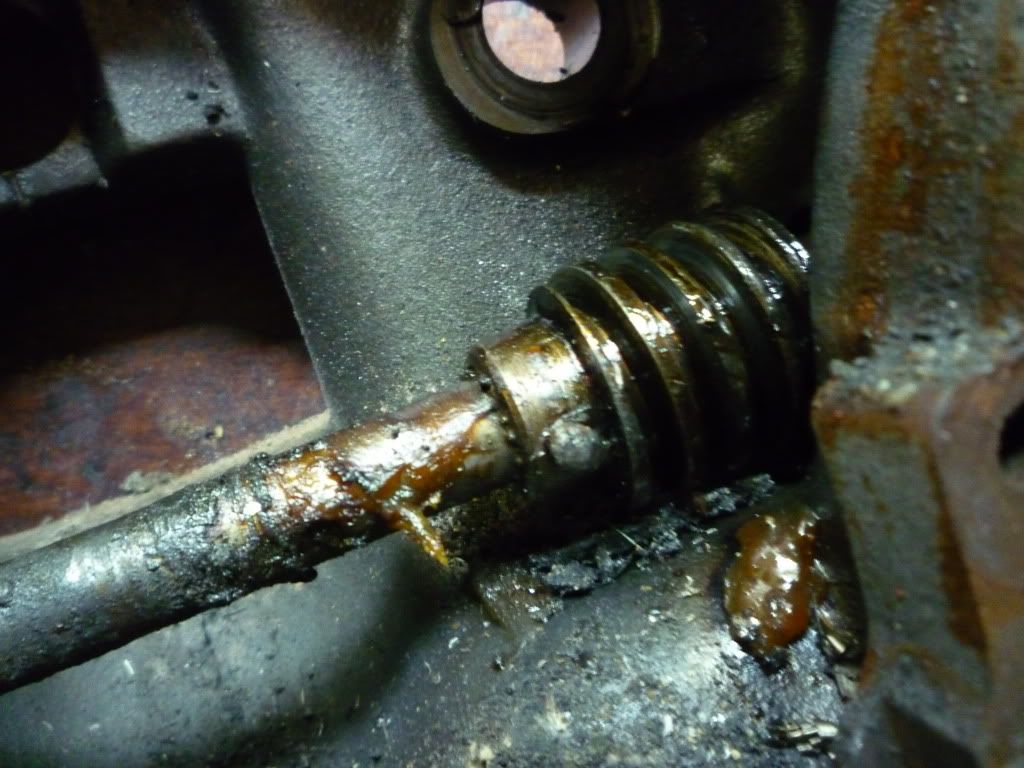
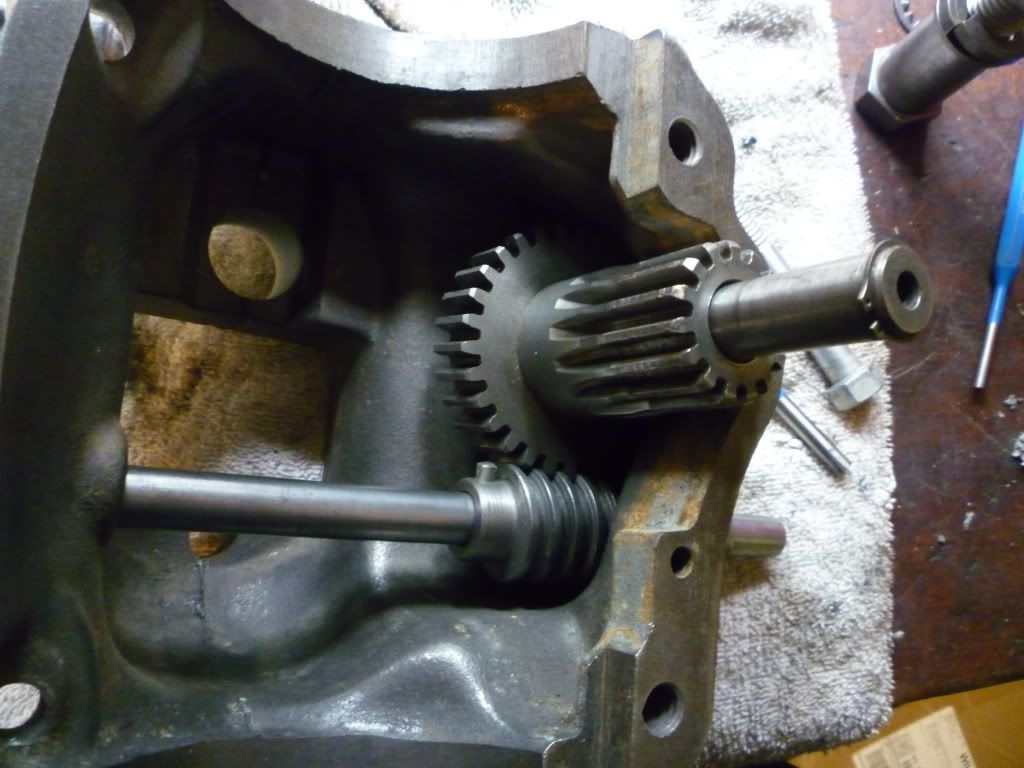
I forgot about 3 times while putting this part together that you need to have this funny set nut thing (dont know the name) in place as you push the worm drive through the casting. So as to lock it all in place.

Image

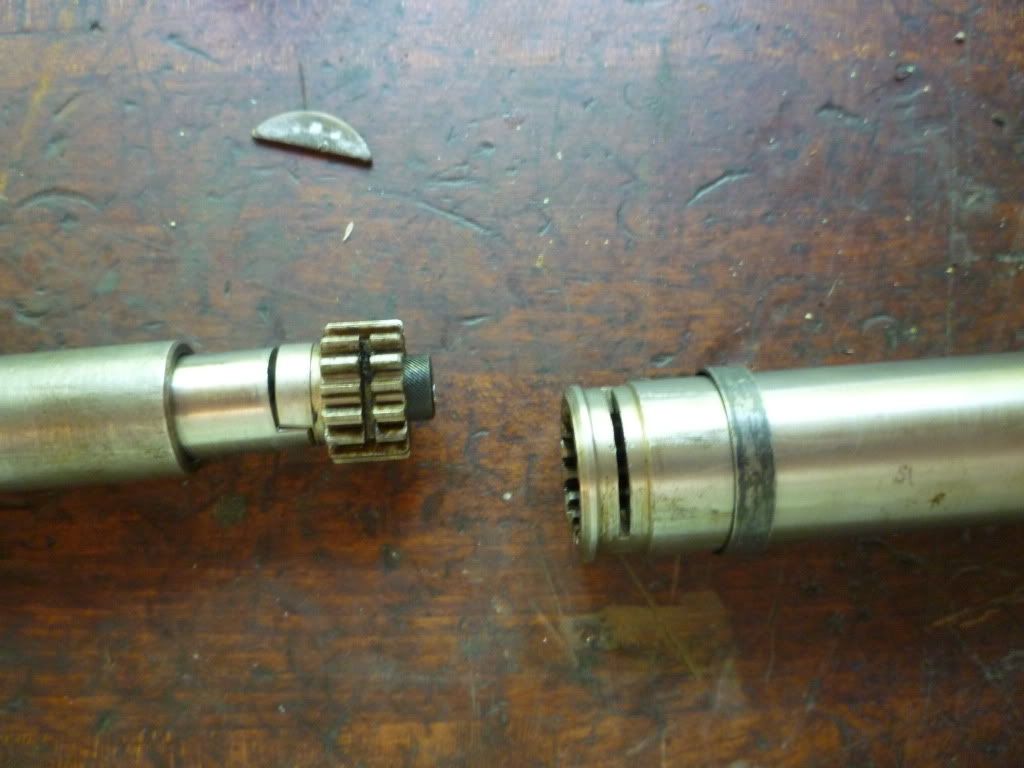
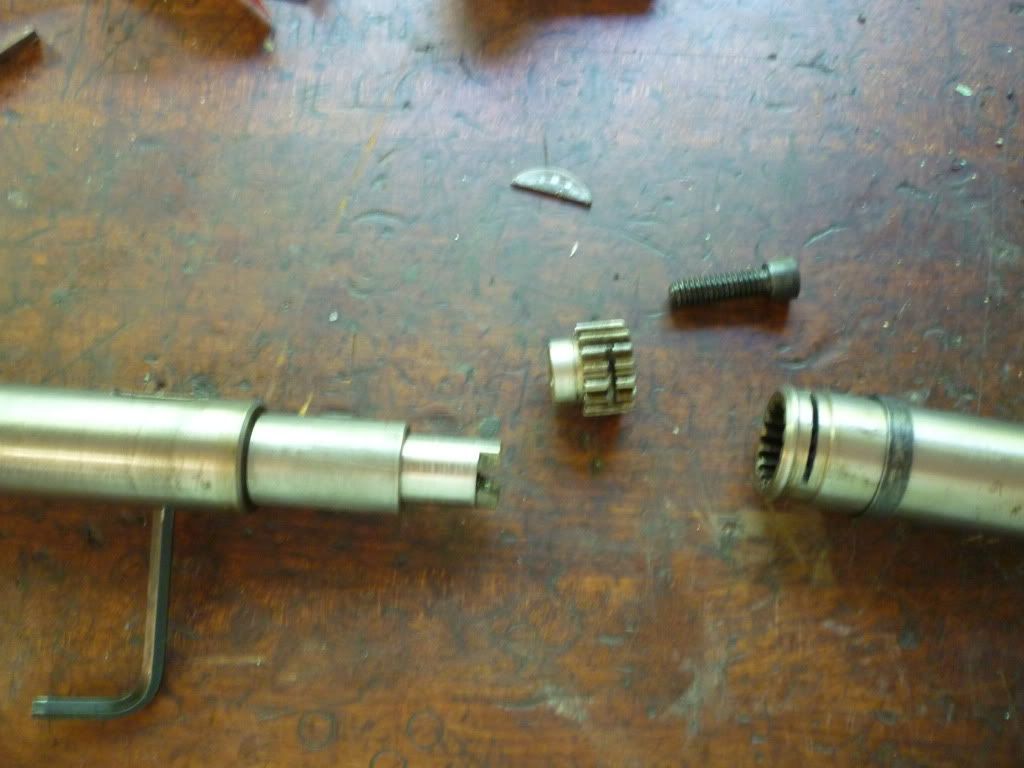
now this the wrong pin but it gives you the idea for the drive gear.

Image
Image

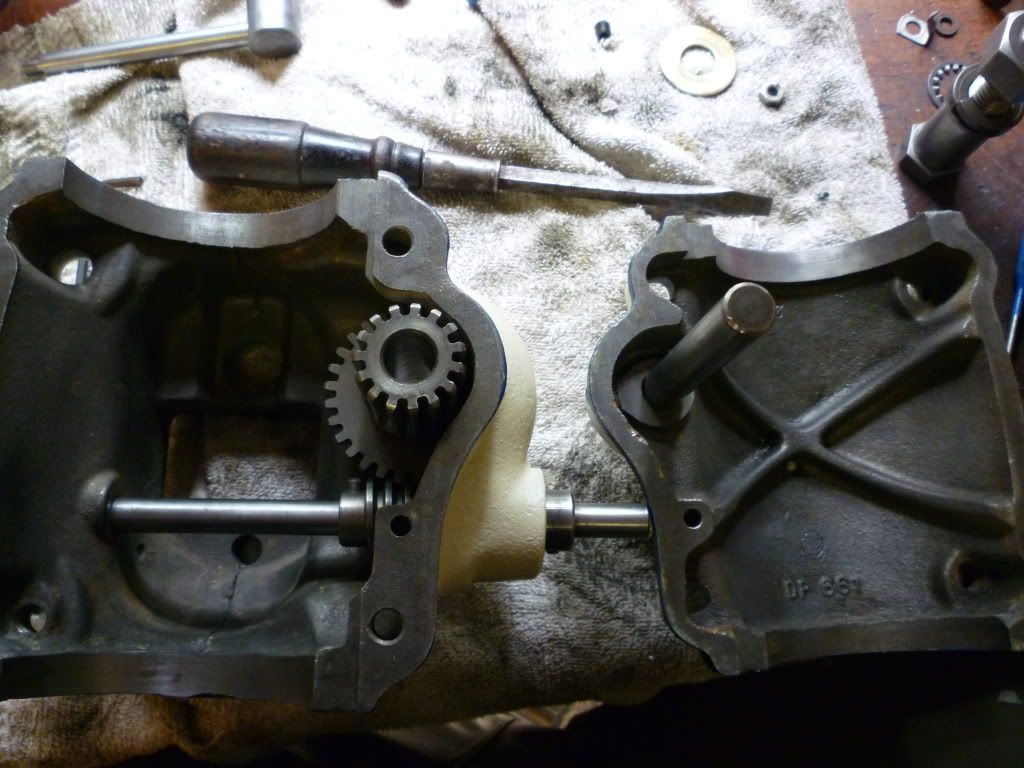
Then I make sure as to have the parts in the right order before putting this part together.

Image

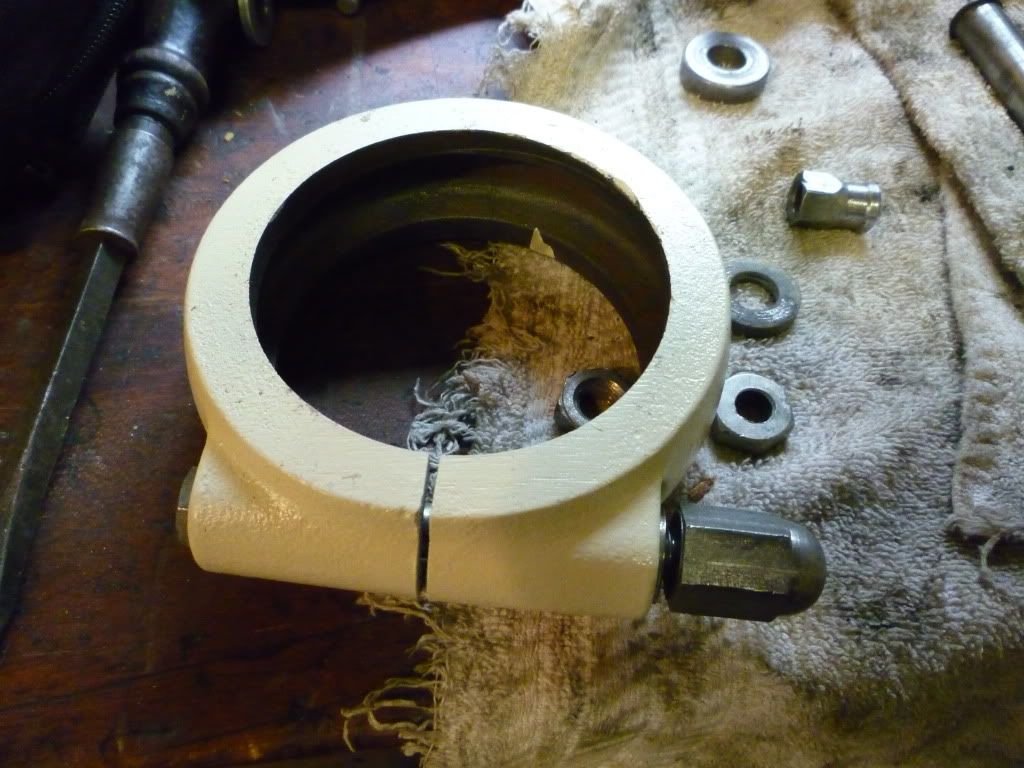
I assemble this collar loosely then put it on the column and tighten it in place.

Image
Image

Assembling the table.

Image

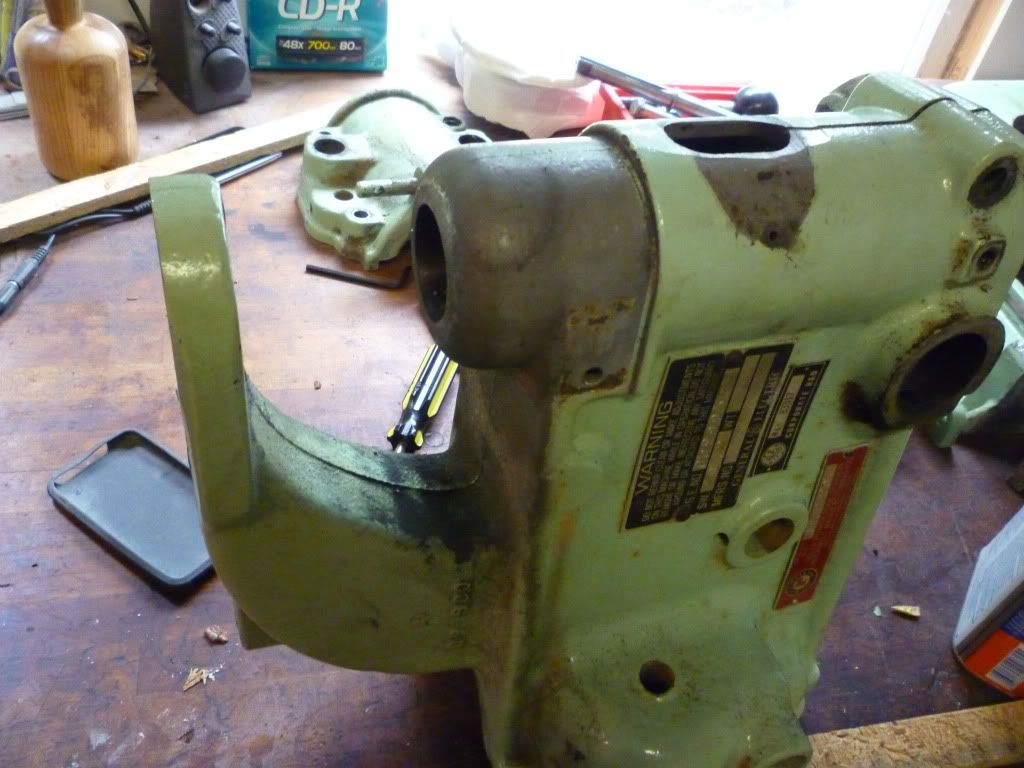
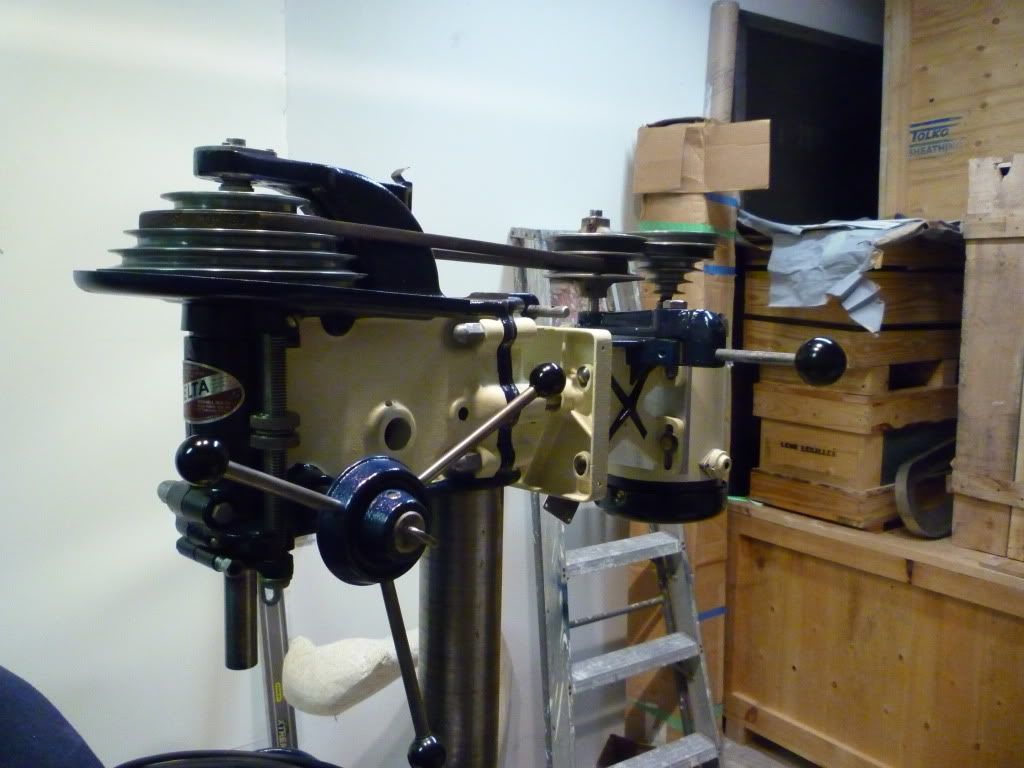
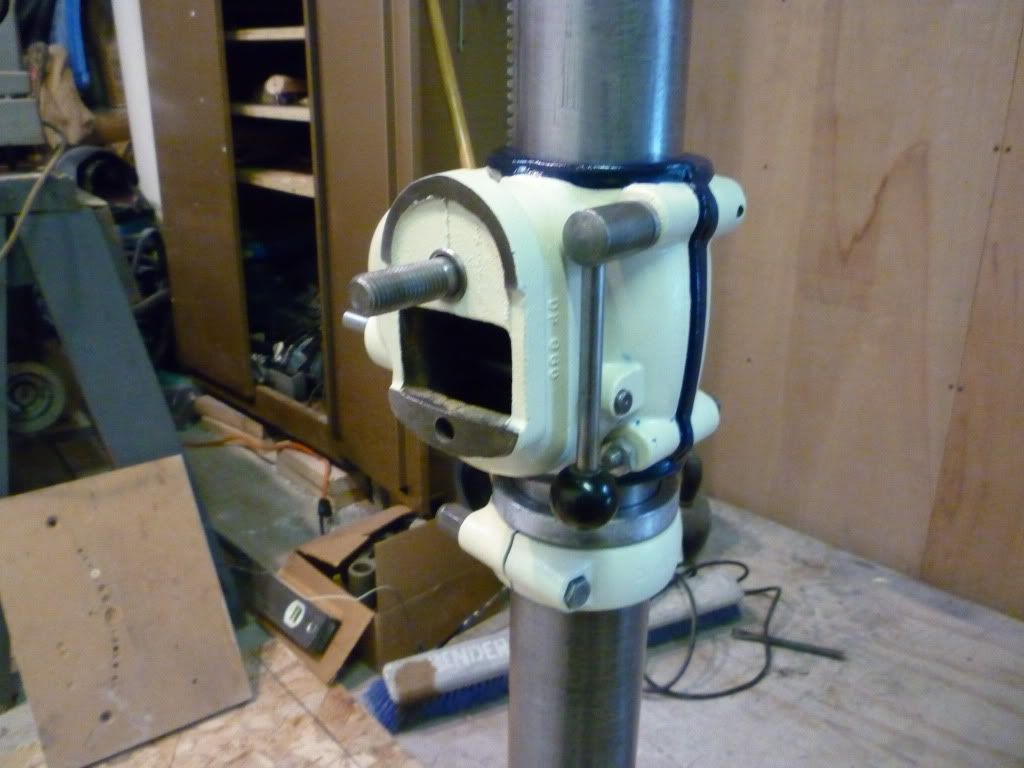
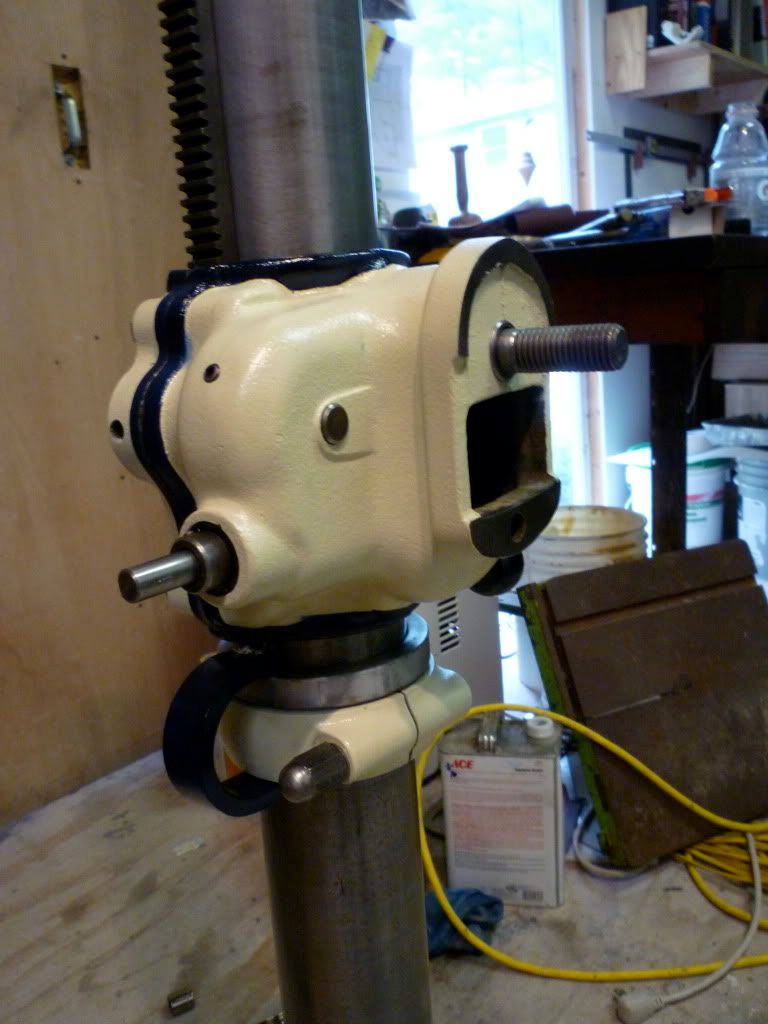
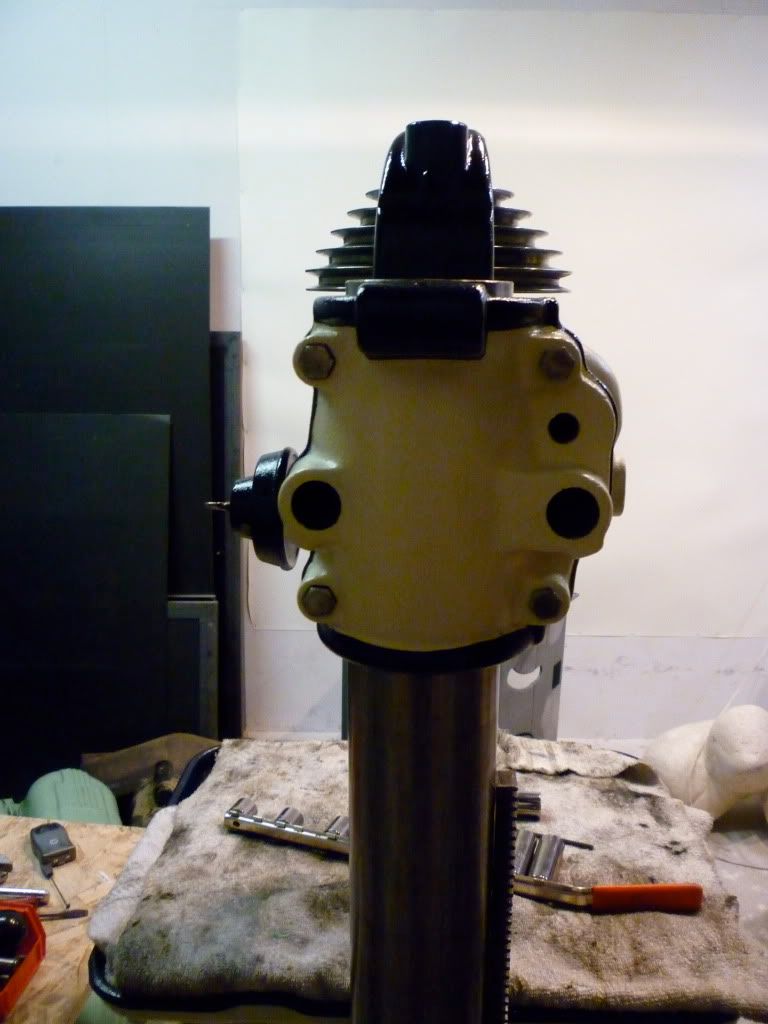
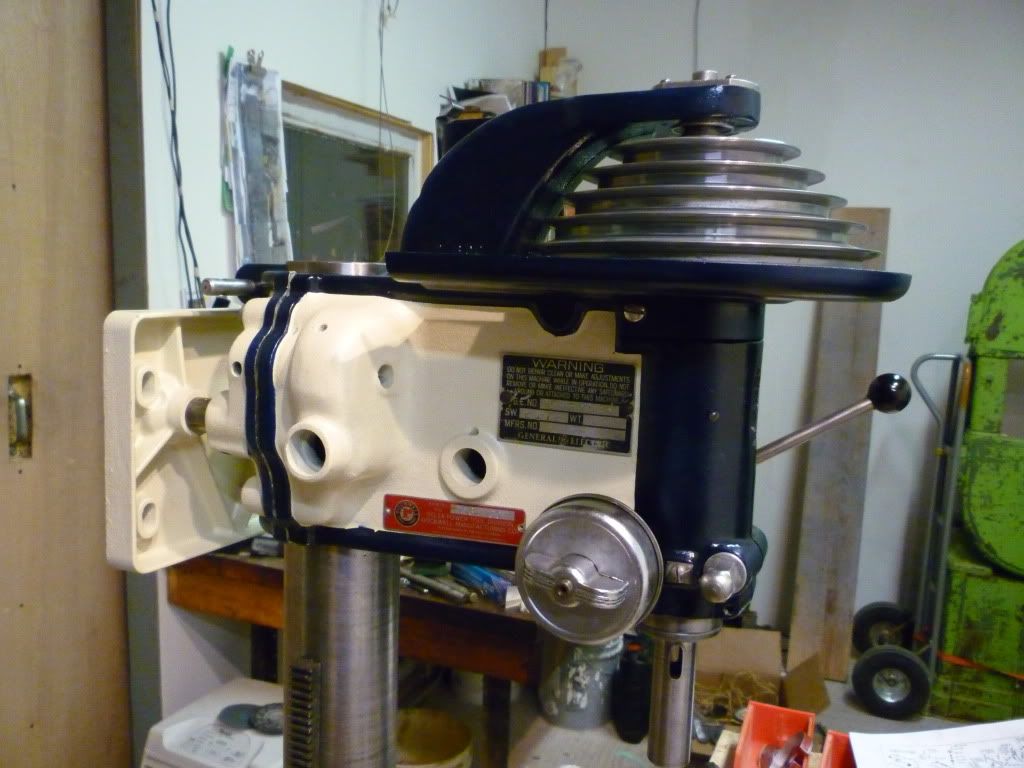
Now back to the head stock.

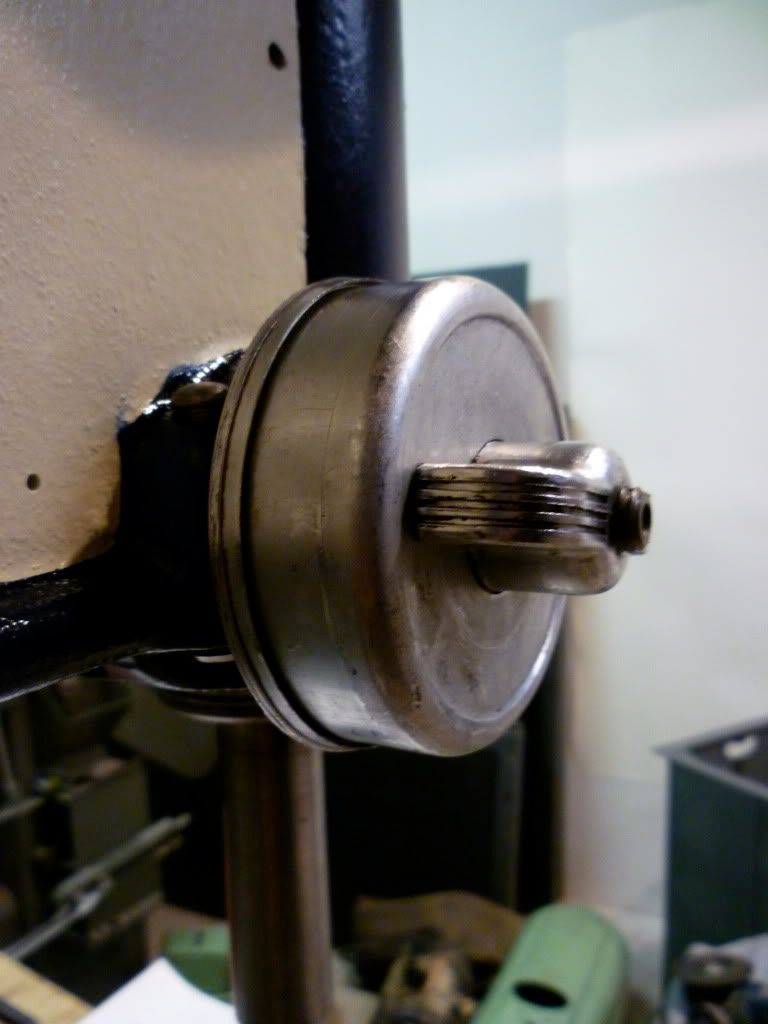
I attach the cap on the quill assembly.

Image

Now some of you may notice what I forgot in this picture. Esp. Crzypete. I'll get to the funny part shortly...

Image

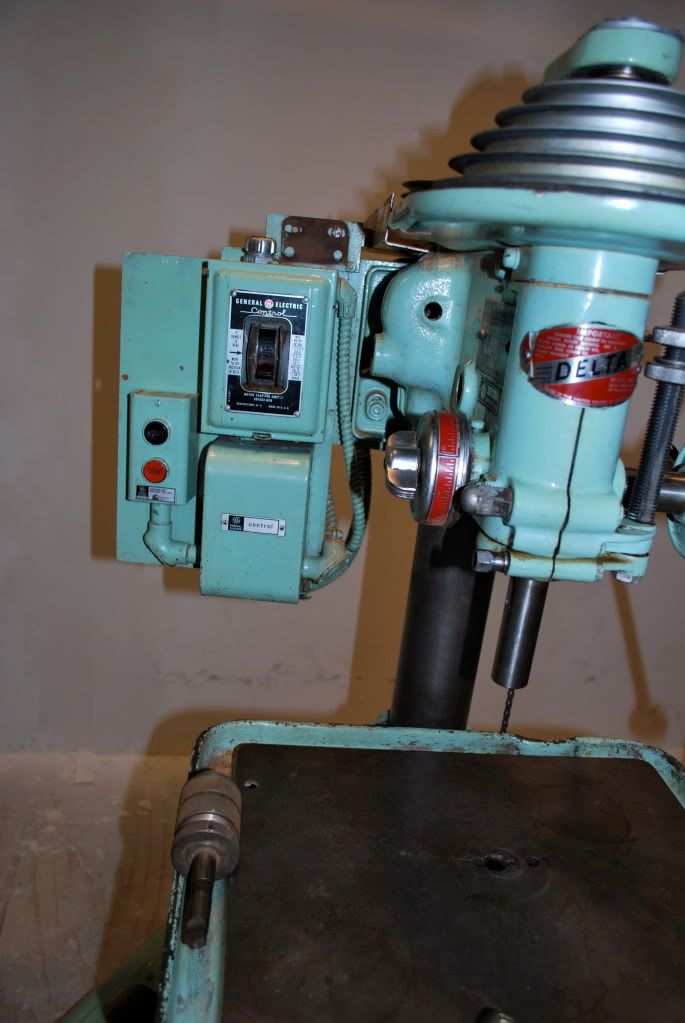
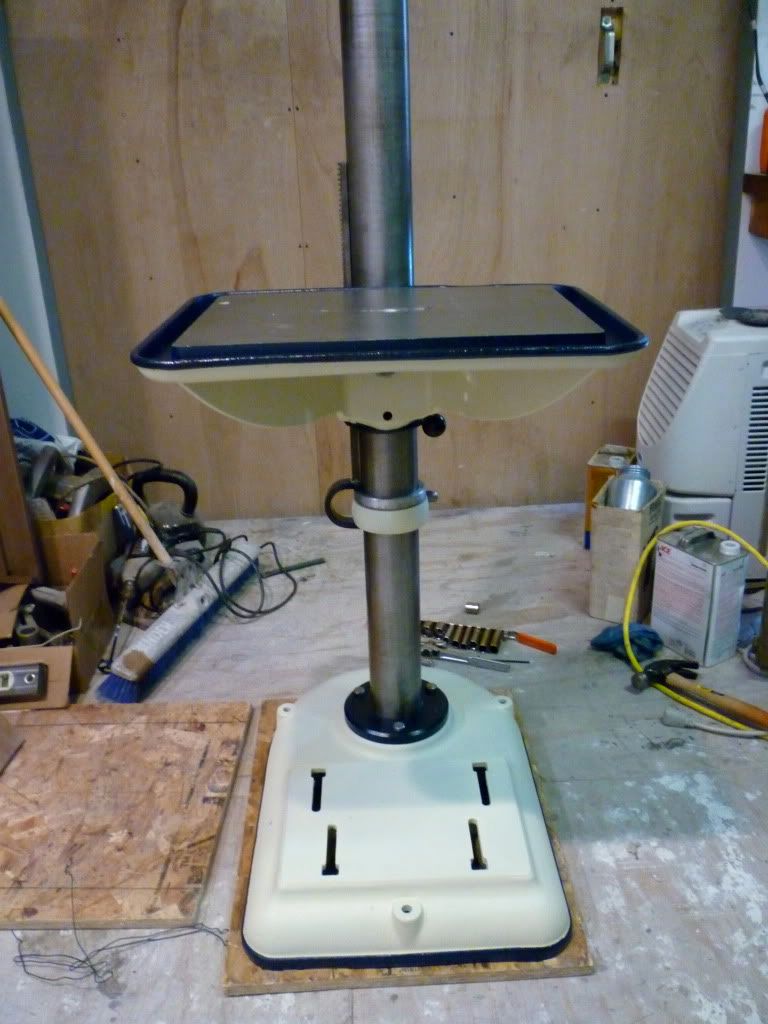
Now I'm a pretty strong guy I think but I don't have enough gusto to palm the head stock and tighten the bolts. So using a bit of that grey matter in my skull. I used the table as a base to rest the head stock on and cranked it up into place so as I could bolt it in place at the height I wanted it at.

Image

Image

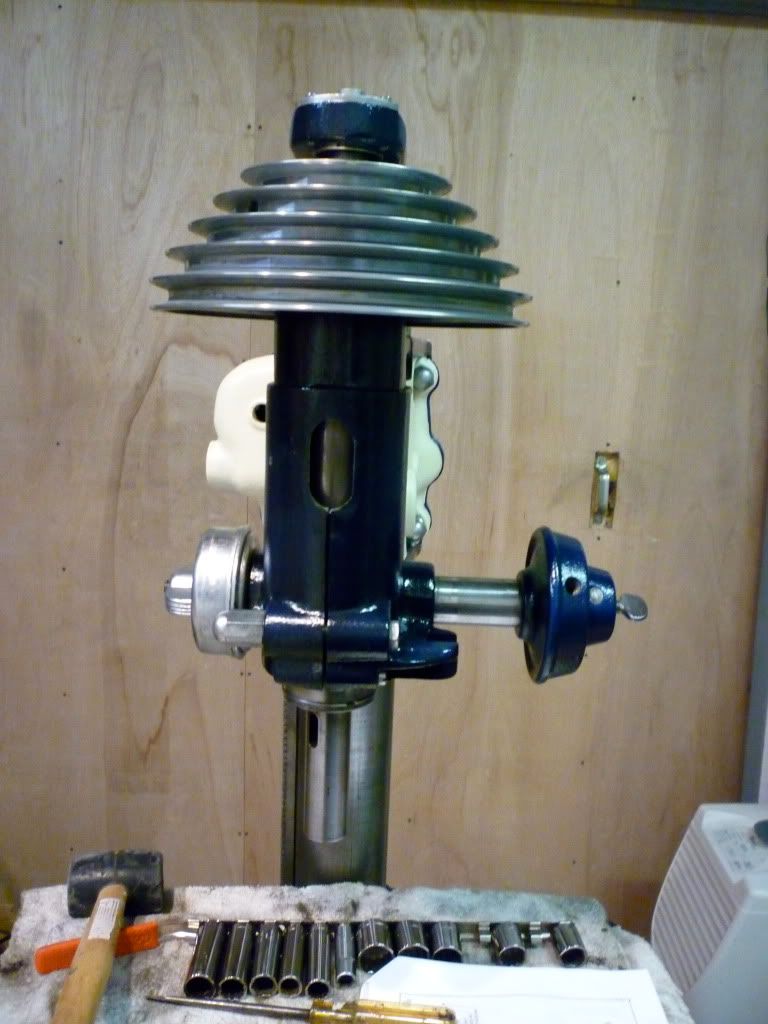
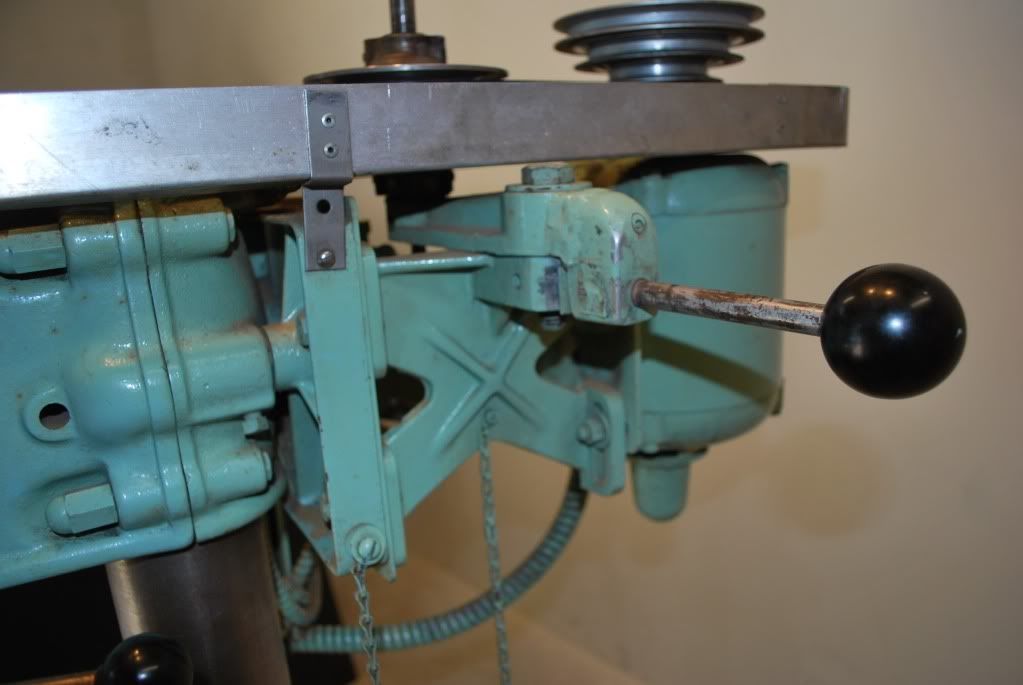
Now as I have learned from the drill press master. hand tightening the spring and then feeding the screw into the assembly behind it makes this process of dialing the quill retriever very easy. Then just lock it in place with a bolt.

Image

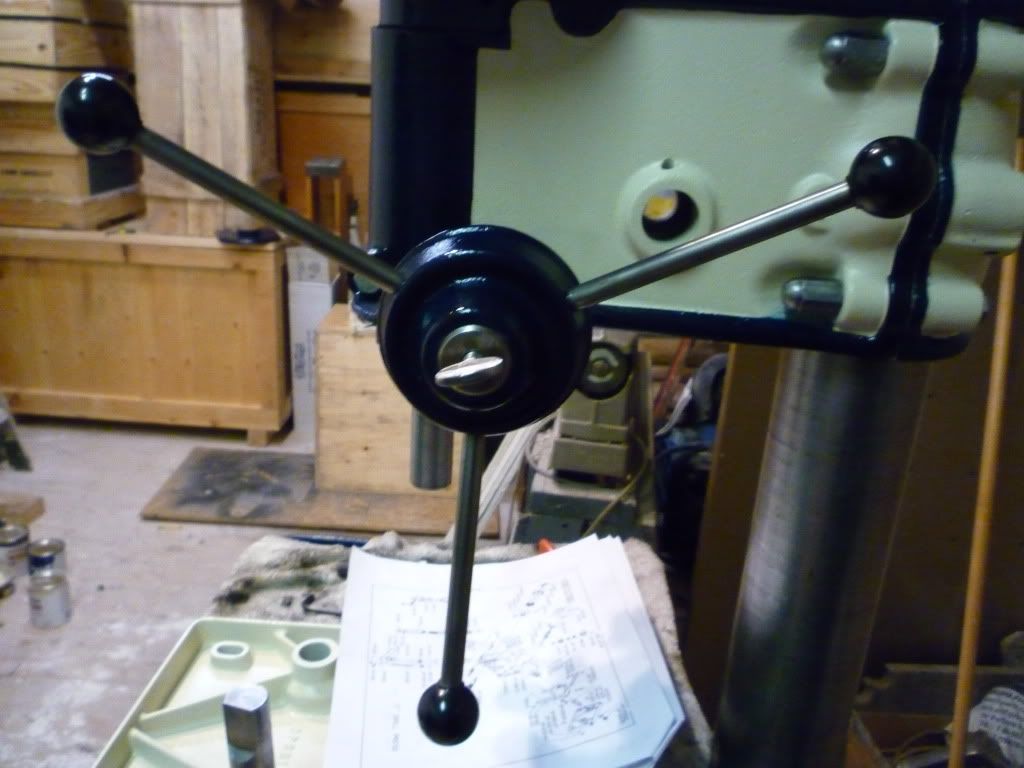
spider... pretty self explanatory I think

Image

So I'm about half done now.

Image

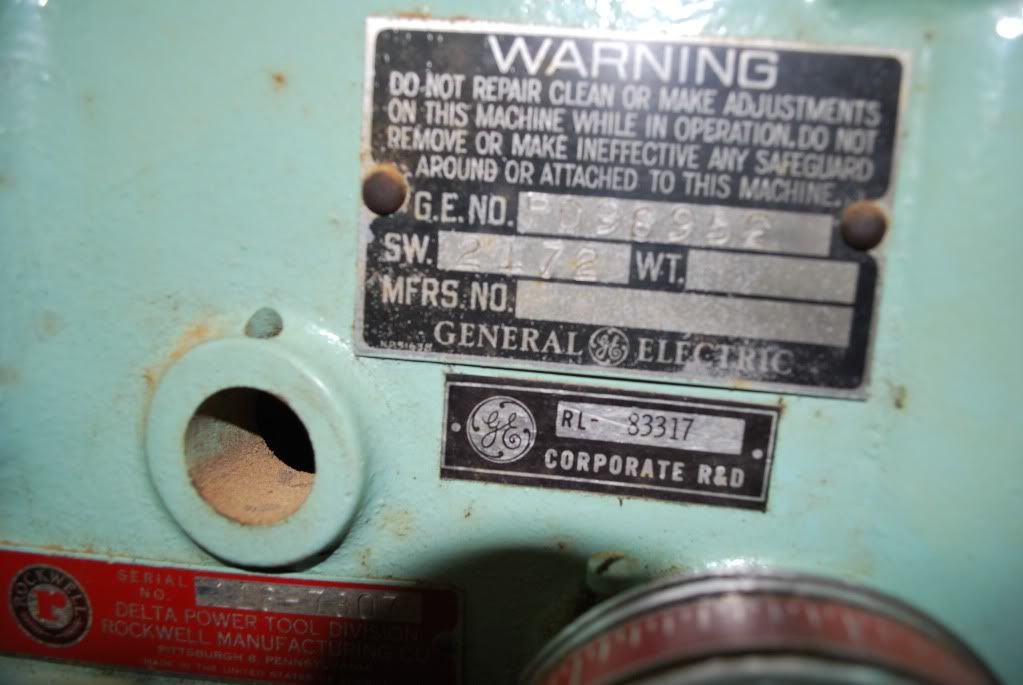
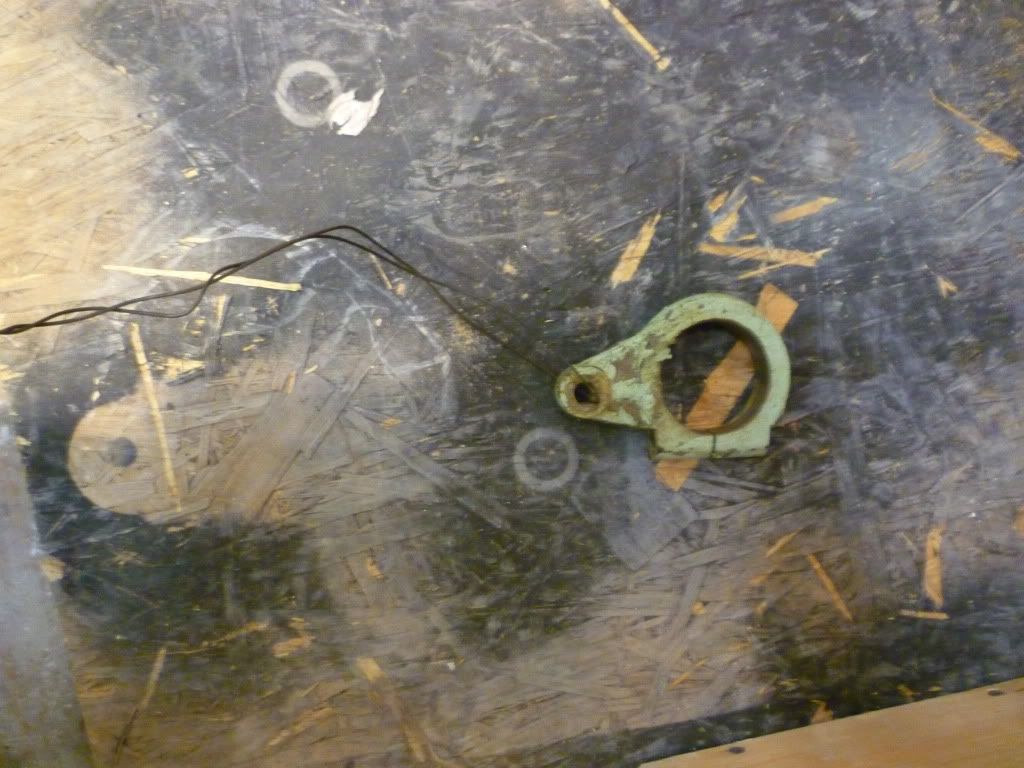
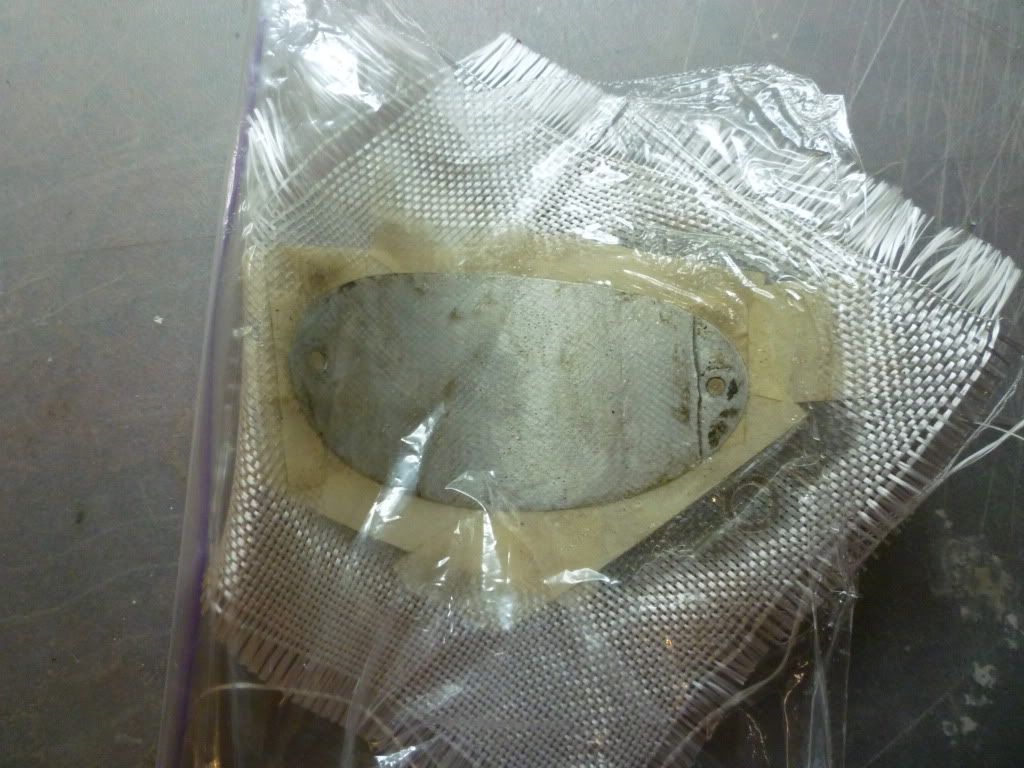
Now I know tags are last but I realized that somewhere along the way I lost the small pin for the bottom plate. In my studio finding it is like trying to find the sun while standing in your closet with the door closed and you being blindfolded.

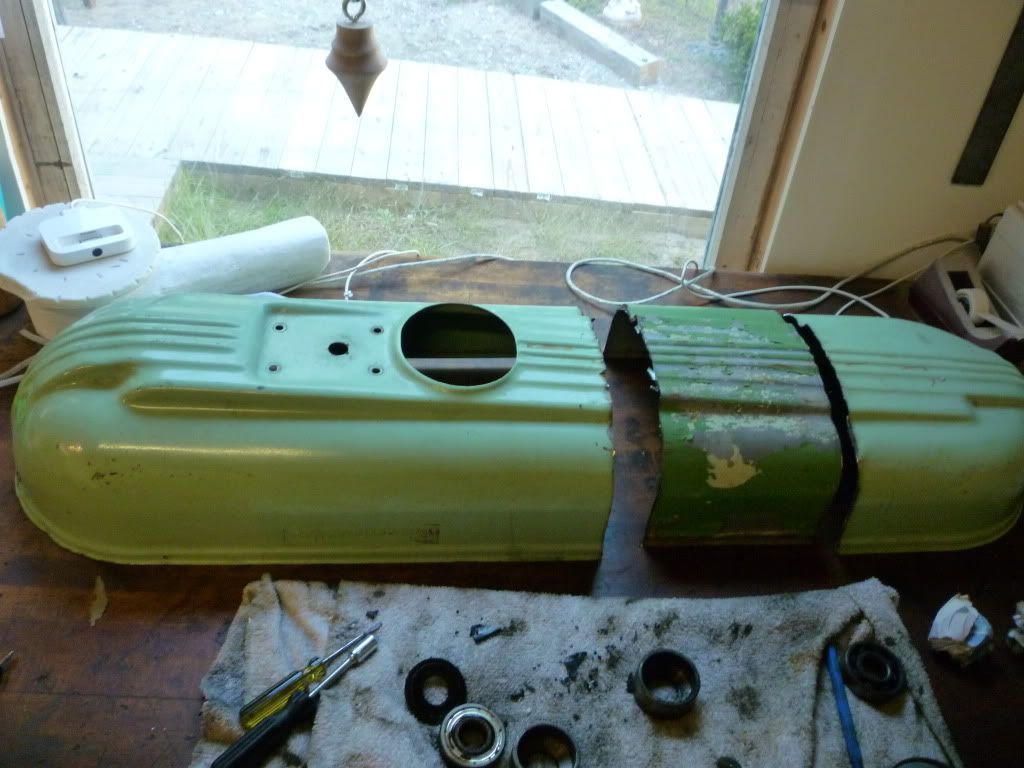
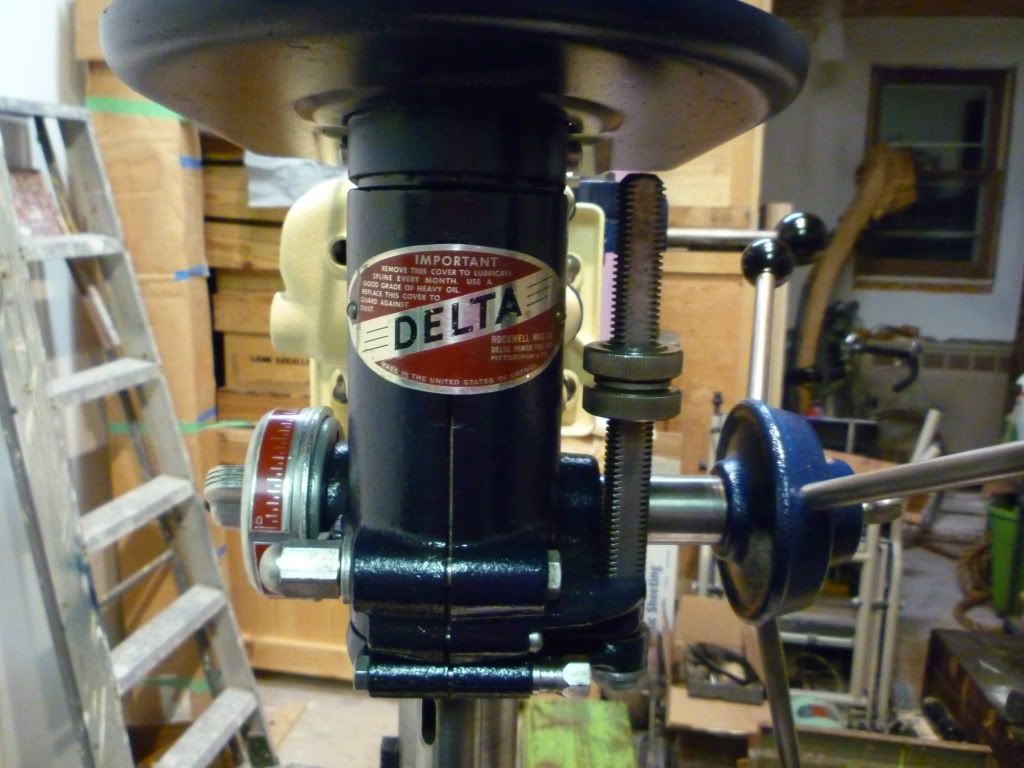
So in the case of self preservation.. some tags...

Image

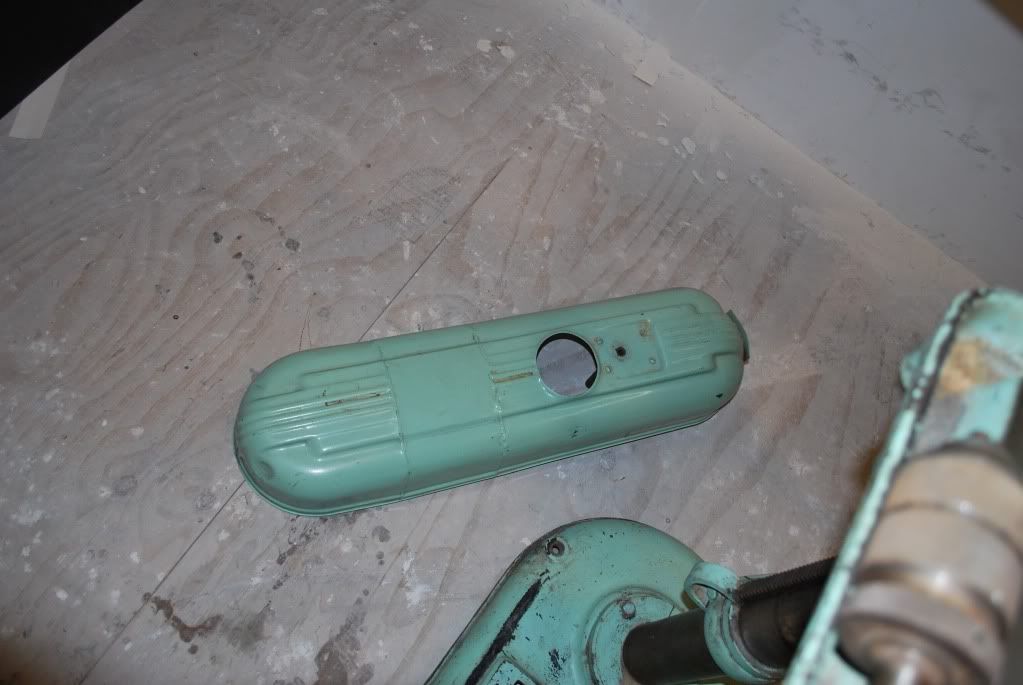
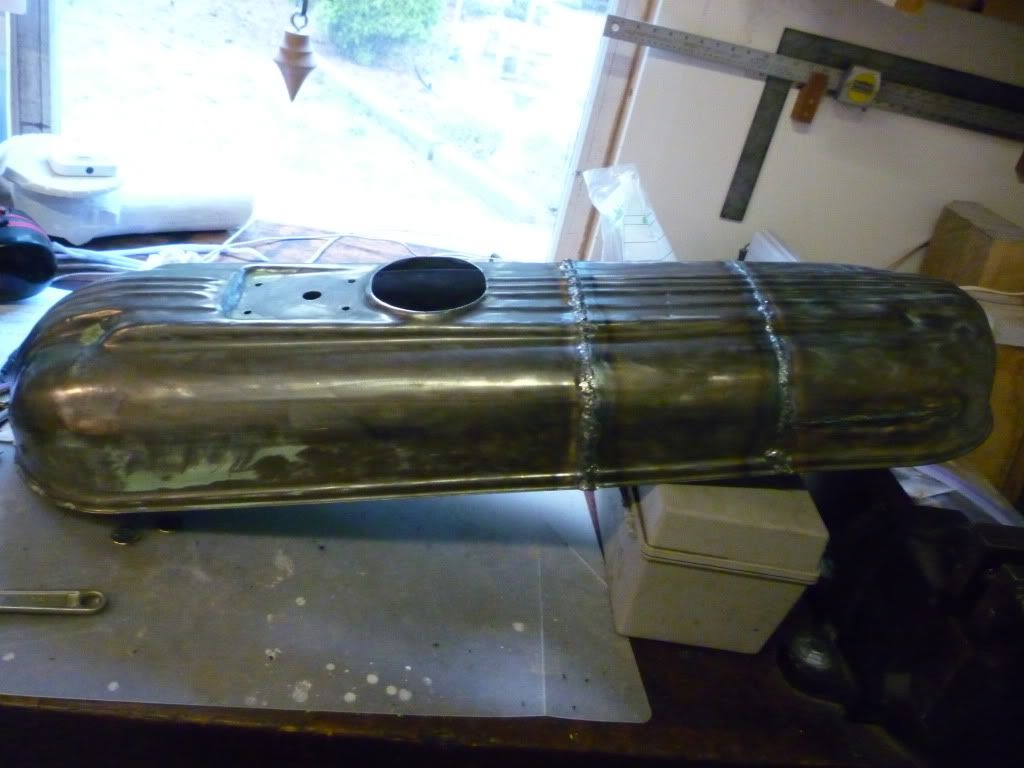
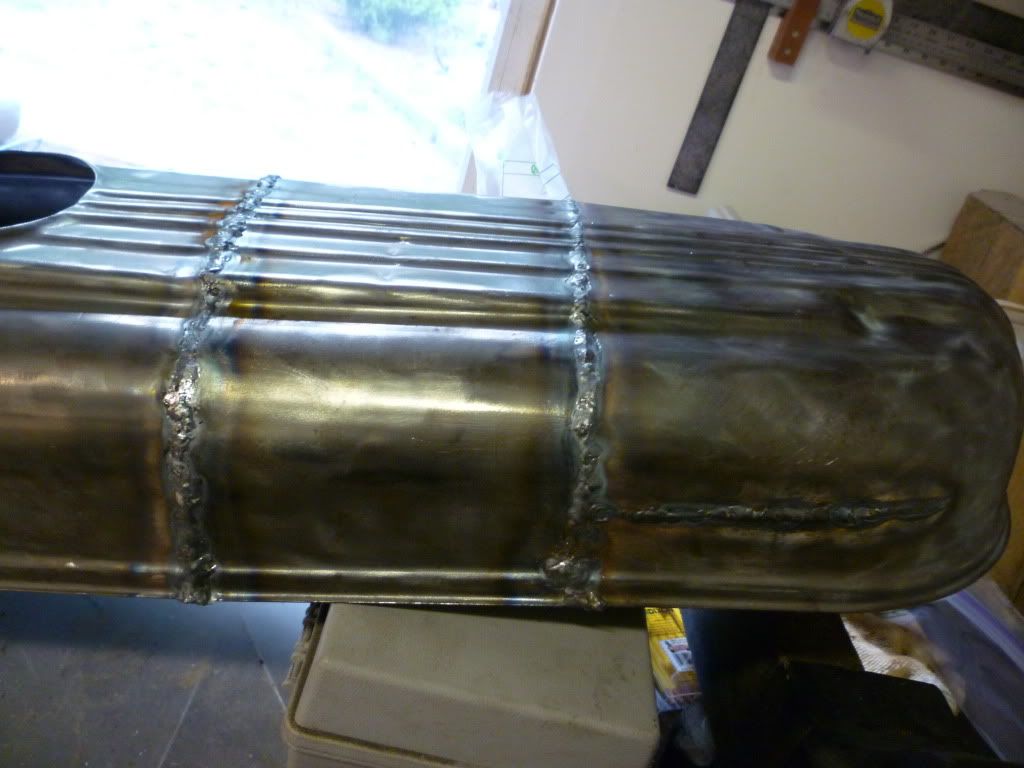
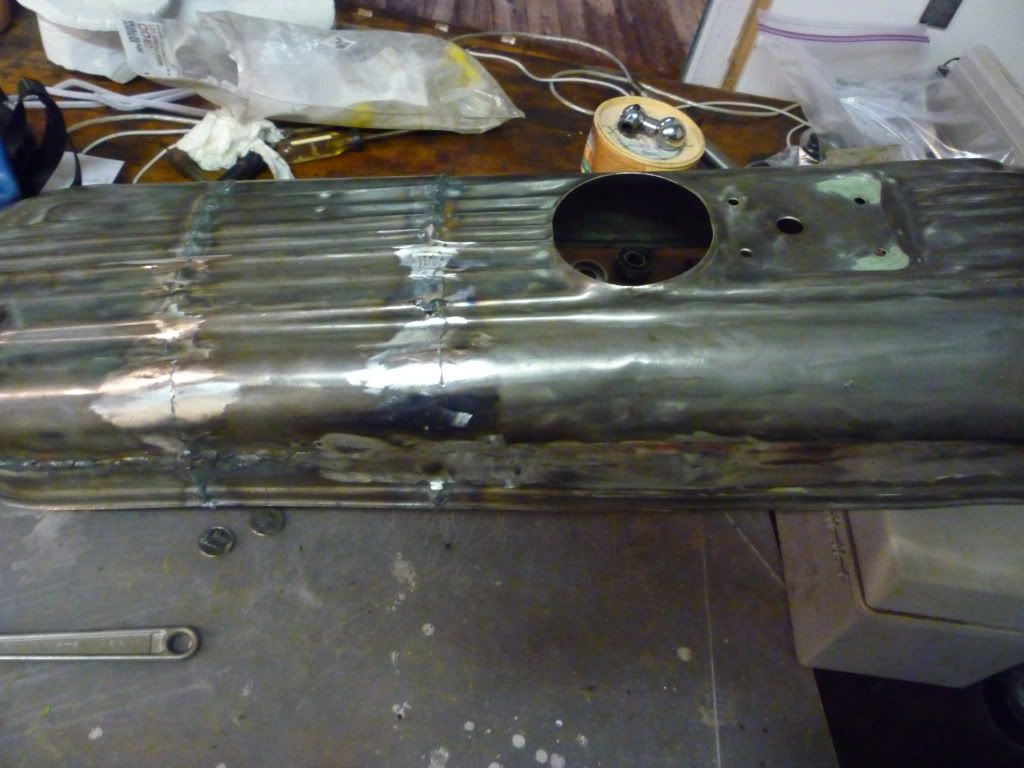
So back to the missing part.... I searched high and low. Near and Far. Finally after referencing my original photos I knew that I lost it and that it didn't come without out it.

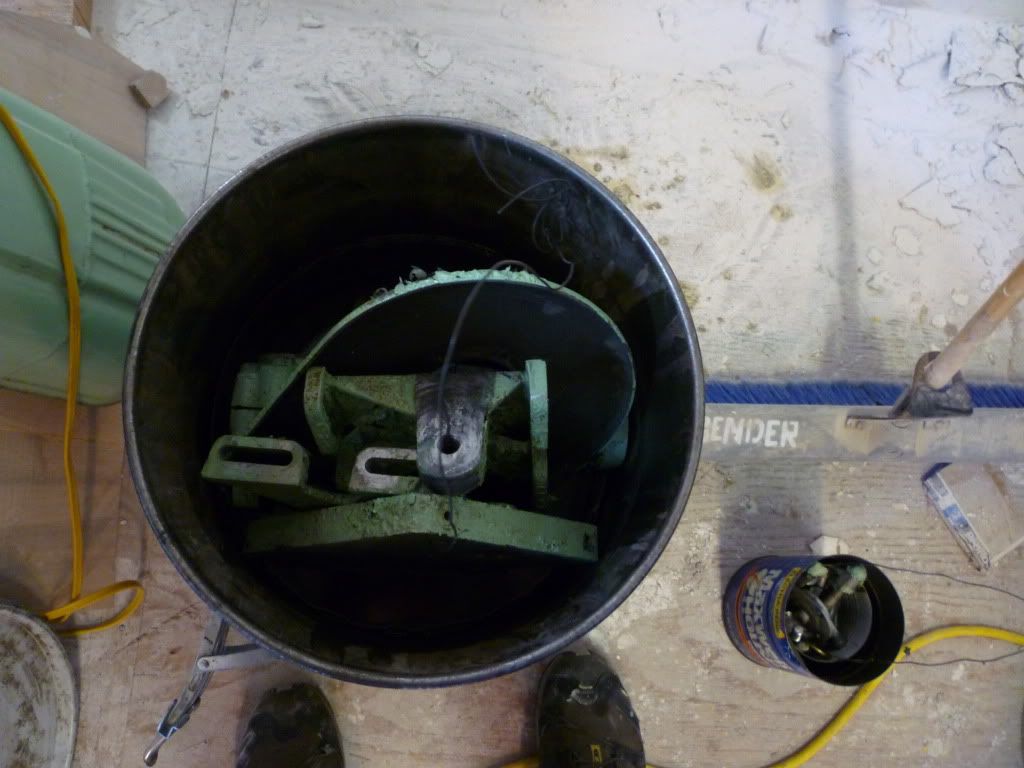
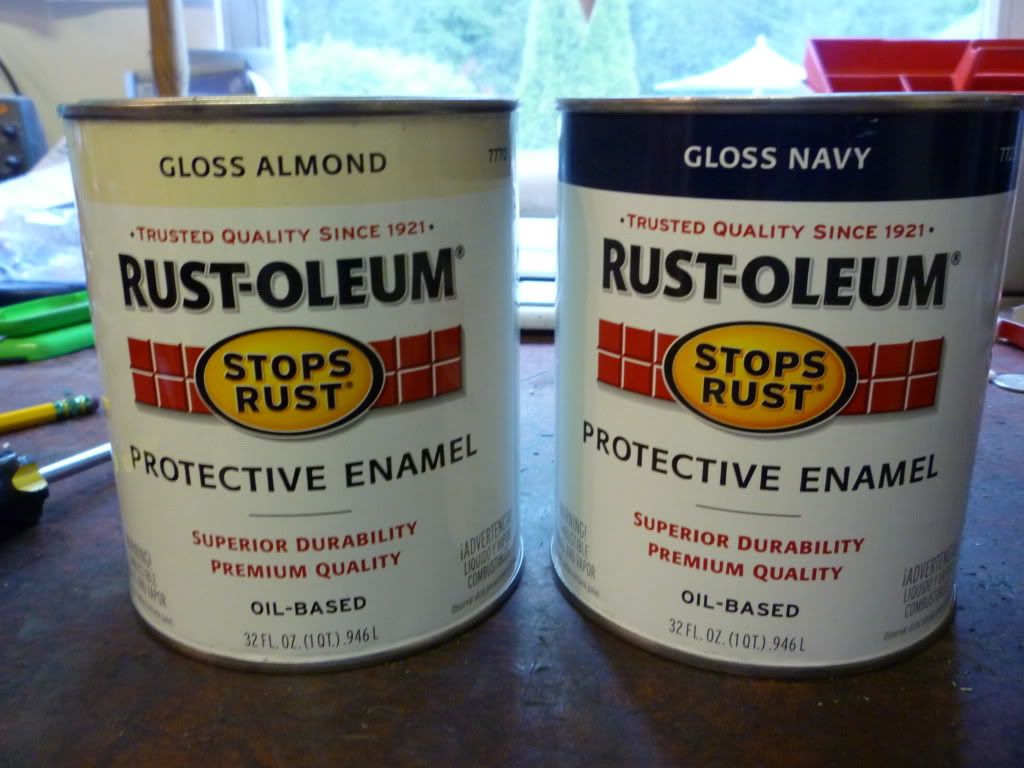
So with some despair I moved forward with the assembly. I sat down to think about the next step. When I realized I was sitting on the lacquer bath tank. It dawned on me that it might be still in the "soup". I opened it up and fished around with a stick. what did I pull up. yep you guessed it. the missing collar. After getting super excited I then realized that I needed to strip the paint, repaint and...then remove the quill again and put it back on....more to post shortly...
diamond saw dave
Posts: 45
Joined: Tue Aug 04, 2009 4:01 pm
Location: Saratoga Springs NY
Contact:

Post by diamond saw dave »

So after a dip in the lacquer bath and some paint the missing part has managed to get back into the head stock. The aftermarket variable speed is on also.

Image

I sourced a new (used) baldor motor. It sounded nice and quiet when I got it but took it apart anyway. It had been dropped or something like that at one point of time or another. So I pulled it apart just to check. The bearings were clean and smooth. figured I was in there anyway. So I repacked the bearings. The start capacitor was smashed to crap but still was running. Ordered a new one and installed it. Also a new thermal protector. Does it need it? No but I figured what the hell. I'm in this deep, keep treading water or drown. I tend to be a fighter....

Got it all cleaned up. Repainted and put back together. Thought I would get to mount it today but when I went to go and do so I found out the motor mounts don't line up. Soooooo.... I took a minute gave it a bit of thought and the started to tear apart the old electrics while I milled it over.

Image

Image

Image

Image

Image

Image

Image

I realized that I have enough solid stock aluminum from the GE original outfitting that I could make my motor mount out of that and the on/off switch mount also...

Image

While I have been traveling down this crazy road of a rebuild. I figured what the heck. I should redo the motor cover the right way too...

So crzypete had a spare cover (surprise surprise) that he was kind enough to give me to rip apart in my crazy frankenpress quest. So after the cutting everything is soaking over night so I can give it a good cleaning before welding and some more cutting. Then welding so the taper on the extended hood is about as right as I can get it. Then paint. Then hopefully by then.... Covering belts on a running delta drill press.

Image
diamond saw dave
Posts: 45
Joined: Tue Aug 04, 2009 4:01 pm
Location: Saratoga Springs NY
Contact:

Post by diamond saw dave »

So as the rebuild goes. went to mount the motor. Found out it didn't line up with the original holes. So cut an aluminum plate. drilled and tapped 4 sets of holes so as to mount the C-frame motor to the plate and the plate to the variable speed mount.

Then I started dealing with the issues of the broken tag. I decided that I could fix it in house. Without to much fuss.

So I decided to add a piece of fiberglass to the back of the original metal. I made sure as to totally tape the face of the tag so as to not get epoxy on it.

Image

Then sanded the back with some 60 grit sandpaper so as to give the surface some tooth for the resin to bind to along with the glass.

smoothing the surface with some plastic will keep it from wrinkling and also make sure the resin stays inside the glass.

Image

Good as new!

Image

Getting into the home stretch now. Just the hood to do. the last of the motor wiring and then chips!

Image
diamond saw dave
Posts: 45
Joined: Tue Aug 04, 2009 4:01 pm
Location: Saratoga Springs NY
Contact:

Post by diamond saw dave »

Busy kinda of week. I got a couple of good days in on the drill press. I managed to get the hood welded up and relatively level. All things considered.

Got some grinding and sanding in before I had to catch a flight out west. Actually the flight I am on has wireless. Which is really kinda awesome. So I'm sending this from somewhere over Ohio. I think...

I have accepted the gentleman's wager on who will finish first. From Crazy pete and his Tanny Rebuild. What the wager is has yet to be defined but he has a long weekend to work on it while I'm out of town.

Here are pics. So when I get back there should be a bit more grinding then a thin coat of bondo. Then the last of the painting!

Image

Image

Image

Image
Post Reply